Overview
In this lab, you will create two VMs in the default network. We will use variables to define the VM's attributes at runtime and use output values to print a few resource attributes.
We will then add a static IP address to the first VM to examine how terraform handles implicit dependencies. We will then create a GCS bucket by mentioning explicit dependency to the VM to examine how terraform handles explicit dependency.
Objectives
In this lab, you learn how to perform the following tasks:
- Use variables and output values
- Observe implicit dependency
- Create explicit resource dependency
Task 1. Sign in to the Cloud console
For each lab, you get a new Google Cloud project and set of resources for a fixed time at no cost.
-
Click the Start Lab button. If you need to pay for the lab, a pop-up opens for you to select your payment method.
On the left is the Lab Details panel with the following:
- The Open Google Cloud console button
- Time remaining
- The temporary credentials that you must use for this lab
- Other information, if needed, to step through this lab
-
Click Open Google Cloud console (or right-click and select Open Link in Incognito Window if you are running the Chrome browser).
The lab spins up resources, and then opens another tab that shows the Sign in page.
Tip: Arrange the tabs in separate windows, side-by-side.
Note: If you see the Choose an account dialog, click Use Another Account.
-
If necessary, copy the Username below and paste it into the Sign in dialog.
{{{user_0.username | "Username"}}}
You can also find the Username in the Lab Details panel.
-
Click Next.
-
Copy the Password below and paste it into the Welcome dialog.
{{{user_0.password | "Password"}}}
You can also find the Password in the Lab Details panel.
-
Click Next.
Important: You must use the credentials the lab provides you. Do not use your Google Cloud account credentials.
Note: Using your own Google Cloud account for this lab may incur extra charges.
-
Click through the subsequent pages:
- Accept the terms and conditions.
- Do not add recovery options or two-factor authentication (because this is a temporary account).
- Do not sign up for free trials.
After a few moments, the Google Cloud console opens in this tab.
Note: To view a menu with a list of Google Cloud products and services, click the Navigation menu at the top-left, or type the service or product name in the Search field.

Task 2. Initialize Terraform
Let us initialize Terraform by setting Google as the provider.
- Open Cloud Shell (
 ) and execute the following command to verify that terraform is installed.
terraform -version
The output should look like this (do not copy; this is example output):
Terraform v1.5.7
Terraform comes pre-installed in Cloud Shell. With Terraform already installed, you can directly create infrastructure resources.
- Create a directory for your Terraform configuration and navigate to it by running the following command:
mkdir tfinfra && cd $_
- In Cloud Shell, click Open Editor to open Cloud Shell Editor.
- Click Open in a new window button to leave the Editor open in a separate tab..
- To create a new file in the
tfinfra folder, right-click on tfinfra folder and click New File.
- Name the new file provider.tf, and then click OK.
- Add the following code into
provider.tf:
provider "google" {
project = "{{{project_0.project_id|Project ID}}}"
region = "{{{project_0.default_region | "REGION"}}}"
zone = "{{{project_0.default_zone | "ZONE"}}}"
}
-
To save provider.tf, click File > Save.
-
Initialize Terraform by running the following commands:
terraform init
The output should look like this (do not copy; this is example output):
Initializing the backend...
Initializing provider plugins...
- Finding hashicorp/google versions matching "4.15.0"...
- Installing hashicorp/google v4.15.0...
- Installed hashicorp/google v4.15.0 (signed by HashiCorp)
Terraform has created a lock file .terraform.lock.hcl to record the provider
selections it made above. Include this file in your version control repository
so that Terraform can guarantee to make the same selections by default when
you run "terraform init" in the future.
Terraform has been successfully initialized!
Terraform has now installed the necessary plug-ins to interact with the Google Cloud API. Authentication is not required for API. The Cloud Shell credentials give access to the project and APIs.
Question:
In the remaining part of the lab, we will cover the two types of dependencies that Terraform can handle:
- Implicit dependencies: Dependencies known to Terraform
- Explicit dependencies: Dependencies unknown to Terraform
Task 3. View Implicit Resource Dependency
To demonstrate how Terraform infers an implicit dependency, we assign a static IP address to the VM instance.
Create a VM instance
Let us create a VM instance and parameterize its configuration by defining variables:
- To create a new file, right-click on
tfinfra folder and click New File.
- Name the new file instance.tf, and then open it.
- Copy the following code into
instance.tf:
resource google_compute_instance "vm_instance" {
name = "${var.instance_name}"
zone = "${var.instance_zone}"
machine_type = "${var.instance_type}"
boot_disk {
initialize_params {
image = "debian-cloud/debian-11"
}
}
network_interface {
network = "default"
access_config {
# Allocate a one-to-one NAT IP to the instance
}
}
}
- To save
instance.tf, click File > Save.
Create variables
- Right-click on
tfinfra folder and click New File to create a new file for variables.
- Name the new file
variables.tf, and then click OK.
- Add the following properties to
variables.tf:
variable "instance_name" {
type = string
description = "Name for the Google Compute instance"
}
variable "instance_zone" {
type = string
description = "Zone for the Google Compute instance"
}
variable "instance_type" {
type = string
description = "Disk type of the Google Compute instance"
default = "e2-medium"
}
By giving instance_type a default value, you make the variable optional. The instance_name, and instance_zone are required, and you will define them at run time.
- To save
variable.tf, click File > Save.
Create output values
- Right-click on
tfinfra folder and click New File to create a new file for outputs.
- Name the new file
outputs.tf, and then click OK.
- Add the following properties to
outputs.tf:
output "network_IP" {
value = google_compute_instance.vm_instance.instance_id
description = "The internal ip address of the instance"
}
output "instance_link" {
value = google_compute_instance.vm_instance.self_link
description = "The URI of the created resource."
}
- To save
outputs.tf, click File > Save.
Assign a static IP
- Now add to your configuration by assigning a static IP to the VM instance in
instance.tf
resource "google_compute_address" "vm_static_ip" {
name = "terraform-static-ip"
}
This should look familiar from the earlier example of adding a VM instance resource, except this time you're creating a google_compute_address resource type. This resource type allocates a reserved IP address to your project.
- Update the network_interface configuration for your instance like so:
network_interface {
network = "default"
access_config {
# Allocate a one-to-one NAT IP to the instance
nat_ip = google_compute_address.vm_static_ip.address
}
}
The final code is as shown below.
resource "google_compute_address" "vm_static_ip" {
name = "terraform-static-ip"
}
resource google_compute_instance "vm_instance" {
name = "${var.instance_name}"
zone = "${var.instance_zone}"
machine_type = "${var.instance_type}"
boot_disk {
initialize_params {
image = "debian-cloud/debian-11"
}
}
network_interface {
network = "default"
access_config {
# Allocate a one-to-one NAT IP to the instance
nat_ip = google_compute_address.vm_static_ip.address
}
}
}
- Initialize terraform by running the following command.
terraform init
- Run the following command to preview the resources created.
terraform plan
- If prompted, enter the details for the instance creation as shown below:
- Run the following command to view the order of resource creation.
terraform apply
- If prompted, enter the details for the instance creation as shown below:
- Confirm the planned actions by typing
yes.
Note: Observe that Terraform handles implicit dependency automatically by creating a static IP address before the instance.
google_compute_address.vm_static_ip: Creating...
google_compute_address.vm_static_ip: Creation complete after 2s [id=projects/qwiklabs-gcp-03-4662a5b49176/regions/{{{project_0.default_region | "REGION"}}}/addresses/terraform-static-ip]
google_compute_instance.vm_instance: Creating...
google_compute_instance.vm_instance: Still creating... [10s elapsed]
google_compute_instance.vm_instance: Creation complete after 15s [id=projects/qwiklabs-gcp-03-4662a5b49176/zones/{{{project_0.default_zone | "ZONE"}}}/instances/myinstance]
Apply complete! Resources: 2 added, 0 changed, 0 destroyed.
Verify on Cloud console
In the Google Cloud console, verify that the resources were created.
-
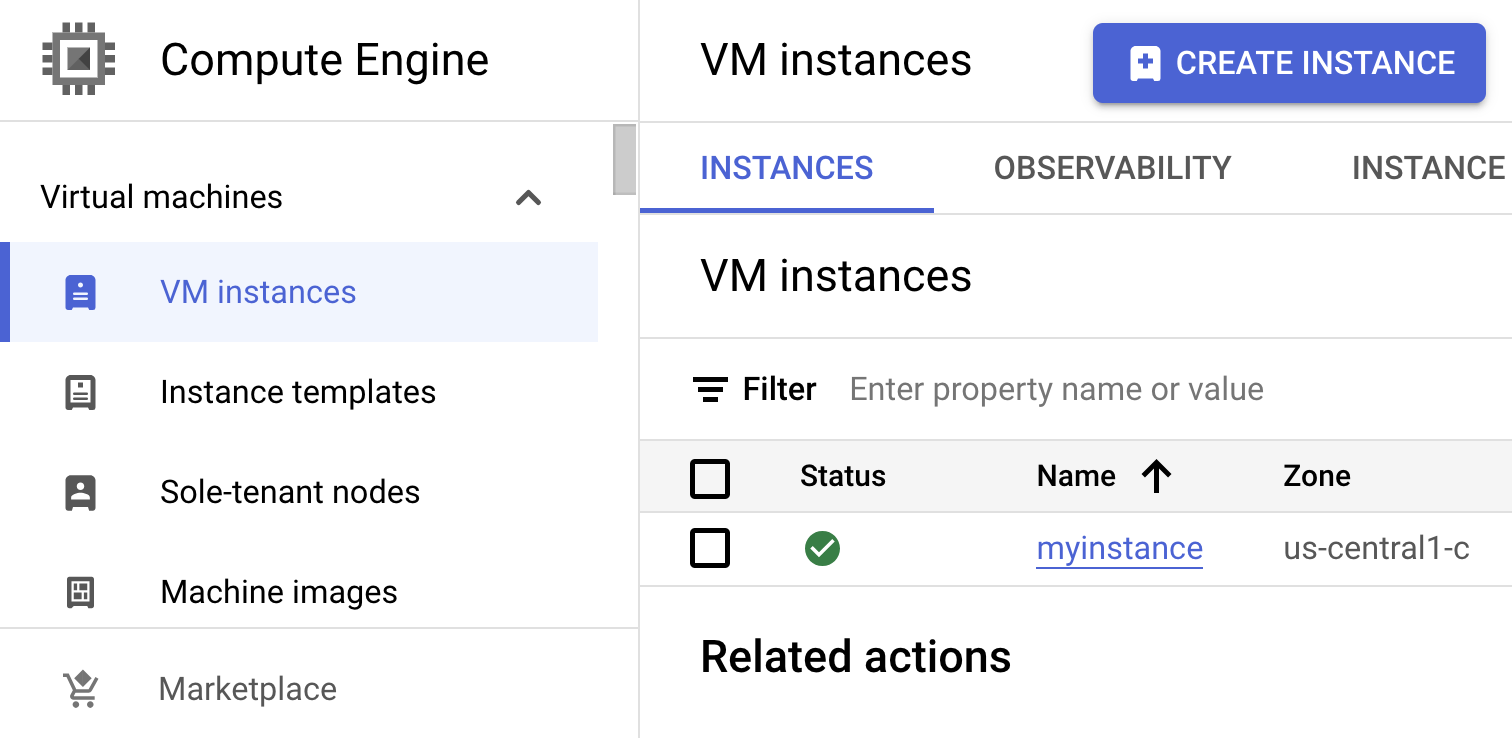
In the Gooogle Cloud console, in the Navigation menu ( ), click Compute Engine > VM instances.
-
View that an instance named myinstance is created.
-
Verify the static IP address. On the Navigation menu (), click VPC networks > IP addresses > External IP addresses.
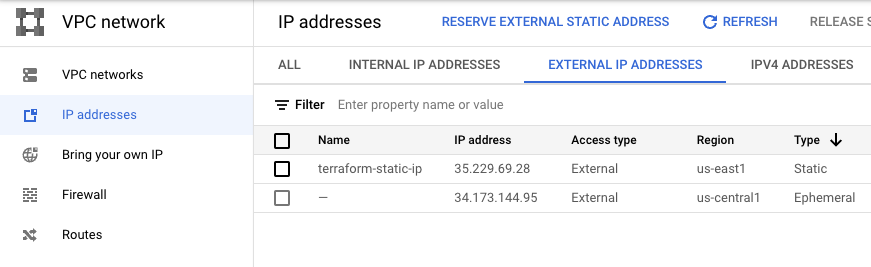
Click Check my progress to verify static IP address created
Create static IP using implicit dependency
Click Check my progress to verify VM is created
Create VM instance using implicit dependency
Task 4. Create Explicit Dependency
Explicit dependencies are used to inform dependencies between resources that are not visible to Terraform. In this example, consider that you will run on your instance that expects to use a specific Cloud Storage bucket, but that dependency is configured inside the application code and thus not visible to Terraform. In that case, you can use depends_on to explicitly declare the dependency.
- To create a new file, right-click on
tfinfra folder and click New File.
- Name the new file exp.tf, and then click OK.
- Add a Cloud Storage bucket and an instance with an explicit dependency on the bucket by adding the following base code into
exp.tf:
# Create a new instance that uses the bucket
resource "google_compute_instance" "another_instance" {
name = "terraform-instance-2"
machine_type = "e2-micro"
boot_disk {
initialize_params {
image = "debian-cloud/debian-11"
}
}
network_interface {
network = "default"
access_config {
}
}
# Tells Terraform that this VM instance must be created only after the
# storage bucket has been created.
depends_on = [google_storage_bucket.example_bucket]
}
- Add the following code to create a bucket.
# New resource for the storage bucket our application will use.
resource "google_storage_bucket" "example_bucket" {
name = "<UNIQUE-BUCKET-NAME>"
location = "US"
website {
main_page_suffix = "index.html"
not_found_page = "404.html"
}
}
Note: Storage buckets must be globally unique. Because of this, you will need to replace UNIQUE-BUCKET-NAME with a unique, valid name for a bucket. Using the project name and the date is usually a good way to create a unique bucket name.
Notice that in our code the VM instance configuration is added before the GCS bucket. When executing Terraform apply you will notice that the order that resources are defined in a terraform configuration file has no effect on how Terraform applies your changes.
The final code is as show below:
resource "google_compute_instance" "another_instance" {
name = "terraform-instance-2"
machine_type = "e2-micro"
boot_disk {
initialize_params {
image = "debian-cloud/debian-11"
}
}
network_interface {
network = "default"
access_config {
}
}
# Tells Terraform that this VM instance must be created only after the
# storage bucket has been created.
depends_on = [google_storage_bucket.example_bucket]
}
resource "google_storage_bucket" "example_bucket" {
name = "<UNIQUE-BUCKET-NAME>"
location = "US"
website {
main_page_suffix = "index.html"
not_found_page = "404.html"
}
}
-
To save exp.tf, click File > Save.
-
Run the following command to preview the resources created.
terraform plan
If prompted, enter the details for the instance creation as shown below:
- Run the following command to view the order of resource creation.
terraform apply
If prompted, enter the details for the instance creation as shown below:
-
Confirm the planned actions by typing yes.
-
Observe that due explicit dependency, the compute instance is created after the creation of the Cloud Storage Bucket.
Enter a value: yes
google_storage_bucket.example_bucket: Creating...
google_storage_bucket.example_bucket: Creation complete after 1s [id=qwiklabs-gcp-03-4662a5b49176-abc]
google_compute_instance.another_instance: Creating...
google_compute_instance.another_instance: Still creating... [10s elapsed]
google_compute_instance.another_instance: Creation complete after 14s [id=projects/qwiklabs-gcp-03-4662a5b49176/zones/{{{project_0.default_zone | "ZONE"}}}/instances/terraform-instance-2]
Apply complete! Resources: 2 added, 0 changed, 0 destroyed.
Verify on Cloud console
In the Google Cloud console, verify that the resources were created.
-
In the Google Cloud console, on the Navigation menu (), click Compute Engine > VM instances.
-
View the terraform-instance-2 instance created.
-
Verify the Cloud Storage bucket created. On the Navigation menu (), click Cloud Storage > Buckets.
Click Check my progress to verify that the bucket is created
Create cloud storage bucket using explicit dependency
Click Check my progress to verify that the VM is created
Create VM instance resource using explicit dependency
Note: If you get an error, revisit the previous steps to ensure that your configuration matches the lab instructions. If you cannot troubleshoot the issue of your configuration, download and then look at these finished configurations:
Task 5. View Dependency Graph
- To view resource dependency graph of the resource created, execute the following command
terraform graph | dot -Tpng > graph.png
- Switch to the editor and notice a file called graph.png created. Click the file to view the dependency graph.
To understand how to read this graph, please visit this page
Review
In this lab, you have a VM instance with a static IP address to view how implicit resource dependencies are handled with Terraform. You then created an explicit dependency by adding the depend_on argument so that you can create a GCS bucket before creating a VM instance. You also viewed the dependency graph that terraform uses to trace the order of resource creation.
End of your lab
When you have completed your lab, click End Lab. Google Skills removes the resources you've used and cleans the account for you.
You will be given an opportunity to rate the lab experience. Select the applicable number of stars, type a comment, and then click Submit.
The number of stars indicates the following:
- 1 star = Very dissatisfied
- 2 stars = Dissatisfied
- 3 stars = Neutral
- 4 stars = Satisfied
- 5 stars = Very satisfied
You can close the dialog box if you don't want to provide feedback.
For feedback, suggestions, or corrections, please use the Support tab.
Copyright 2026 Google LLC All rights reserved. Google and the Google logo are trademarks of Google LLC. All other company and product names may be trademarks of the respective companies with which they are associated.


