GSP957

Overview
Google Kubernetes Engine (GKE) is a managed, production-ready environment for running containerized applications using Kubernetes. GKE Autopilot is a managed mode of operation in which Google manages your cluster infrastructure, including nodes, scaling, security, and other preconfigured settings. In Autopilot mode, GKE provisions compute resources based on your Kubernetes manifests, allowing you to focus on application development rather than operational maintenance.
In this lab, you containerize a sample application and deploy it to a GKE Autopilot cluster. You use Skaffold to automate the build and deployment process and verify the application's availability via an external load balancer.
What you'll learn
In this lab, you learn how to perform the following tasks:
- Containerize a sample application for deployment.
- Deploy an application to a GKE Autopilot cluster.
- Verify the availability of a deployed workload via an external load balancer.
Benefits of Autopilot
The features you explore in this lab provide significant advantages for production workloads outside of this environment:
Automated infrastructure management: Node configuration, sizing, and bin-packing are managed automatically, allowing teams to focus entirely on application logic rather than infrastructure maintenance.
Hands-free scaling: capacity scales automatically with workload demand, eliminating manual capacity planning and ensuring responsiveness under varying traffic patterns.
Hardened security by default: Automated node patching and restricted images provide a production-ready security posture out of the box without manual hardening.
Resource-based pricing: You are billed only for the resources (CPU, memory, and storage) requested by your pods, ensuring you don't pay for idle infrastructure overhead.
Setup and requirements
Before you click the Start Lab button
Read these instructions. Labs are timed and you cannot pause them. The timer, which starts when you click Start Lab, shows how long Google Cloud resources are made available to you.
This hands-on lab lets you do the lab activities in a real cloud environment, not in a simulation or demo environment. It does so by giving you new, temporary credentials you use to sign in and access Google Cloud for the duration of the lab.
To complete this lab, you need:
- Access to a standard internet browser (Chrome browser recommended).
Note: Use an Incognito (recommended) or private browser window to run this lab. This prevents conflicts between your personal account and the student account, which may cause extra charges incurred to your personal account.
- Time to complete the lab—remember, once you start, you cannot pause a lab.
Note: Use only the student account for this lab. If you use a different Google Cloud account, you may incur charges to that account.
Task 1. Access Cloud Code
This lab uses Cloud Code to access Google Cloud products and services.
You can view information about your cluster resources from the editor or via the command line.
Task 2. Clone the repository
In this task, you clone the application's source code repository to prepare the environment for deployment.
-
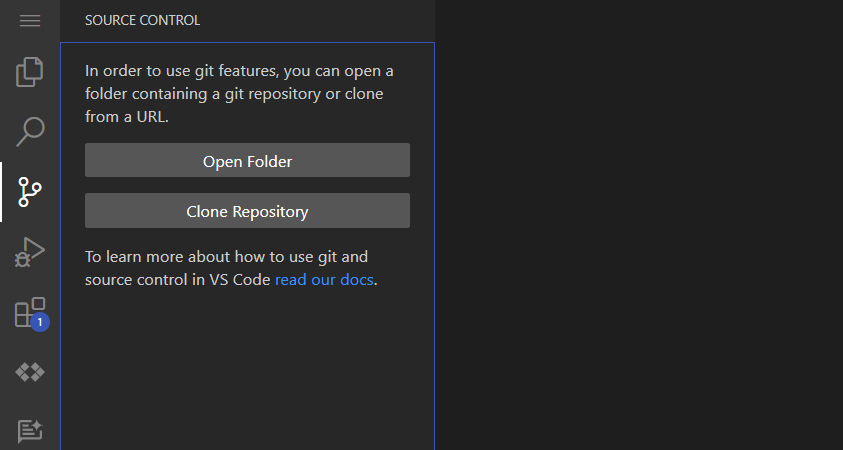
In your Cloud Code terminal, click Source control > Clone repository from the left pane.
-
Paste the following GitHub repository into Provide repository URL or pick a repository source. field:
https://github.com/subfuzion/voting-demo.git
-
Click Clone from URL.
-
Click OK to confirm the location.
-
When prompted to open the repo, click Open.
-
If prompted, click Yes, I trust the authors.
Click Check my progress to verify the objective.
Clone the repository
Task 3. Add your cluster to the kubeconfig
GKE Autopilot is pre-provisioned for this lab. In this task, you update the local kubeconfig to point to the cluster. After the update is complete, you deploy the demo application.
-
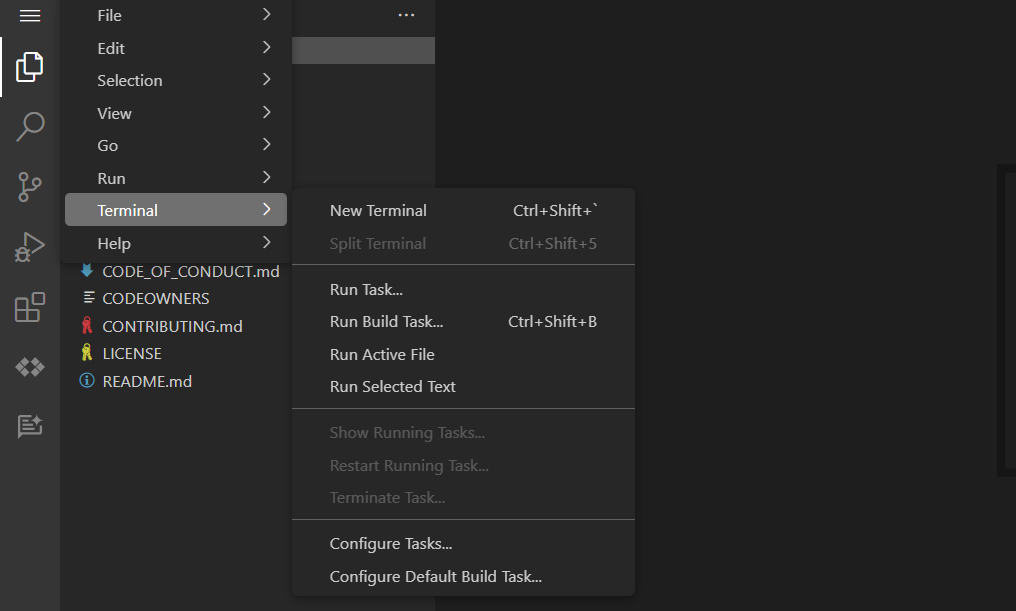
On the Navigation menu ( ) click Terminal > New Terminal.
Note:
GKE uses the gke-gcloud-auth-plugin to manage authentication between the client and GKE. This binary uses the Kubernetes Client-go Credential Plugin mechanism to provide GKE-specific authentication tokens.
-
Add the cluster credentials to the local kube-config:
Note: To paste code into the terminal, press CTRL+SHIFT+V
gcloud container clusters get-credentials dev-cluster --region {{{project_0.default_region | Region}}}
Expected output:
Fetching cluster endpoint and auth data.
kubeconfig entry generated for dev-cluster.
Click Check my progress to verify the objective.
Add cluster to the kubeconfig
Note: It may take a few minutes for this check to verify.
Task 4. Build and deploy the app
This lab utilizes Skaffold to build and deploy containers to Artifact Registry.
-
In the terminal, change to the application folder:
cd ~/voting-demo/v2
-
Set the region for the deployment:
gcloud config set compute/region {{{ project_0.default_region | "REGION" }}}
-
Use Skaffold to deploy the source application:
skaffold run --default-repo=gcr.io/{{{ project_0.project_id | "PROJECT_ID" }}}/voting-app --tail
Note: The deployment takes a minute to spin up the resources, ignore any warning or error messages.
A container image is built from source. Once available it's deployed to the GKE autopilot cluster.
Click Check my progress to verify the objective.
Deploy the app
Task 5. Run the app
Now test that the application is working as specified.
-
Launch a new terminal to test the application: On the Navigation menu () click Terminal > New Terminal.
-
Run the command below to verify the web-external load balancer has been created:
kubectl get svc web-external --output=json | jq -r .status.loadBalancer.ingress[0].ip
Note:
It may take a moment for the load balancer to return an IP address.
Please wait until an IP is returned before moving on.
-
Open a new tab in your browser.
-
Enter the IP value returned as a HTTP site:
http://[web-external-ip]
Note: If warned about an insecure connection, click Continue to site.
Expected output:

Task 6. Test the app
-
Vote by clicking either TABS or SPACES.
Note: Click either button as many times as you like. The results reflect the button last clicked.
-
Update the voting app URL as follows:
http://[web-external-ip]/results
Example output:
{
"results": {
"a": 0,
"b": 1
},
"success": true
}
Click Check my progress to verify the objective.
Test the app
Great job!
You now have your voting application deployed to a cluster.
GKE Autopilot has taken care of the management of the Kubernetes infrastructure.
Task 7. Clean up
- To terminate your application, press CTRL+C in the terminal running the application:
Although you've terminated the application, the skaffold application is still active. If you re-run the skaffold application, it would use the existing resources created earlier.
-
To delete the application, you tell Skaffold that the application is no longer required:
skaffold delete
Expected output:
Cleaning up...
- deployment.apps "database" deleted
- service "database" deleted
- deployment.apps "vote" deleted
- service "vote" deleted
- deployment.apps "web" deleted
- service "web" deleted
- service "web-external" deleted
Click Check my progress to verify the objective.
Delete app from cluster
Congratulations!
You have successfully deployed a containerized application to GKE Autopilot!
Next steps / Learn more
Search for "Qwik Starts" in the Google Skills catalog to find your next lab.
This lab is part of a series of labs called Qwik Starts. These labs are designed to give you some experience with the many features available on Google Cloud. Search for "Qwik Starts" in the Skills catalog to find the next lab you'd like to take!
Google Cloud training and certification
...helps you make the most of Google Cloud technologies. Our classes include technical skills and best practices to help you get up to speed quickly and continue your learning journey. We offer fundamental to advanced level training, with on-demand, live, and virtual options to suit your busy schedule. Certifications help you validate and prove your skill and expertise in Google Cloud technologies.
Manual Last Updated June 18, 2026
Lab Last Tested June 18, 2026
Copyright 2026 Google LLC. All rights reserved. Google and the Google logo are trademarks of Google LLC. All other company and product names may be trademarks of the respective companies with which they are associated.


