
시작하기 전에
- 실습에서는 정해진 기간 동안 Google Cloud 프로젝트와 리소스를 만듭니다.
- 실습에는 시간 제한이 있으며 일시중지 기능이 없습니다. 실습을 종료하면 처음부터 다시 시작해야 합니다.
- 화면 왼쪽 상단에서 실습 시작을 클릭하여 시작합니다.
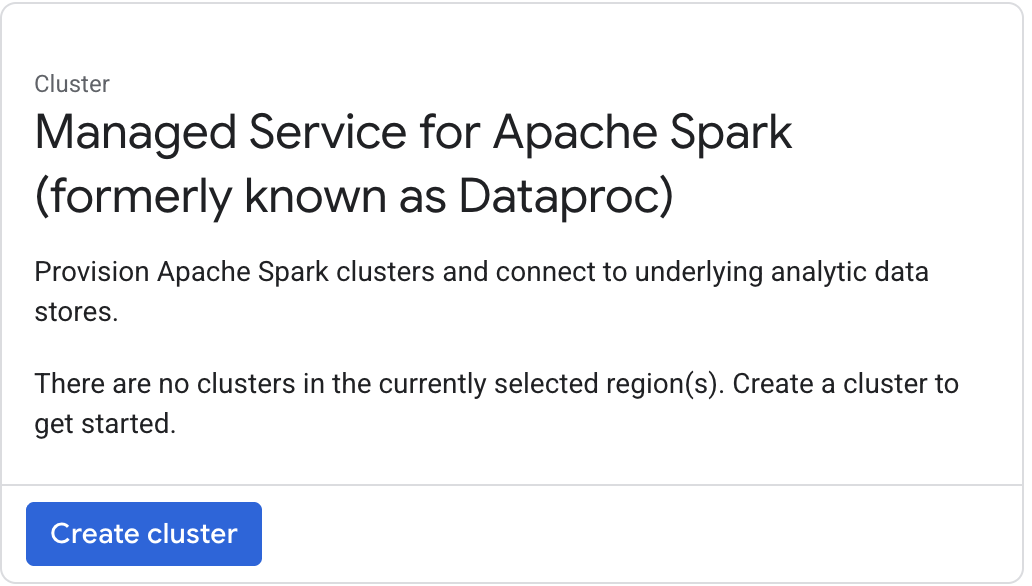
Create a cluster
/ 50
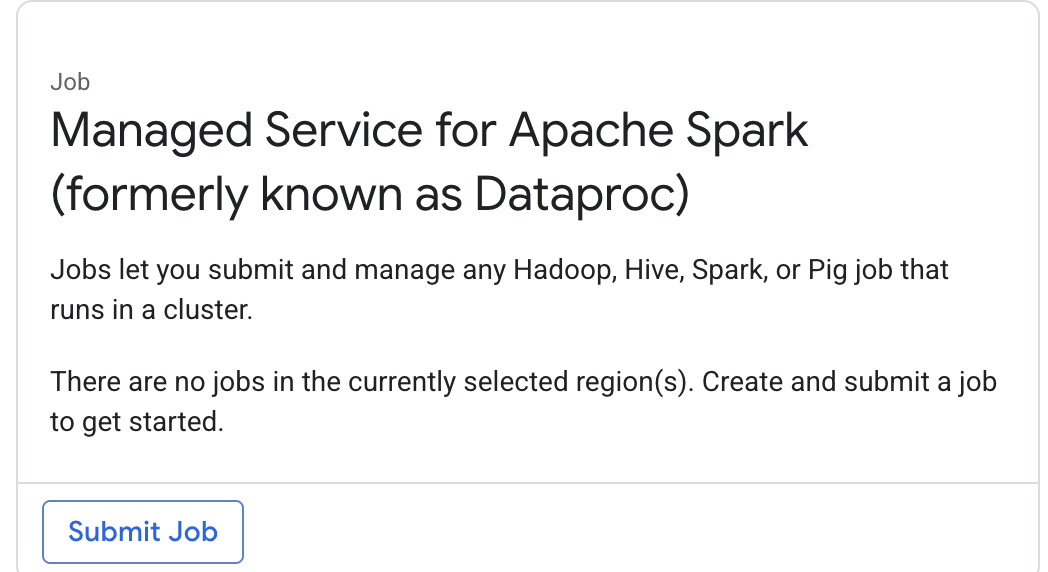
Submit a job to your cluster
/ 50
Create a cluster
/ 50
Submit a job to your cluster
/ 50

Managed Service for Apache Spark는 일괄 처리, 쿼리, 스트리밍, 머신러닝에 오픈소스 데이터 도구를 활용하는 관리형 Spark 및 Hadoop 서비스입니다. Managed Service for Apache Spark 자동화를 통해 신속하게 클러스터를 만들고 손쉽게 관리하며 불필요한 클러스터 사용을 중지하여 비용을 절감할 수 있습니다. 관리에 드는 시간과 비용이 줄어드는 만큼 작업과 데이터에 집중할 수 있습니다.
이 실습은 Google Cloud 콘솔을 사용하여 Managed Service for Apache Spark 클러스터 만들기 가이드를 기반으로 합니다.
다음 안내를 확인하세요. 실습에는 시간 제한이 있으며 일시중지할 수 없습니다. 실습 시작을 클릭하면 타이머가 시작됩니다. 이 타이머는 Google Cloud 리소스를 사용할 수 있는 시간이 얼마나 남았는지를 표시합니다.
실무형 실습을 통해 시뮬레이션이나 데모 환경이 아닌 실제 클라우드 환경에서 실습 활동을 진행할 수 있습니다. 실습 시간 동안 Google Cloud에 로그인하고 액세스하는 데 사용할 수 있는 새로운 임시 사용자 인증 정보가 제공됩니다.
이 실습을 완료하려면 다음을 준비해야 합니다.
실습 시작 버튼을 클릭합니다. 실습 비용을 결제해야 하는 경우 결제 수단을 선택할 수 있는 대화상자가 열립니다. 오른쪽에는 다음과 같은 항목이 포함된 실습 설정 및 액세스 패널이 있습니다.
실습 타이머는 페이지 상단에 있으며 남은 시간을 표시합니다.
Google Cloud 콘솔 열기를 클릭합니다(Chrome 브라우저를 실행 중인 경우 마우스 오른쪽 버튼으로 클릭하고 시크릿 창에서 링크 열기를 선택합니다).
실습에서 리소스가 가동되면 다른 탭이 열리고 로그인 페이지가 표시됩니다.
팁: 두 개의 탭을 각각 별도의 창으로 나란히 정렬하세요.
필요한 경우 아래의 사용자 이름을 복사하여 로그인 대화상자에 붙여넣습니다.
실습 설정 및 액세스 패널에서도 사용자 이름을 확인할 수 있습니다.
다음을 클릭합니다.
아래의 비밀번호를 복사하여 시작하기 대화상자에 붙여넣습니다.
실습 설정 및 액세스 패널에서도 비밀번호를 확인할 수 있습니다.
다음을 클릭합니다.
이후에 표시되는 페이지를 클릭하여 넘깁니다.
잠시 후 Google Cloud 콘솔이 이 탭에서 열립니다.

서비스 계정에 클러스터를 만드는 데 필요한 스토리지 권한을 할당하려면 다음 단계를 따르세요.
Google Cloud 콘솔의 탐색 메뉴(
Compute Engine 기본 서비스 계정([project-number]-compute@developer.gserviceaccount.com)의 주 구성원 수정(연필 아이콘)을 클릭합니다.
+ 다른 역할 추가를 클릭합니다.
역할 선택에서 스토리지 관리자를 검색하고 결과에서 선택합니다.
저장을 클릭합니다.
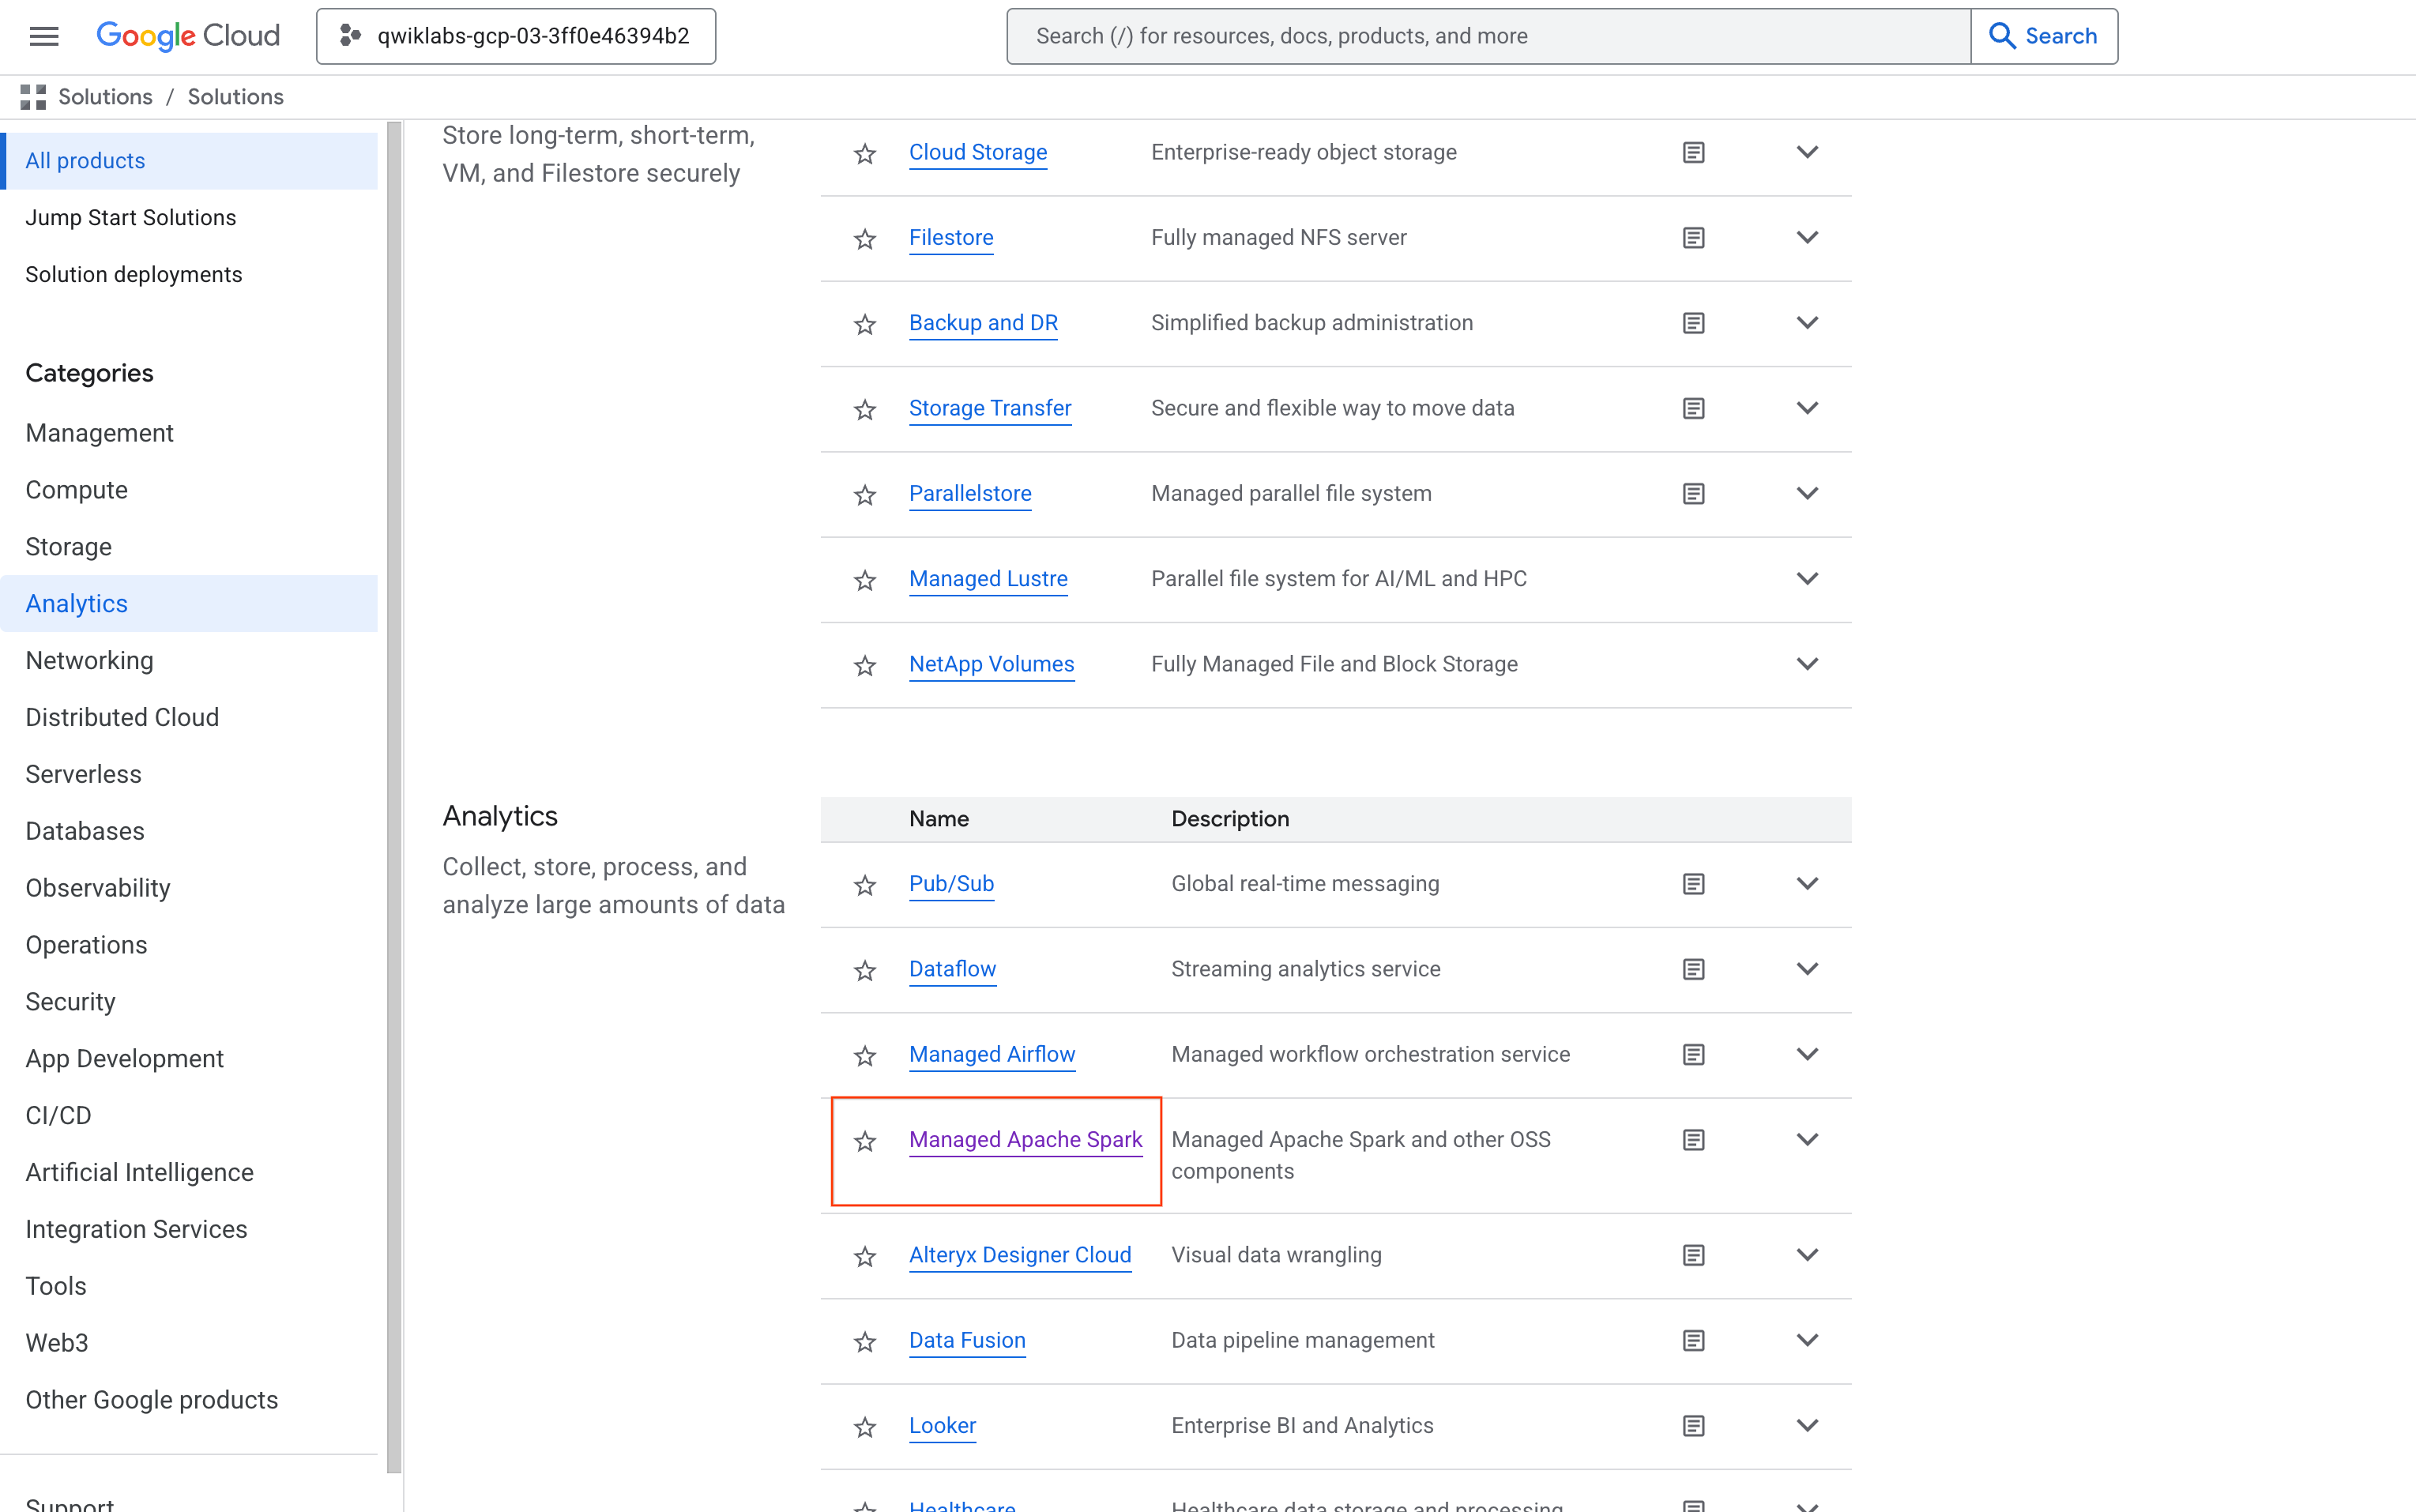
)에서 모든 제품 보기를 클릭합니다.
분석에서 Managed Apache Spark를
클릭합니다.
| 파라미터 | 값 |
|---|---|
| 이름 |
|
| 리전 |
|
| 영역 |
|
| 고급 구성 > 인프라 펼치기, 관리자 노드 > 기본 디스크 유형 | 표준 영구 디스크 |
| 관리자 노드 - 시리즈 | E2 |
| 관리자 노드 - 머신 유형 |
|
| 관리자 노드 - 기본 디스크 크기 | 30GB |
| 워커 노드 수 | 2 |
| 워커 노드 - 기본 디스크 유형 | 표준 영구 디스크 |
| 워커 노드 - 시리즈 | E2 |
| 워커 노드 - 머신 유형 |
|
| 워커 노드 - 기본 디스크 크기 | 30GB |
| 기타 > 내부 IP 전용 펼치기 | 모든 인스턴스가 내부 IP 주소만 갖도록 구성을 선택 해제합니다. |
Sorry, the server was not able to fulfill your request 경고는 무시하고 다음 작업을 진행해도 됩니다.

내 진행 상황 확인하기를 클릭하여 실행한 작업을 확인합니다.

| 파라미터 | 값 |
|---|---|
| 리전 |
|
| 클러스터 |
|
| 작업 유형 |
|
| 기본 클래스 또는 jar |
|
| jar 파일 |
|
| 인수 |
|
현재 작업이 작업 목록에 나타납니다. 이 목록에는 프로젝트의 모든 작업이 클러스터, 유형, 현재 상태와 함께 표시됩니다. 새 작업이 '실행 중'으로 표시됩니다. 상태가 '성공'으로 표시되면 다음 단계로 진행해도 됩니다.
내 진행 상황 확인하기를 클릭하여 실행한 작업을 확인합니다.


대략적인 Pi 값이 성공적으로 계산된 것을 확인할 수 있습니다.

아래는 이 실습에서 배운 내용을 복습하기 위한 객관식 문제입니다. 최선을 다해 풀어보세요.
Managed Service for Apache Spark 클러스터를 만들고, Spark 작업을 제출하고, 클러스터를 종료하는 방법을 알아보았습니다.
Google Cloud 기술을 최대한 활용하는 데 도움이 됩니다. Google 강의에는 빠른 습득과 지속적인 학습을 지원하는 기술적인 지식과 권장사항이 포함되어 있습니다. 기초에서 고급까지 수준별 학습을 제공하며 바쁜 일정에 알맞은 주문형, 실시간, 가상 옵션이 포함되어 있습니다. 인증은 Google Cloud 기술에 대한 역량과 전문성을 검증하고 입증하는 데 도움이 됩니다.
설명서 최종 업데이트: 2026년 4월 28일
실습 최종 테스트: 2026년 4월 28일
Copyright 2026 Google LLC. All rights reserved. Google 및 Google 로고는 Google LLC의 상표입니다. 기타 모든 회사명 및 제품명은 해당 업체의 상표일 수 있습니다.


현재 이 콘텐츠를 이용할 수 없습니다
이용할 수 있게 되면 이메일로 알려드리겠습니다.

감사합니다
이용할 수 있게 되면 이메일로 알려드리겠습니다.

한 번에 실습 1개만 가능
모든 기존 실습을 종료하고 이 실습을 시작할지 확인하세요.