
始める前に
- ラボでは、Google Cloud プロジェクトとリソースを一定の時間利用します
- ラボには時間制限があり、一時停止機能はありません。ラボを終了した場合は、最初からやり直す必要があります。
- 画面左上の [ラボを開始] をクリックして開始します
Create the Notebook instance
/ 50
Load the notebook
/ 50
Create the Notebook instance
/ 50
Load the notebook
/ 50

This hands-on lab takes you through the process of analyzing the Bitcoin transactions associated the infamous 10,000 bitcoin pizza purchase - the first known exchange of Bitcoin for goods on May 17, 2010.
You will use an Agent Platform Workbench instance to connect to BigQuery and analyze the Bitcoin transaction network related to the exchange.
In this lab you will:
This lab will show you how cloud-native tools can be used to handle large-scale data visualization, turning billions of records into actionable visual intelligence for machine learning or data analysis purposes.
Attribution: This lab is based on the code originally written by Allen Day and modified by Sohier Dane and Meg Risdal from these Kaggle kernels (parts 1, 2, 3).
Read these instructions. Labs are timed and you cannot pause them. The timer, which starts when you click Start Lab, shows how long Google Cloud resources are made available to you.
This hands-on lab lets you do the lab activities in a real cloud environment, not in a simulation or demo environment. It does so by giving you new, temporary credentials you use to sign in and access Google Cloud for the duration of the lab.
To complete this lab, you need:
Click the Start Lab button. If you need to pay for the lab, a dialog opens for you to select your payment method. On the right is the Lab setup and access panel with the following:
Note that the lab timer is located near the top of the page, showing the remaining time.
Click Open Google Cloud console (or right-click and select Open Link in Incognito Window if you are running the Chrome browser).
The lab spins up resources, and then opens another tab that shows the Sign in page.
Tip: Arrange the tabs in separate windows, side-by-side.
If necessary, copy the Username below and paste it into the Sign in dialog.
You can also find the Username in the Lab setup and access panel.
Click Next.
Copy the Password below and paste it into the Welcome dialog.
You can also find the Password in the Lab setup and access panel.
Click Next.
Click through the subsequent pages:
After a few moments, the Google Cloud console opens in this tab.

In the Google Cloud console, from the Navigation menu (
Click Enable Notebooks API.
At the top of the Workbench page, ensure you are in the Instances view.
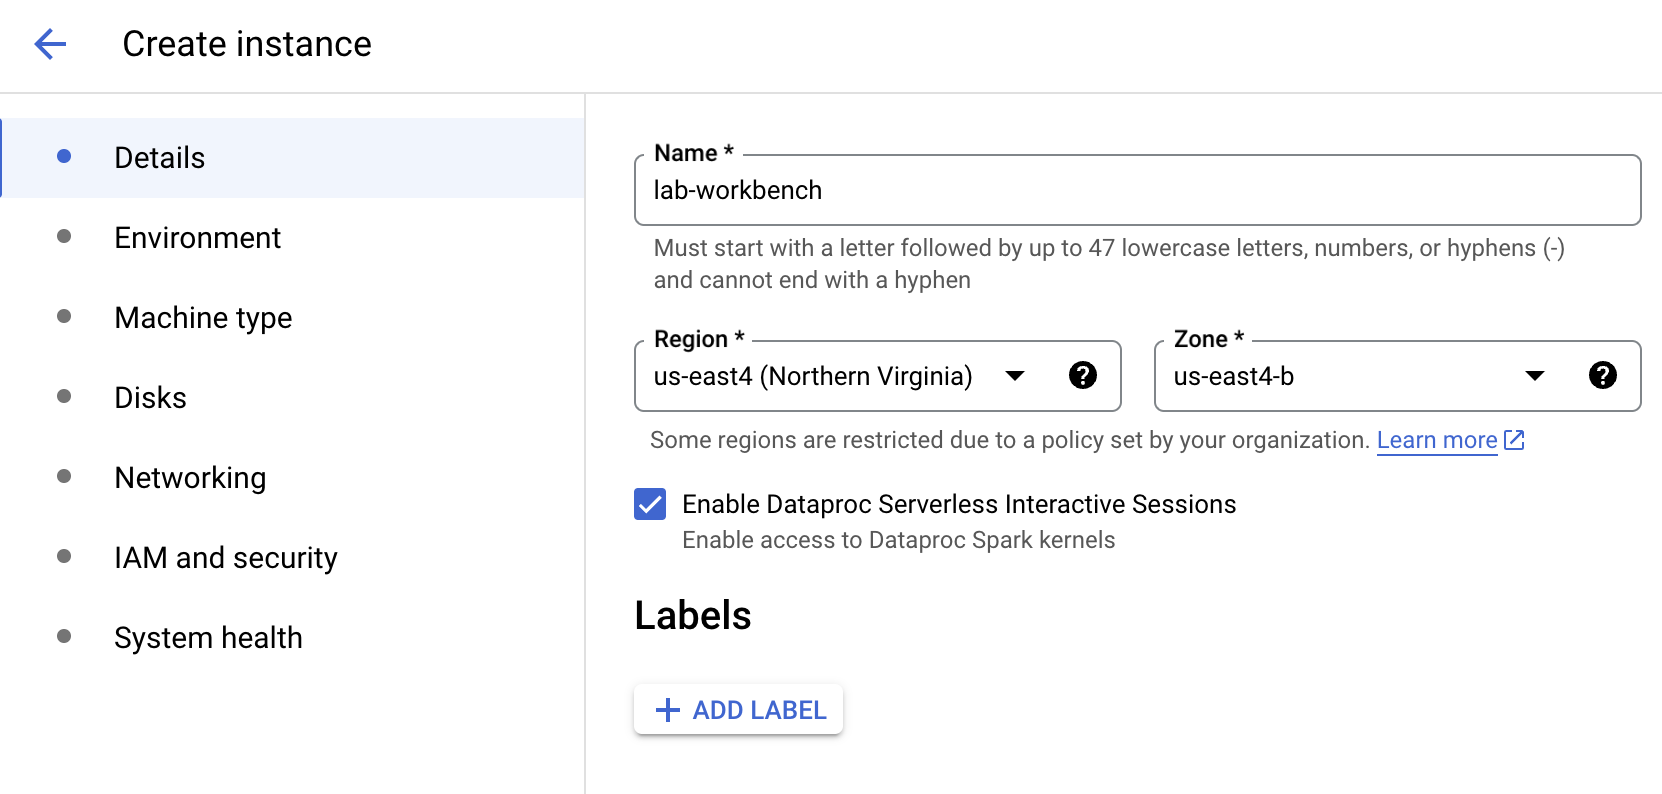
Click 
Configure the Instance:
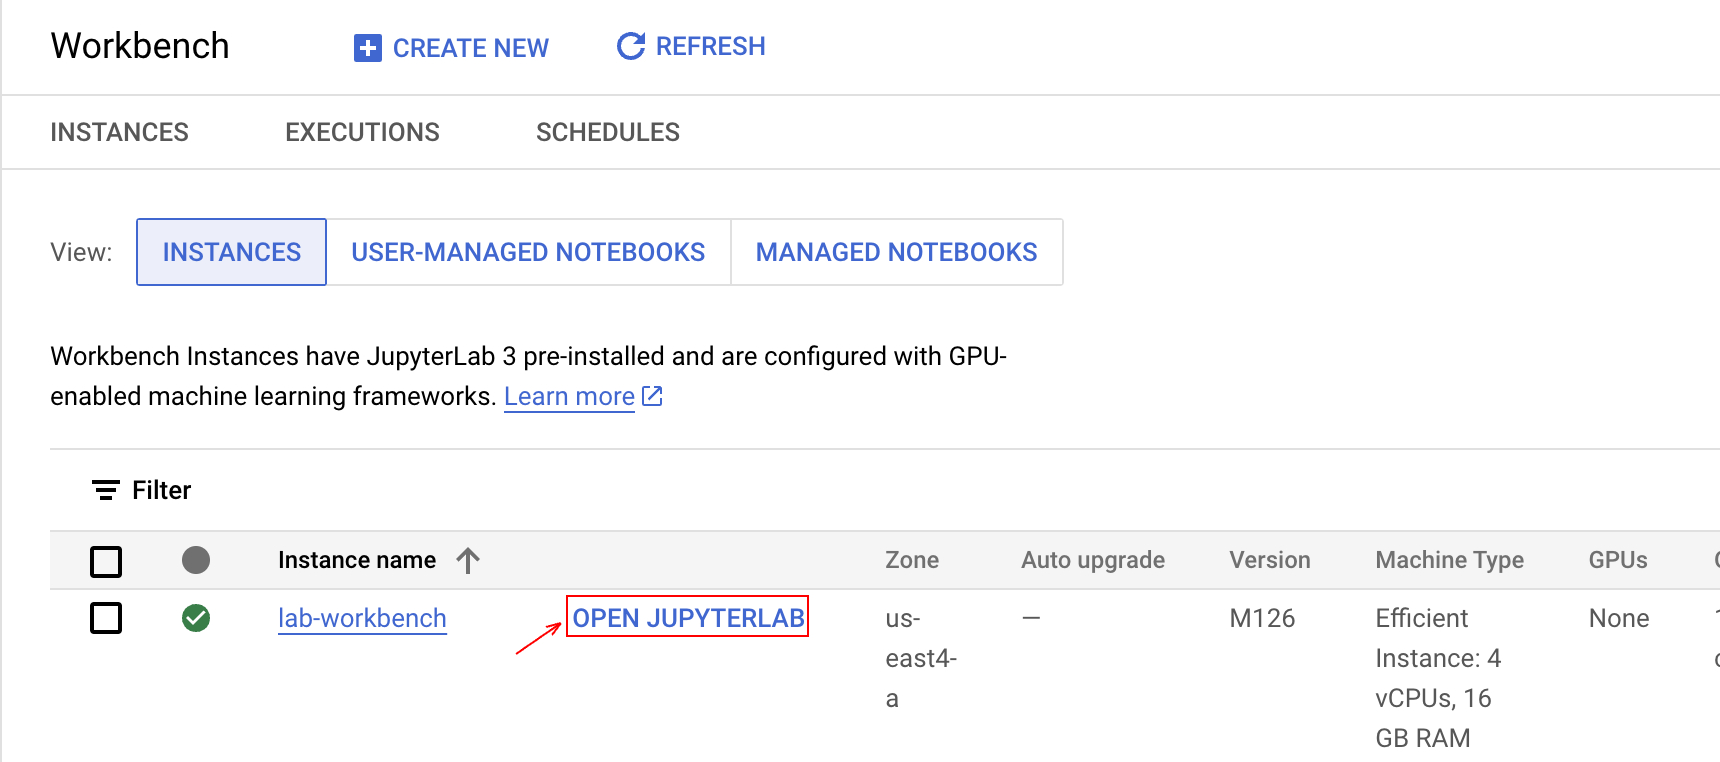
This will take a few minutes to create the instance. A green checkmark will appear next to its name when it's ready.
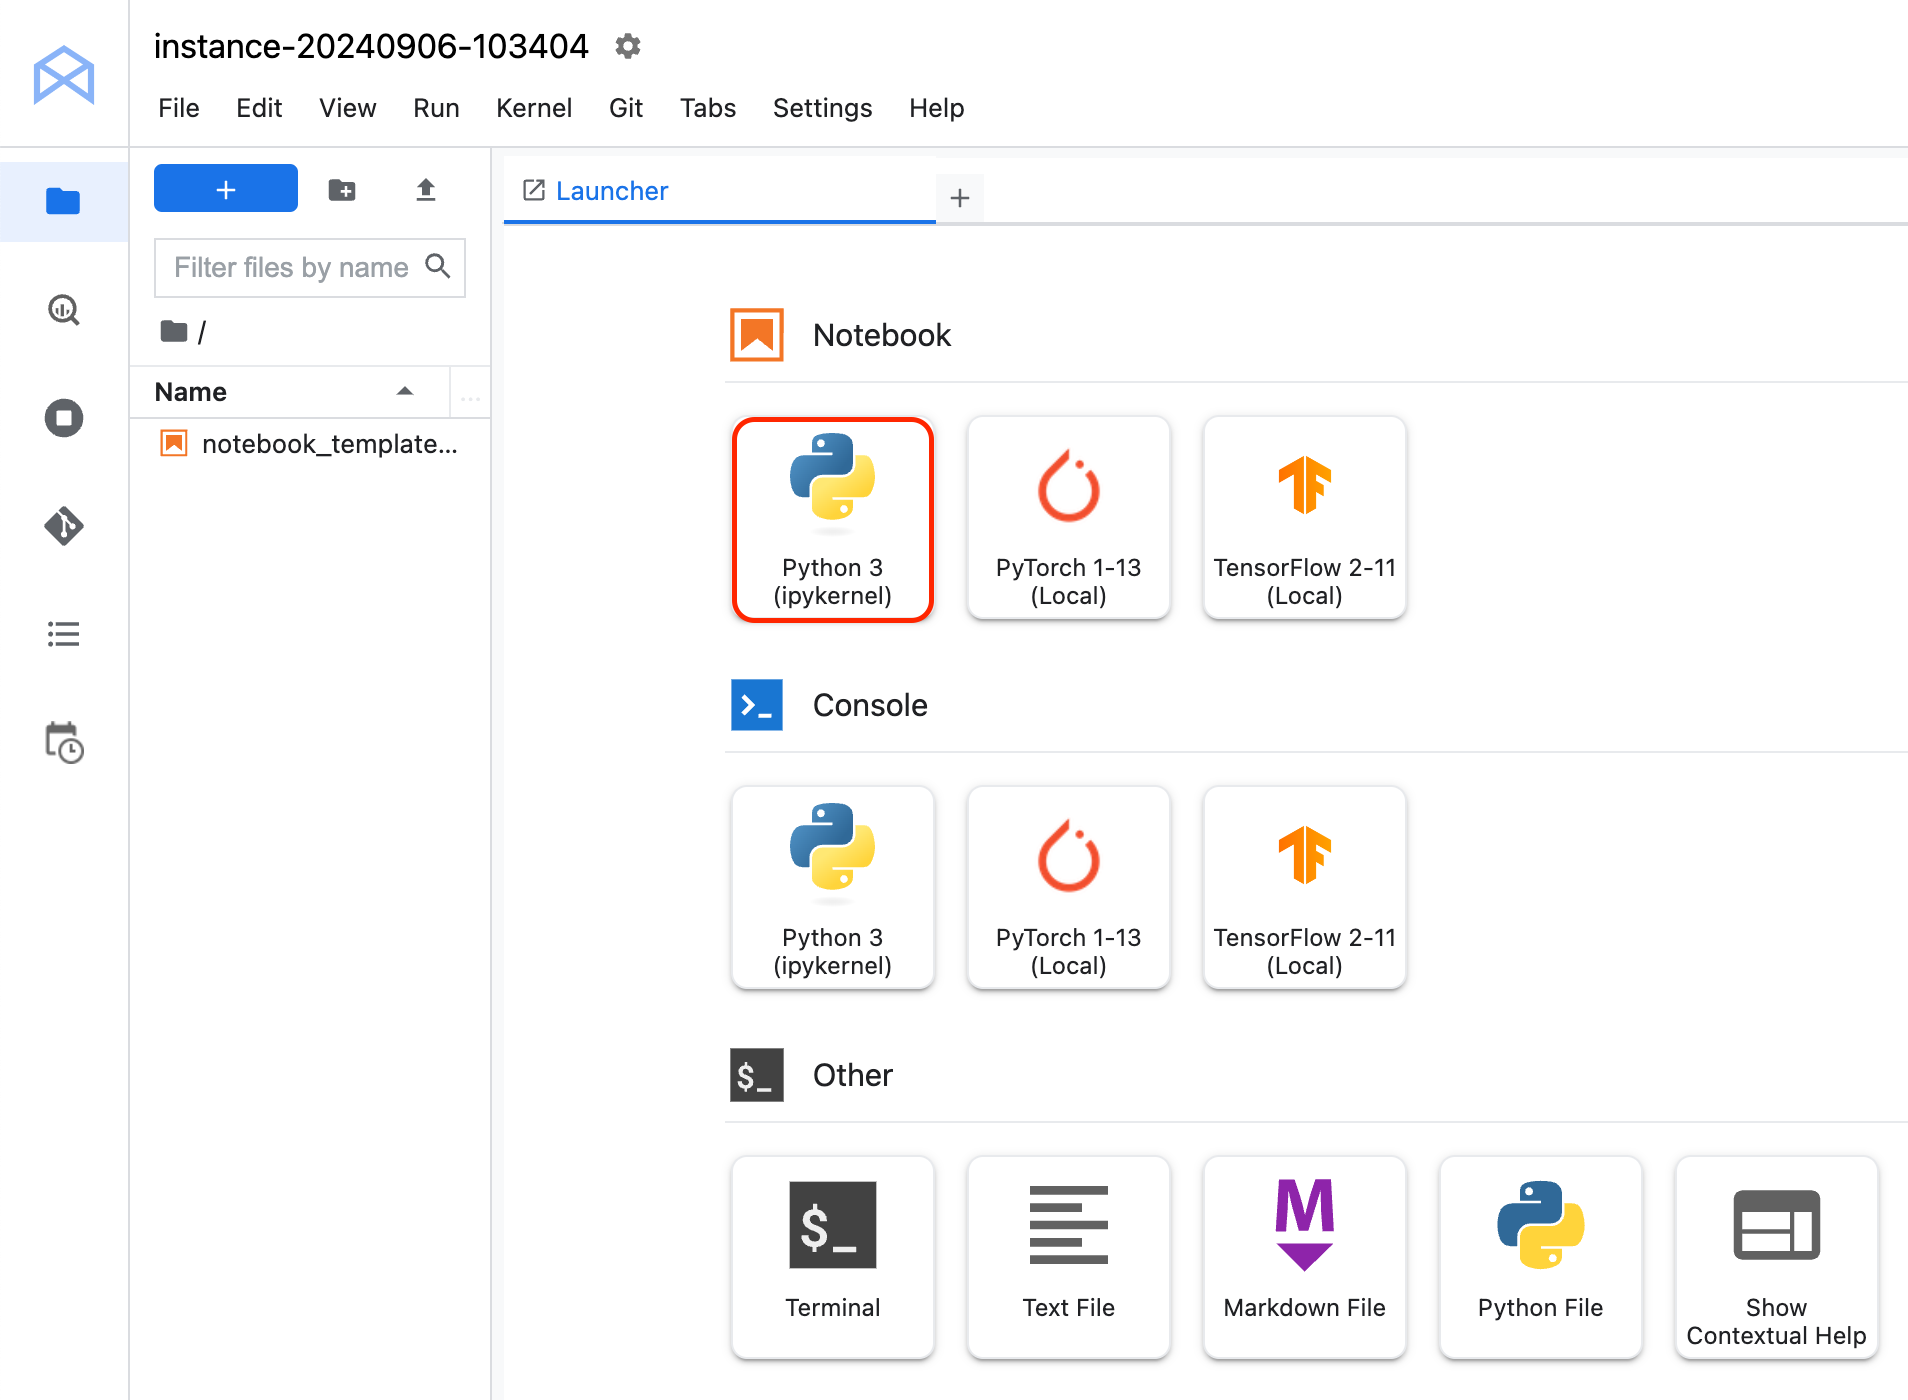
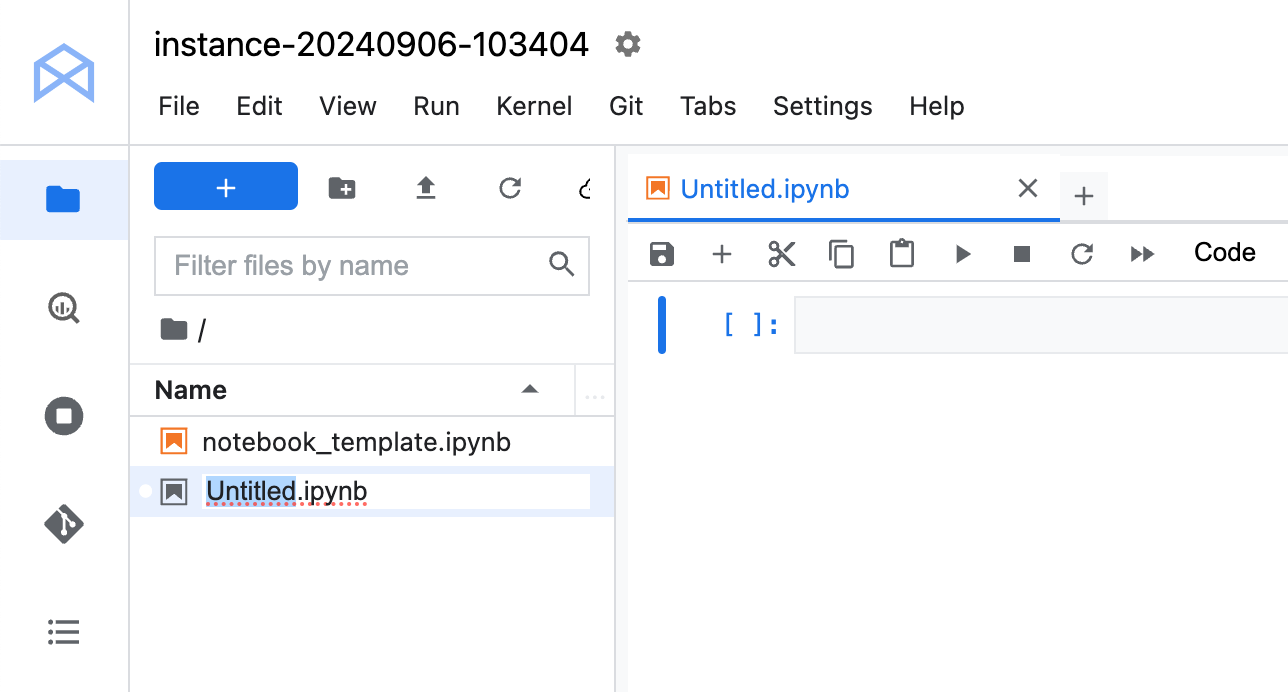
Untitled.ipynb file in the menu bar and select Rename Notebook to give it a meaningful name.Your environment is set up. You are now ready to start working with your Vertex AI Workbench notebook.
Wait for the notebook instance to start, this takes a few minutes.
Click Check my progress to verify the objective.
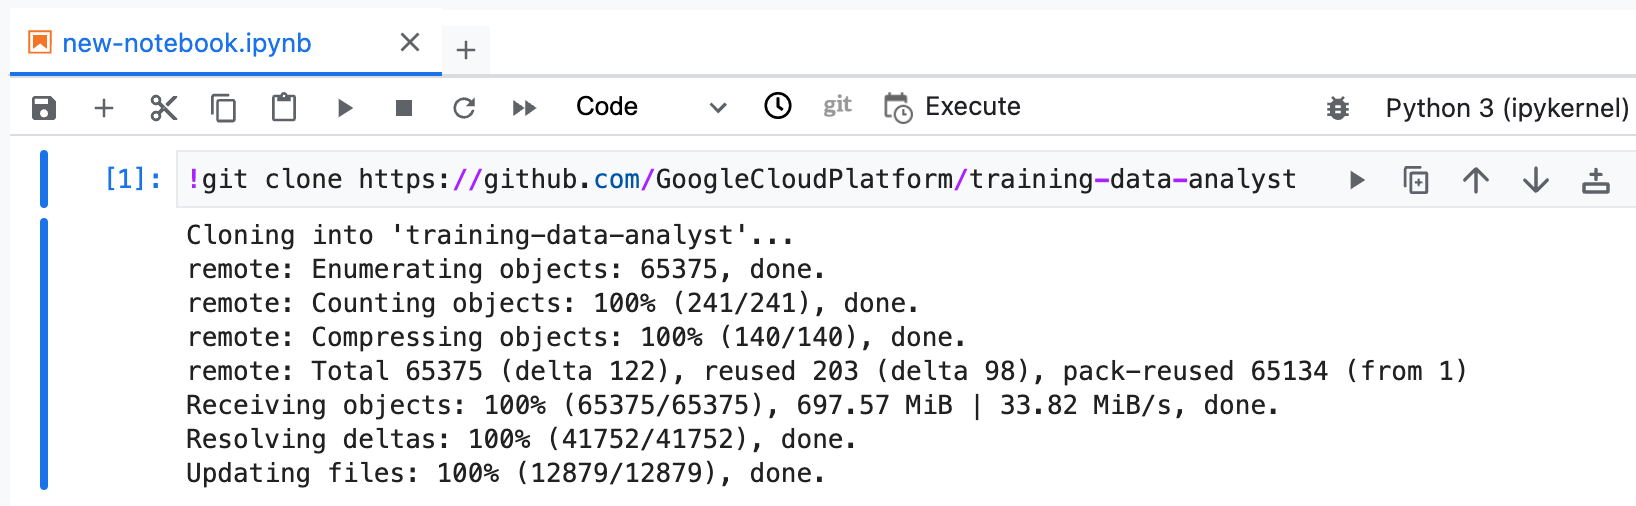
The GitHub repo contains both the lab file and solutions files for the course.
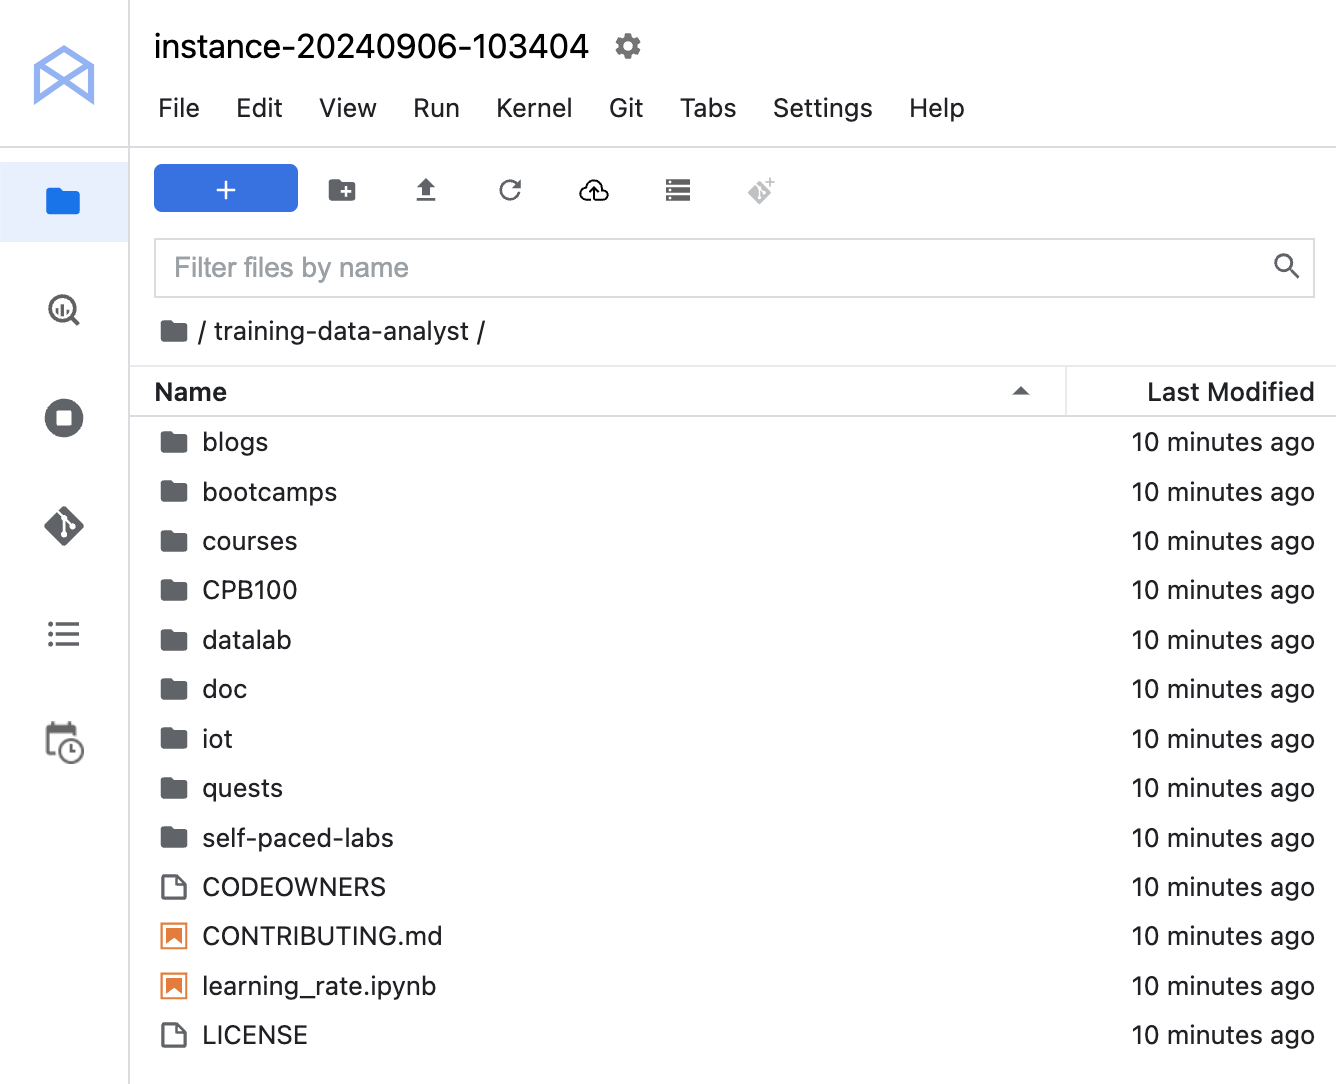
training-data-analyst repository.training-data-analyst directory and ensure that you can see its contents.Wait for the cloning to complete.
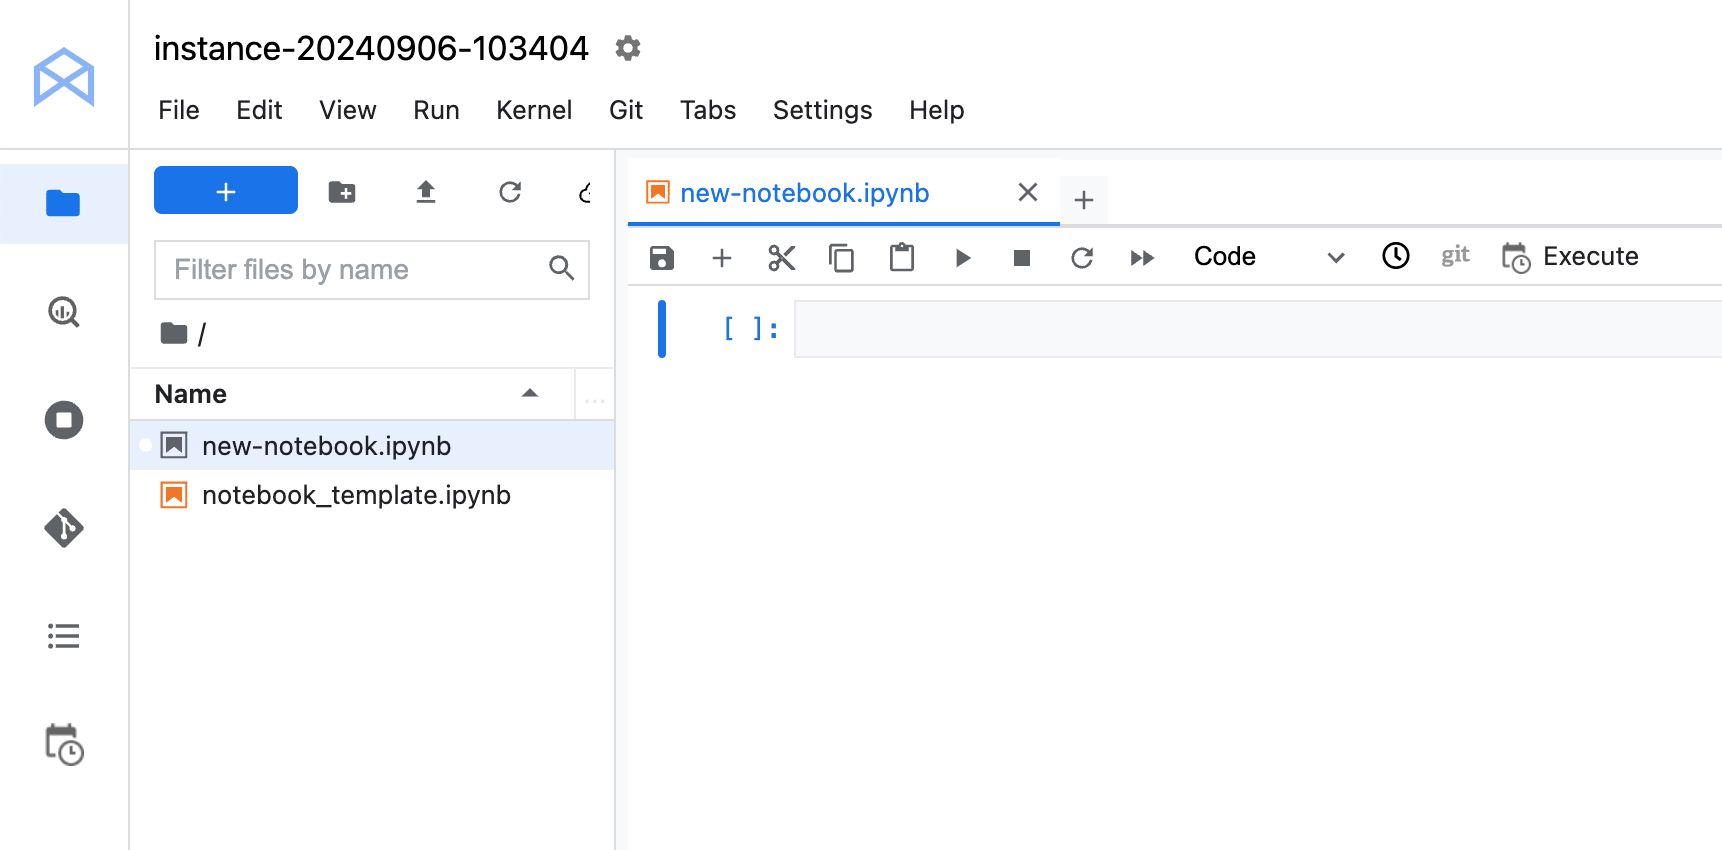
Open training-data-analyst > blogs > bitcoin_network > visualizing_the_10000_pizza_bitcoin_network.ipynb.
In the notebook interface, click on Edit > Clear All Outputs.
Read through the notebook and execute the code to perform the data extraction, cleanup, and visualization.
Click Check my progress to verify the objective.
The resulting visualization moves beyond raw data to offer tangible insights:
Network Structure: The graph illustrates the decentralized nature of the Bitcoin network and the complex, multi-path flow of value as transactions are chained together.
Tracing Activity: By visualizing the transactions, you can see how analytical techniques can be applied to trace and monitor activity on a public ledger, a fundamental concept in blockchain forensics and compliance.
This lab successfully demonstrated the end-to-end process of extracting, processing, and visualizing complex, real-world blockchain data.
Manual Last Updated May 18, 2026
Lab Last Tested October 29, 2025
Copyright 2026 Google LLC. All rights reserved. Google and the Google logo are trademarks of Google LLC. All other company and product names may be trademarks of the respective companies with which they are associated.


このコンテンツは現在ご利用いただけません
利用可能になりましたら、メールでお知らせいたします

ありがとうございます。
利用可能になりましたら、メールでご連絡いたします

1 回に 1 つのラボ
既存のラボをすべて終了して、このラボを開始することを確認してください
ラボを開始するには、この簡単な手順を完了してください。