
Before you begin
- Labs create a Google Cloud project and resources for a fixed time
- Labs have a time limit and no pause feature. If you end the lab, you'll have to restart from the beginning.
- On the top left of your screen, click Start lab to begin

In this lab, you learn to use Vertex AI Python client library to train and make predictions on an AutoML model based on a tabular dataset. Alternatively, you can train and make predictions on models by using the gcloud command-line tool or by using the online Cloud Console.
model resource to a serving endpoint resource.model resource.For each lab, you get a new Google Cloud project and set of resources for a fixed time at no cost.
Sign in to Google Skills using an incognito window.
Note the lab's access time (for example, 1:15:00), and make sure you can finish within that time.
There is no pause feature. You can restart if needed, but you have to start at the beginning.
When ready, click Start lab.
Note your lab credentials (Username and Password). You will use them to sign in to the Google Cloud Console.
Click Open Google Console.
Click Use another account and copy/paste credentials for this lab into the prompts.
If you use other credentials, you'll receive errors or incur charges.
Accept the terms and skip the recovery resource page.
In the Google Cloud Console, on the Navigation menu, click APIs & Services > Library.
Search for Notebooks API and press enter. Click on the Notebooks API result.
If the API is not enabled, you'll see the Enable button. Click Enable to enable the API.
In the Google Cloud Console, on the Navigation menu, click Vertex AI > Dashboard, and then click Enable Vertex AI API.
In the Google Cloud Console, on the Navigation menu, click Vertex AI > Workbench.
On the Notebook instances page, select the User-Managed Notebooks view.
Click + Create New.
In the Create instance dialog, use the default name or enter a unique name for the Vertex AI Notebook instance. Set the region to
Click Create.
Click Open JupyterLab.
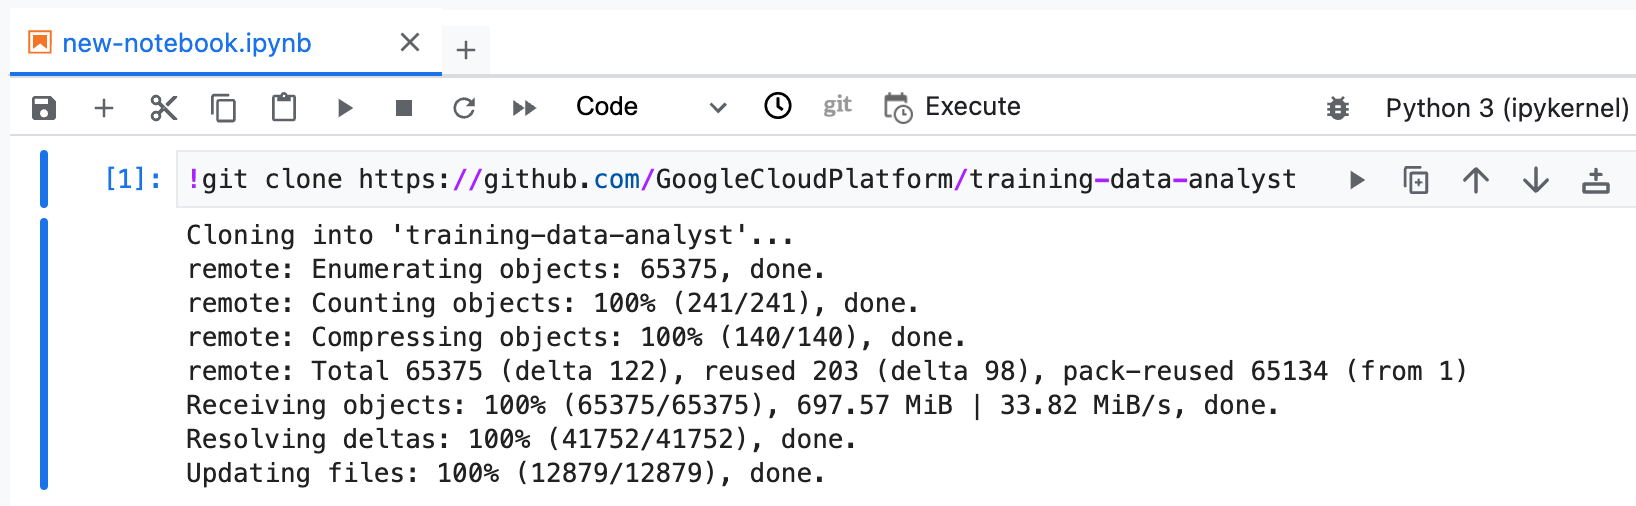
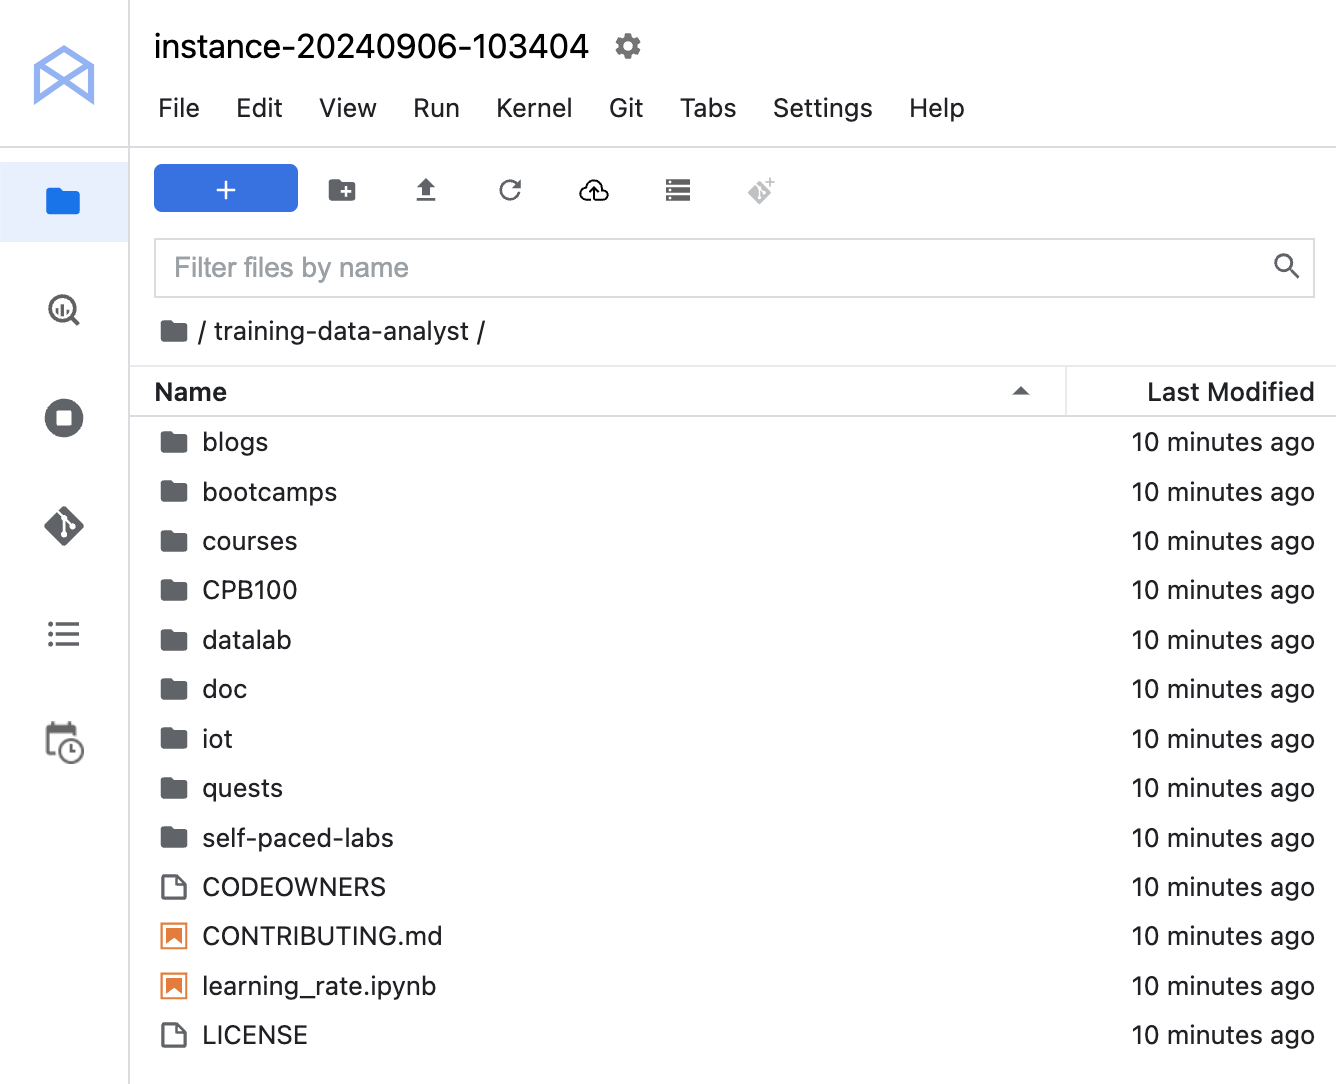
The GitHub repo contains both the lab file and solutions files for the course.
training-data-analyst repository.training-data-analyst directory and ensure that you can see its contents.In the notebook interface, navigate to training-data-analyst > courses > machine_learning > deepdive2 > how_google_does_ml > labs, and open automl-tabular-classification.ipynb.
In the notebook interface, click Edit > Clear All Outputs.
Carefully read through the notebook instructions and fill in lines marked with #TODO where you need to complete the code.
Tip: To run the current cell, click the cell and press SHIFT+ENTER. Other cell commands are listed in the notebook UI under Run.
When you have completed your lab, click End Lab. Google Skills removes the resources you’ve used and cleans the account for you.
You will be given an opportunity to rate the lab experience. Select the applicable number of stars, type a comment, and then click Submit.
The number of stars indicates the following:
You can close the dialog box if you don't want to provide feedback.
For feedback, suggestions, or corrections, please use the Support tab.
Copyright 2026 Google LLC All rights reserved. Google and the Google logo are trademarks of Google LLC. All other company and product names may be trademarks of the respective companies with which they are associated.


This content is not currently available
We will notify you via email when it becomes available

Great!
We will contact you via email if it becomes available

One lab at a time
Confirm to end all existing labs and start this one