
Before you begin
- Labs create a Google Cloud project and resources for a fixed time
- Labs have a time limit and no pause feature. If you end the lab, you'll have to restart from the beginning.
- On the top left of your screen, click Start lab to begin
Create client and server VMs
/ 50
Connect to the database from a client
/ 50
Create client and server VMs
/ 50
Connect to the database from a client
/ 50
In this lab, you provision a SQL Server database server in a private network. Then, you create a Windows machine in a public network that you can use to administer that server. You also create a Linux client in the public network that can be used to connect to the database. Lastly, you set up a firewall rule that allows access to the SQL Server database only from the private network.
In this lab, you learn how to perform the following tasks:
For each lab, you get a new Google Cloud project and set of resources for a fixed time at no cost.
Sign in to Google Skills using an incognito window.
Note the lab's access time (for example, 1:15:00), and make sure you can finish within that time.
There is no pause feature. You can restart if needed, but you have to start at the beginning.
When ready, click Start lab.
Note your lab credentials (Username and Password). You will use them to sign in to the Google Cloud Console.
Click Open Google Console.
Click Use another account and copy/paste credentials for this lab into the prompts. If you use other credentials, you'll receive errors or incur charges.
Accept the terms and skip the recovery resource page.
Open a new web browser window and navigate to the Google Cloud Console (console.cloud.google.com).
Use the project selector to choose the first project with a leading name of 'qwiklabs-gcp.'
On the Navigation menu (
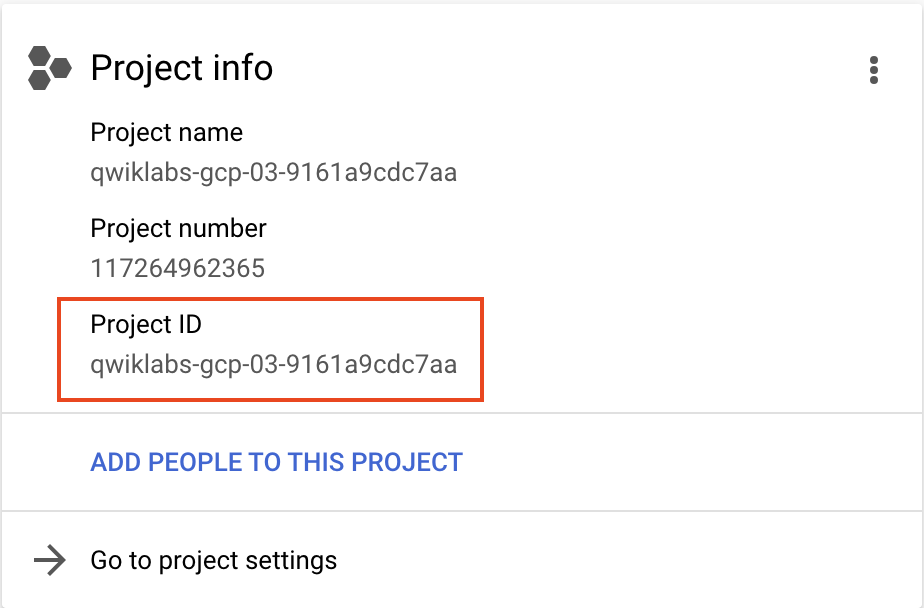
In the Project info section, find your Project ID and copy and paste it into a text file. (You will need it later.)
 ) icon in the upper right of the Console.
The Cloud Shell terminal will open in a pane at the bottom of the window.
Type ls and you see this folder has the Terraform files completed from the last lab.
Click Open Editor, and when prompted, click Open in a new window.
Navigate to training-data-analyst/courses/db-migration/terraform-sql-server-on-gce/ folder, open the terraform.tfvars file.
Change the project_id variable to match your project's ID.
Also, change the region to
Create a SQL Server machine in the private network. Add a file named vm-sql-server-windows.tf, and paste the following Terraform code into it:
Click Check my progress to verify the objective.
When the Terraform process completes, on the Navigation menu (
Several machines should be listed, and you need to keep track of usernames and passwords. To do that, open a text editor on your computer and paste the following template into it:
Find the windows-admin- machine, click the dropdown arrow on the RDP button, and select Set Windows password.
Change the username to any name you like, and click Set to generate the password.
Copy the password to the clipboard, and then record the username and password in the text file you created.
In the same way, generate a username and password for the machine with the name sql-server-windows-. Don't forget to record the username and password in your text file. Also, find the internal IP address of your SQL Server machine and record it in your text file.
Log in to RDP for the Windows admin machine.
On the Windows Start menu, select the Remote Desktop shortcut. You can close the Server Manager dashboard.
Enter the internal IP address of the SQL Server, and click Connect. Then, log in with the username and password you recorded.
Click Yes and then you should be logged in to the SQL Server machine. You can close the Server Manager dashboard on this machine.
When Management Studio starts, the local server name should already be filled in.
Click Connect to log in to it.
In Object Explorer, right-click the Server at the top and select Properties.
Click the Security tab, and then select SQL Server and Windows authentication mode.
Click OK and read the message, and then click OK to dismiss it.
To restart the SQL Server, right-click it again in Object Explorer and select Restart. Agree when prompted, and then give the server a few seconds to restart. You might have to click the Refresh button to see that it is restarted.
In Object Explorer, double-click Security and then Logins to expand them.
Right-click Logins, and select New Login.
Record the username and password for the SQL Server user you just created in your text file.
Close the remote desktop session to the SQL Server machine and the RDP connection to the Windows admin machine.
Return to the Google Cloud Console and the Compute Engine service.
Click SSH next to the sql-client- machine.
Install the SQL Server client software on this machine and test the login you just created. When your SSH connection is established, enter the following commands:
Click Check my progress to verify the objective.
If you don't get an error, your client login worked. At this point, there's no database so there's nothing else to do, but you have a complete solution in place. Your database server is in a secure network with no public access. You have a Windows machine in the public network that can be used to administer the database, and you have a client machine that can access the database via the SQL Server port.
Type quit to exit the sqlcmd, and then close your SSH session.
Return to the Cloud Shell terminal, and then enter the following command to delete everything you create earlier in the lab:
Congratulations! You have provisioned a SQL Server machine in a private network. Then, you created a Windows machine in a public network that you used to administer the database server. You also created a Linux client in the public network that was used to connect to the database. Lastly, you set up a firewall rule that allowed access to the SQL Server database only from the private network.
When you have completed your lab, click End Lab. Google Skills removes the resources you’ve used and cleans the account for you.
You will be given an opportunity to rate the lab experience. Select the applicable number of stars, type a comment, and then click Submit.
The number of stars indicates the following:
You can close the dialog box if you don't want to provide feedback.
For feedback, suggestions, or corrections, please use the Support tab.
Copyright 2026 Google LLC All rights reserved. Google and the Google logo are trademarks of Google LLC. All other company and product names may be trademarks of the respective companies with which they are associated.


This content is not currently available
We will notify you via email when it becomes available

Great!
We will contact you via email if it becomes available

One lab at a time
Confirm to end all existing labs and start this one
Complete this quick step to start your lab.