Questi contenuti non sono ancora ottimizzati per i dispositivi mobili.
Per un'esperienza ottimale, visualizza il sito su un computer utilizzando un link inviato via email.
Overview
In this lab, you develop a multi-class classification model, package the model as a Docker image, and run the model on AI Platform Training as a training application. The training application trains a multi-class classification model that predicts the type of forest cover from cartographic data. The dataset used in the lab is based on the Covertype Data Set from the UCI Machine Learning Repository.
Scikit-learn is one of the most useful libraries for machine learning in Python. The training code uses Scikit-learn for data pre-processing and modeling.
The code is instrumented using the hypertune package. Therefore, it can be used with an AI Platform hyperparameter tuning job to serch for the best combination of hyperparameter values by optimizing the metrics you specify.
Objectives
Create a training and validation split with BigQuery.
Wrap a machine learning model into a Docker container, and train it on AI Platform.
Use the hyperparameter tuning engine on Google Cloud to find the best hyperparameters.
Deploy a trained machine learning model on Google Cloud as a REST API, and query it.
Setup
For each lab, you get a new Google Cloud project and set of resources for a fixed time at no cost.
Sign in to Google Skills using an incognito window.
Note the lab's access time (for example, 1:15:00), and make sure you can finish within that time.
There is no pause feature. You can restart if needed, but you have to start at the beginning.
When ready, click Start lab.
Note your lab credentials (Username and Password). You will use them to sign in to the Google Cloud Console.
Click Open Google Console.
Click Use another account and copy/paste credentials for this lab into the prompts.
If you use other credentials, you'll receive errors or incur charges.
Accept the terms and skip the recovery resource page.
Activate Cloud Shell
Cloud Shell is a virtual machine that contains development tools. It offers a persistent 5-GB home directory and runs on Google Cloud. Cloud Shell provides command-line access to your Google Cloud resources. gcloud is the command-line tool for Google Cloud. It comes pre-installed on Cloud Shell and supports tab completion.
Click the Activate Cloud Shell button () at the top right of the console.
Click Continue.
It takes a few moments to provision and connect to the environment. When you are connected, you are also authenticated, and the project is set to your PROJECT_ID.
This should take 2-3 minutes to complete. Wait for the cluster to finish before proceeding to the next step.
While you wait for the cluster to be created, do one of the following:
On the Navigation menu, click Kubernetes Engine to view the cluster being created.
On the Navigation menu, click Compute Engine to see the individual VMs spinning up.
When the cluster is complete the cloud shell will show a status similar to the image below.
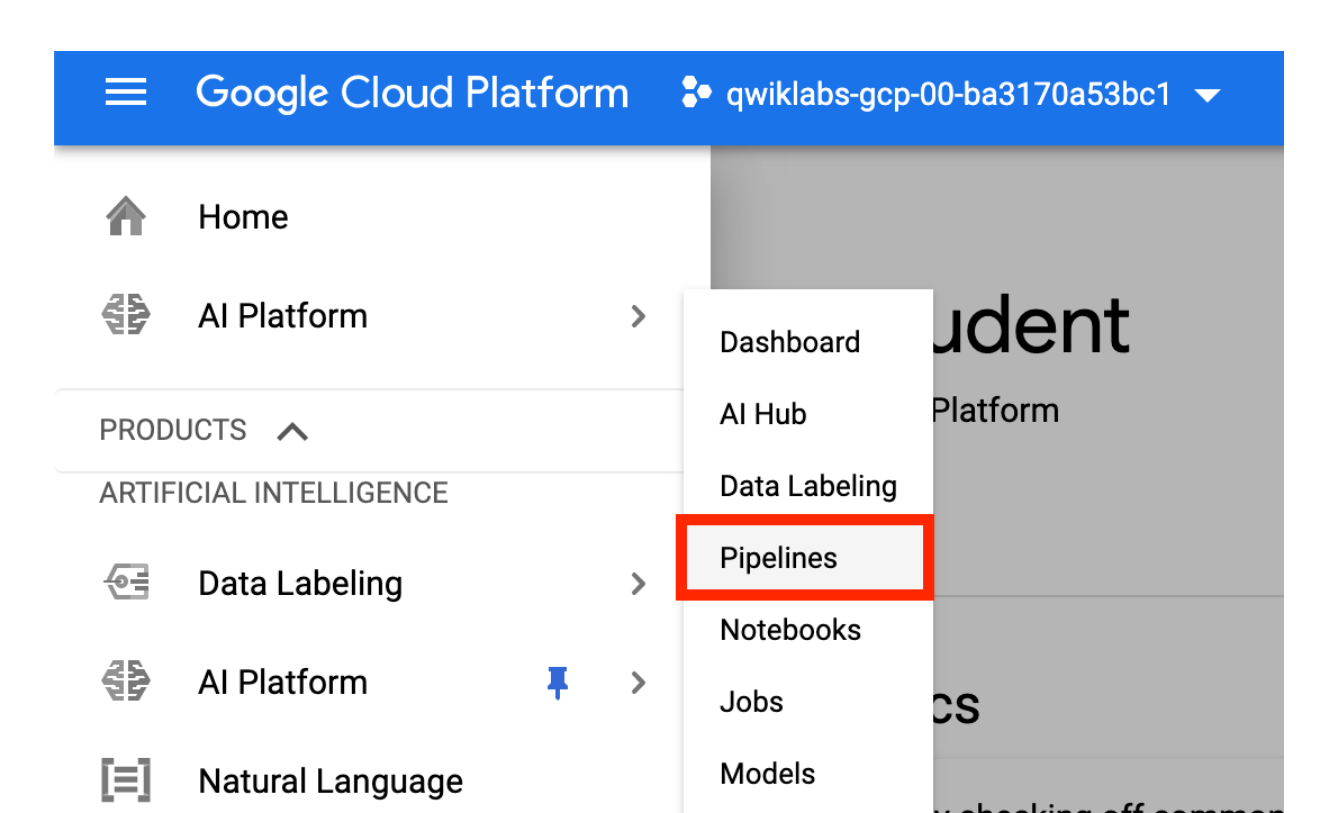
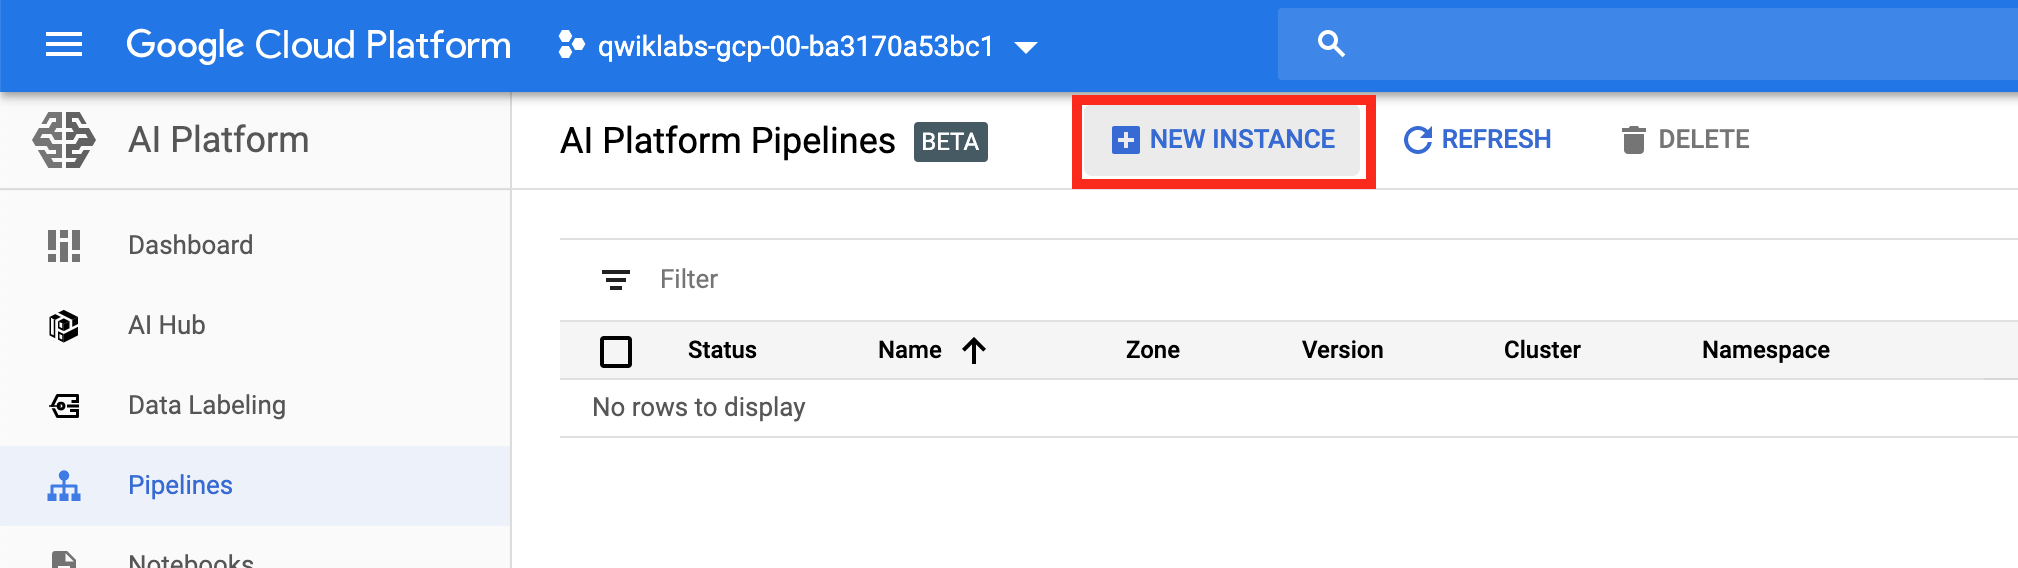
Return to the AI Platform grouping and click Pipelines.
Click New Instance.
On the Kubeflow Pipelines page, click Configure.
The cluster you created in Step 2 will appear by default in the selection window.
Scroll to the bottom of the page, accept the marketplace terms, and click Deploy.
You will see the individual services of KFP deployed to your GKE cluster. Wait for the deployment to finish before proceeding to the next task.
Click Check my progress to verify the objective.
Create an instance of AI Platform Pipelines.
Task 3. Create an instance of Vertex AI Platform Notebooks
An instance of Vertex AI Platform Notebooks is used as a primary experimentation/development workbench. The instance is configured using a custom container image that includes all Python packages required for this lab.
In Cloud Shell, create a folder in your home directory:
cd
mkdir tmp-workspace
cd tmp-workspace
Create a requirements file with the Python packages to install in the custom image:
Click Check my progress to verify the objective.
Build the image and push it to your project's Container Registry.
Create an instance of Vertex AI Platform Notebooks:
ZONE=us-central1-a
INSTANCE_NAME=ai-notebook
If you want to use a different ZONE and INSTANCE_NAME, replace us-central1-a with the zone of your choice as [YOUR_ZONE] and replace ai-notebook with the instance name of your choice as [YOUR_INSTANCE_NAME]:
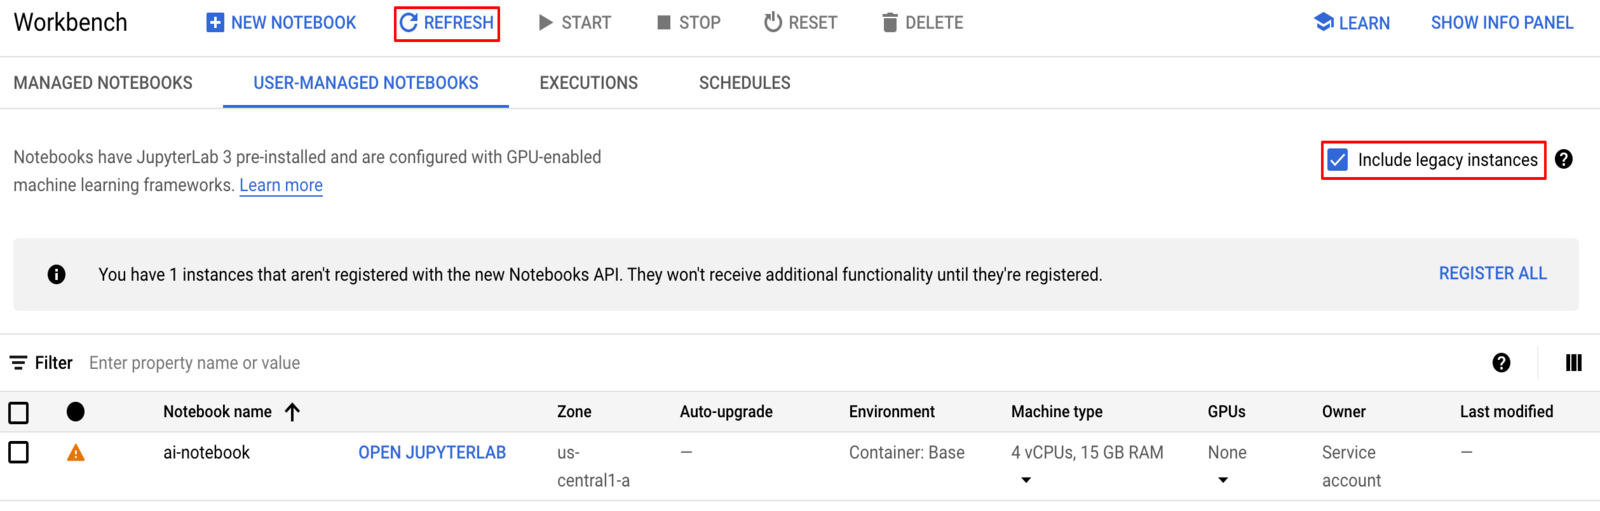
After five minutes, in the Cloud Console, on the Navigation menu, click Vertex AI > Workbench.
The Vertex AI Platform Workbench instance, takes 2 to 3 minutes to reflect.
Please refresh the page, once you see Include legacy instances checkbox, enable it to see your instance.
Click the Open Jupyterlab link.
Click Check my progress to verify the objective.
Create an instance of Vertex AI Platform Notebooks.
Task 4. Clone the mlops-on-gcp repo within your Vertex AI Platform Notebooks instance
To clone the mlops-on-gcp notebook in your JupyterLab instance:
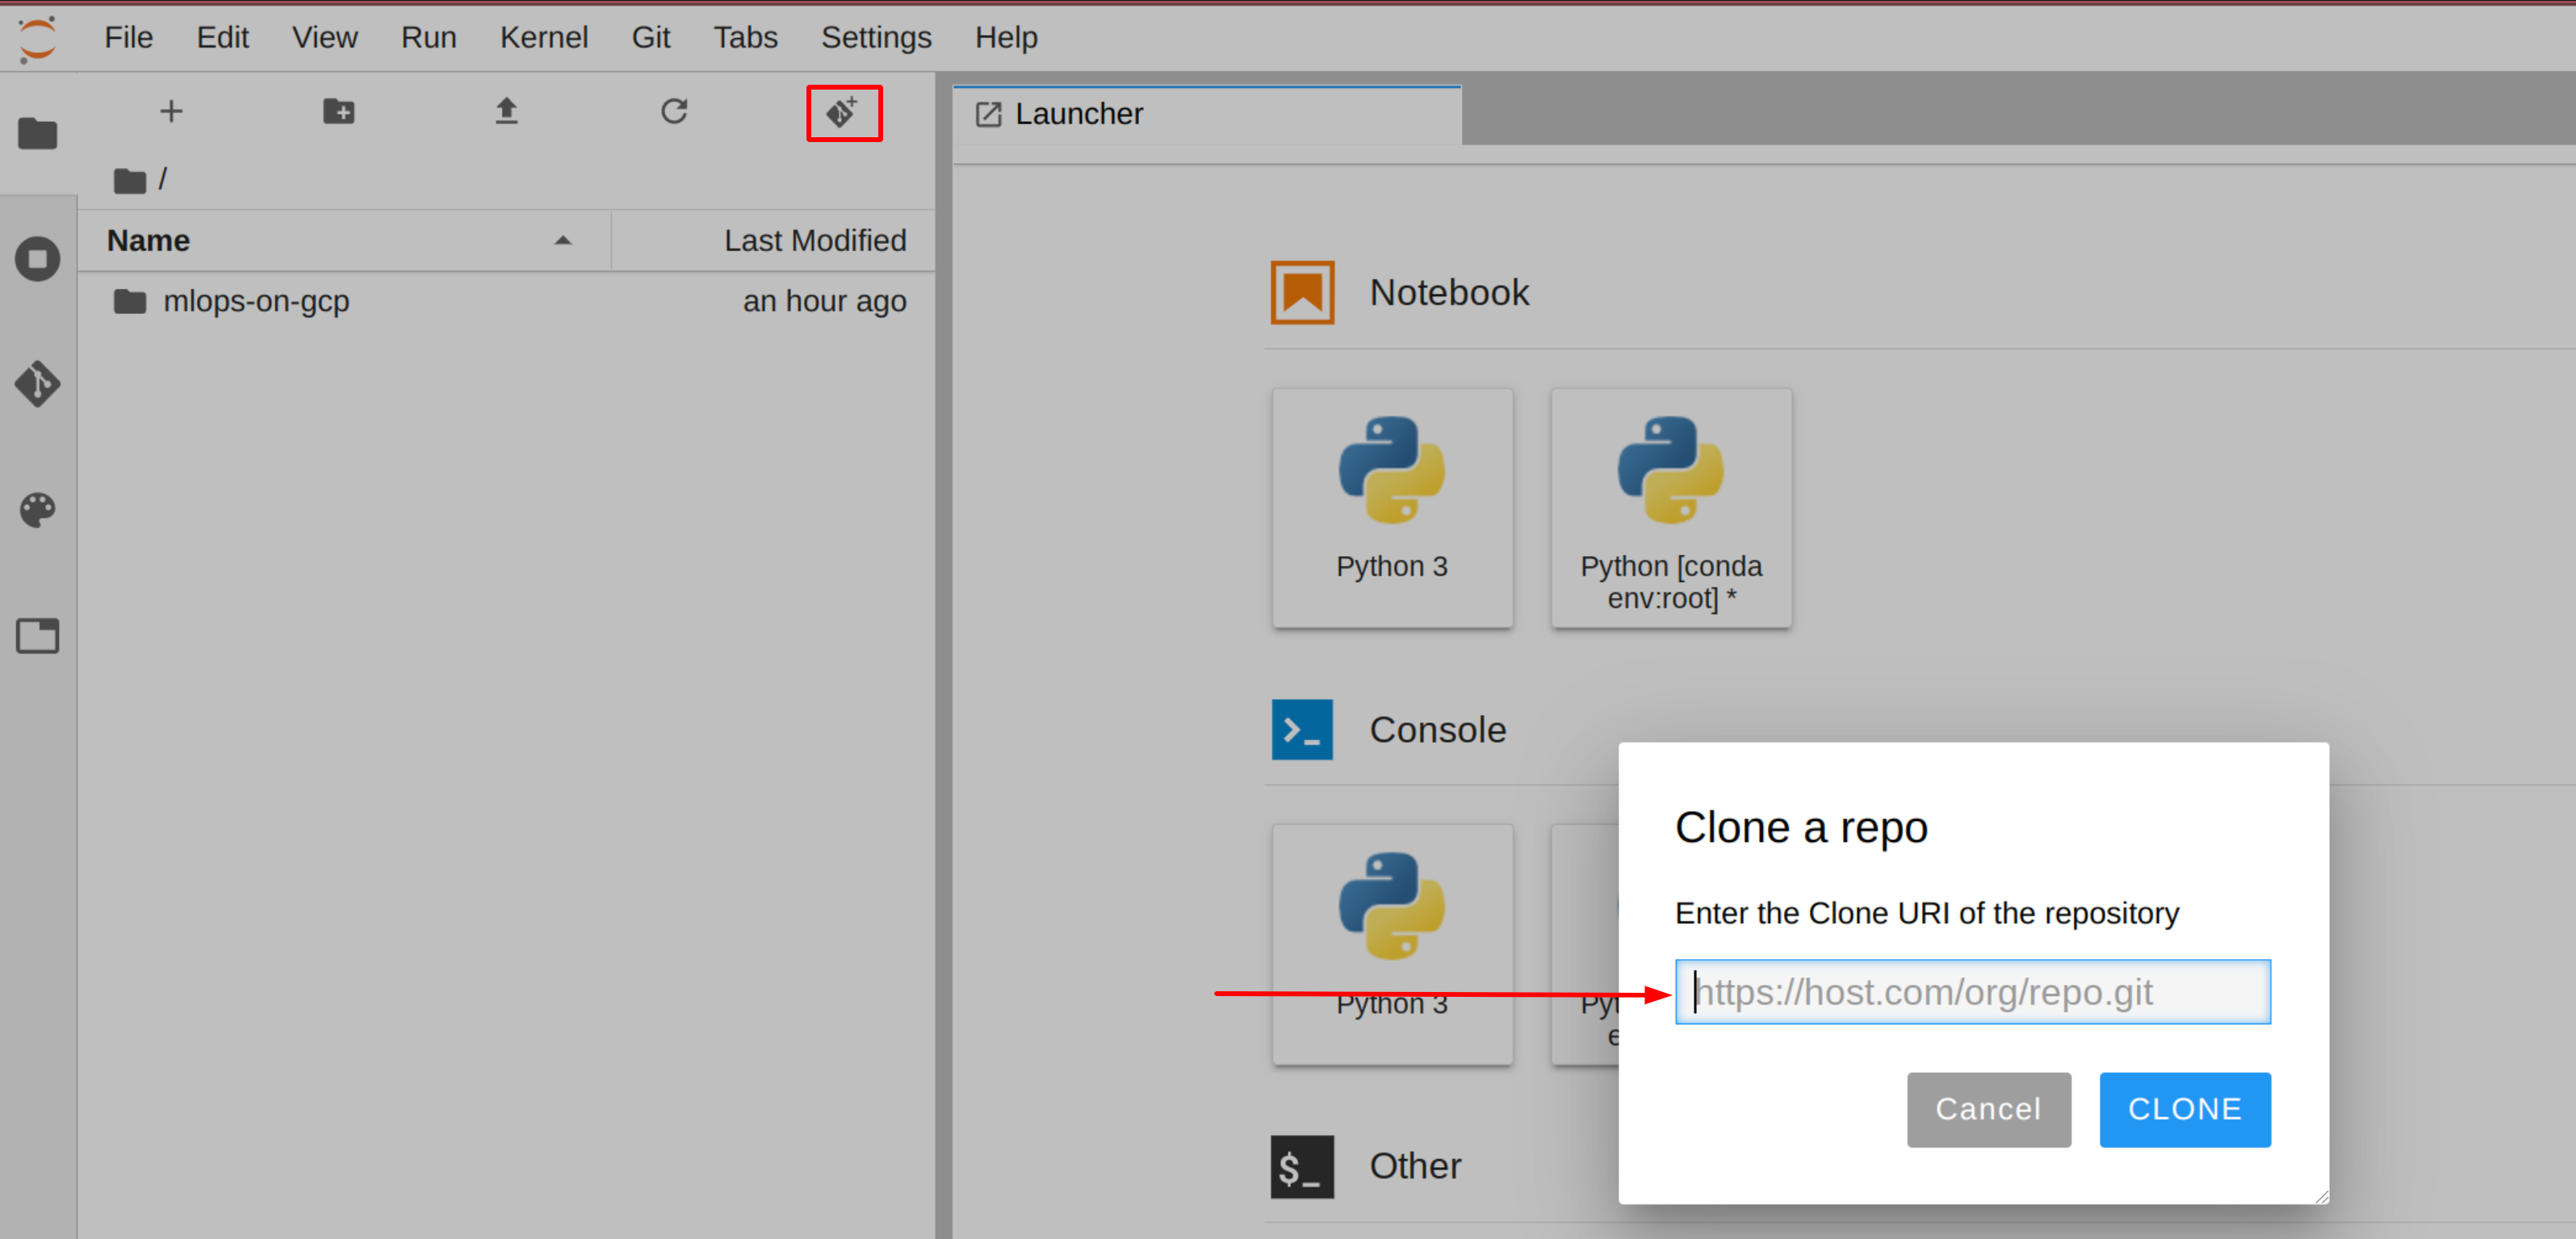
In JupyterLab, click the Terminal icon to open a new terminal.
At the command-line prompt, type in the following command and press Enter:
git clone https://github.com/GoogleCloudPlatform/mlops-on-gcp
Note: If the cloned repo does not appear in the JupyterLab UI, you can use the top line menu and under Git > Clone a repository, clone the repo (https://github.com/GoogleCloudPlatform/mlops-on-gcp) using the UI.
Confirm that you have cloned the repository by double clicking on the mlops-on-gcp directory and ensuring that you can see its contents. The files for all the Jupyter notebook-based labs throughout this course are available in this directory.
Click Check my progress to verify the objective.
Clone the mlops-on-gcp repo within your Vertex AI Platform Notebooks instance.
Task 5. Navigate to the mlops-on-gcp notebook
Note: In order to perform all tasks, you need to read all explanations and follow the instructions carefully before running each cell. Some tasks may take 5-10 minutes to complete. Wait for each task to be completed before proceeding to the next one.
In the notebook interface, navigate to mlops-on-gcp > on_demand > kfp-caip-sklearn > lab-01-caip-containers > exercises, and open lab-01.ipynb.
In the notebook interface, click Edit > Clear All Outputs.
Carefully read through the notebook instructions and fill in lines marked with #TODO where you need to complete the code.
Note: To run the current cell, click the cell and press SHIFT+ENTER. Other cell commands are listed in the notebook UI under Run.
Hints may also be provided for the tasks to guide you along. Highlight the text to read the hints (they are in white text).
If you need more help, navigate to mlops-on-gcp > on_demand > kfp-caip-sklearn > lab-01-caip-containers, and open lab-01.ipynb to display the complete solution.
Prepare the lab dataset
The pipeline ingests data from BigQuery. While executing the cells in the notebook, you set the BigQuery parameters, created a BigQuery dataset, and uploaded the Covertype CSV data into a table.
Click Check my progress to verify the objective.
Prepared the lab dataset.
Click Check my progress to verify the objective.
Create training and validation splits.
Click Check my progress to verify the objective.
Develop a training application.
Click Check my progress to verify the objective.
Submit an AI Platform hyperparameter tuning job.
Click Check my progress to verify the objective.
Deploy the model to AI Platform Prediction.
Congratulations!
In this lab you learned how to develop a training application, package it as a Docker image, and run it on AI Platform Training.
End your lab
When you have completed your lab, click End Lab. Google Skills removes the resources you’ve used and cleans the account for you.
You will be given an opportunity to rate the lab experience. Select the applicable number of stars, type a comment, and then click Submit.
The number of stars indicates the following:
1 star = Very dissatisfied
2 stars = Dissatisfied
3 stars = Neutral
4 stars = Satisfied
5 stars = Very satisfied
You can close the dialog box if you don't want to provide feedback.
For feedback, suggestions, or corrections, please use the Support tab.
Copyright 2026 Google LLC All rights reserved. Google and the Google logo are trademarks of Google LLC. All other company and product names may be trademarks of the respective companies with which they are associated.
I lab creano un progetto e risorse Google Cloud per un periodo di tempo prestabilito
I lab hanno un limite di tempo e non possono essere messi in pausa. Se termini il lab, dovrai ricominciare dall'inizio.
In alto a sinistra dello schermo, fai clic su Inizia il lab per iniziare
Utilizza la navigazione privata
Copia il nome utente e la password forniti per il lab
Fai clic su Apri console in modalità privata
Accedi alla console
Accedi utilizzando le tue credenziali del lab. L'utilizzo di altre credenziali potrebbe causare errori oppure l'addebito di costi.
Accetta i termini e salta la pagina di ripristino delle risorse
Non fare clic su Termina lab a meno che tu non abbia terminato il lab o non voglia riavviarlo, perché il tuo lavoro verrà eliminato e il progetto verrà rimosso
Questi contenuti non sono al momento disponibili
Ti invieremo una notifica via email quando sarà disponibile
Bene.
Ti contatteremo via email non appena sarà disponibile
Un lab alla volta
Conferma per terminare tutti i lab esistenti e iniziare questo
Utilizza la navigazione privata per eseguire il lab
Il modo migliore per eseguire questo lab è utilizzare una finestra del browser in incognito o privata. Ciò evita eventuali conflitti tra il tuo account personale e l'account studente, che potrebbero causare addebiti aggiuntivi sul tuo account personale.
In this lab, you develop, package as a docker image, and run on AI Platform Training a training application that trains a multi-class classification model that predicts the type of forest cover from cartographic data. The dataset used in the lab is based on Covertype Data Set from UCI Machine Learning Repository. The training code uses scikit-learn for data pre-processing and modeling. The code has been instrumented using the hypertune package so it can be used with AI Platform hyperparameter tuning.
Durata:
Configurazione in 1 m
·
Accesso da 120 m
·
Completamento in 120 m

 ) at the top right of the console.
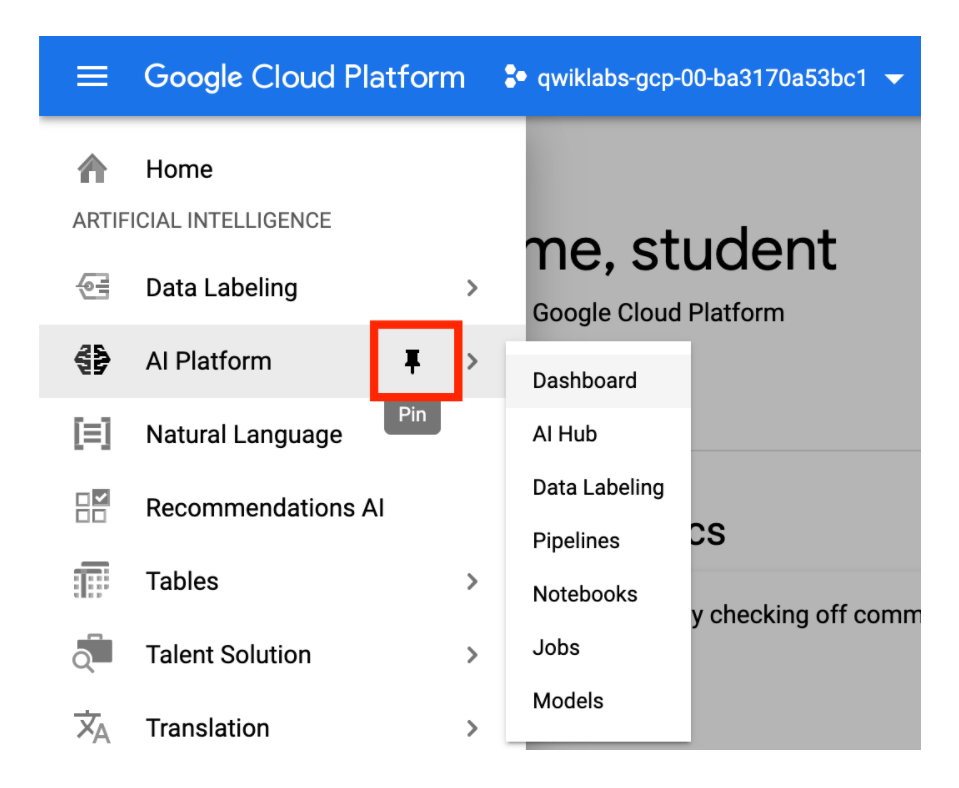

![The Deploy Kubeflow Pipelines page, wherein the Cluster field is highlighted; cluster-1 [us-central1-a]](https://cdn.qwiklabs.com/7hNGiVqhlzq%2B93cIHQbdOP4vkCShEStbKbJFvGAfKAA%3D)