

시작하기 전에
- 실습에서는 정해진 기간 동안 Google Cloud 프로젝트와 리소스를 만듭니다.
- 실습에는 시간 제한이 있으며 일시중지 기능이 없습니다. 실습을 종료하면 처음부터 다시 시작해야 합니다.
- 화면 왼쪽 상단에서 실습 시작을 클릭하여 시작합니다.
This lab was developed with our partner, Elastic. Your personal information may be shared with Elastic, the lab sponsor, if you have opted in to receive product updates, announcements, and offers in your Account Profile.

Elasticsearch is a search engine based on the Lucene library. It provides a distributed, multitenant-capable full-text search engine with a HTTP web interface and schema-free JSON documents.
In this lab you will focus on creating a simple Elasticsearch deployment, leveraging Google Cloud Platform. Once you have created your Elastic cluster you will explore a sample dataset and visualize the data in a dashboard.
In this lab, you learn how to perform the following tasks:
This is an introductory lab. No prior knowledge of Elastic and its various products and features are required, though basic system configuration, such as knowing how to run commands via. a Linux based command line, and editing text files using a Unix based text editor is advantageous, i.e. Vim.
Read these instructions. Labs are timed and you cannot pause them. The timer, which starts when you click Start Lab, shows how long Google Cloud resources are made available to you.
This hands-on lab lets you do the lab activities in a real cloud environment, not in a simulation or demo environment. It does so by giving you new, temporary credentials you use to sign in and access Google Cloud for the duration of the lab.
To complete this lab, you need:
Click the Start Lab button. If you need to pay for the lab, a dialog opens for you to select your payment method. On the right is the Lab setup and access panel with the following:
Note that the lab timer is located near the top of the page, showing the remaining time.
Click Open Google Cloud console (or right-click and select Open Link in Incognito Window if you are running the Chrome browser).
The lab spins up resources, and then opens another tab that shows the Sign in page.
Tip: Arrange the tabs in separate windows, side-by-side.
If necessary, copy the Username below and paste it into the Sign in dialog.
You can also find the Username in the Lab setup and access panel.
Click Next.
Copy the Password below and paste it into the Welcome dialog.
You can also find the Password in the Lab setup and access panel.
Click Next.
Click through the subsequent pages:
After a few moments, the Google Cloud console opens in this tab.

Cloud Shell is a virtual machine that is loaded with development tools. It offers a persistent 5GB home directory and runs on the Google Cloud. Cloud Shell provides command-line access to your Google Cloud resources.
Click Activate Cloud Shell 
Click through the following windows:
When you are connected, you are already authenticated, and the project is set to your Project_ID,
gcloud is the command-line tool for Google Cloud. It comes pre-installed on Cloud Shell and supports tab-completion.
Output:
Output:
gcloud, in Google Cloud, refer to the gcloud CLI overview guide.
1.1 Sign up for a free trial.
Click Start free trial.
Sign up using your personal email and a unique password. Do NOT click the "sign up with Google" button, click sign up with Email.
1.2 Enter some details about yourself.
1.3 Select use case as Elasticsearch.
1.4 Select the Deployment type as Elastic Cloud Hosted.
1.5 Click Launch.
1.6 Set the index name as my-index.
1.7 Click Create my index.
2.1 Select Dashboards in the left-hand navigation menu.
2.2 Click Create data view.
2.3 Set a Name for the data view.
2.4 Enter my-index in the Index pattern field. This is the index you created earlier.
2.5 Click Save data view to Kibana.
2.6 Click the Add some sample data link, located just above the Create a dashboard button.
2.7 Click Start exploring.
2.8 Select the use case that is the most relevant to you. The remainder of the lab will follow the Observability → Log analytics use case.
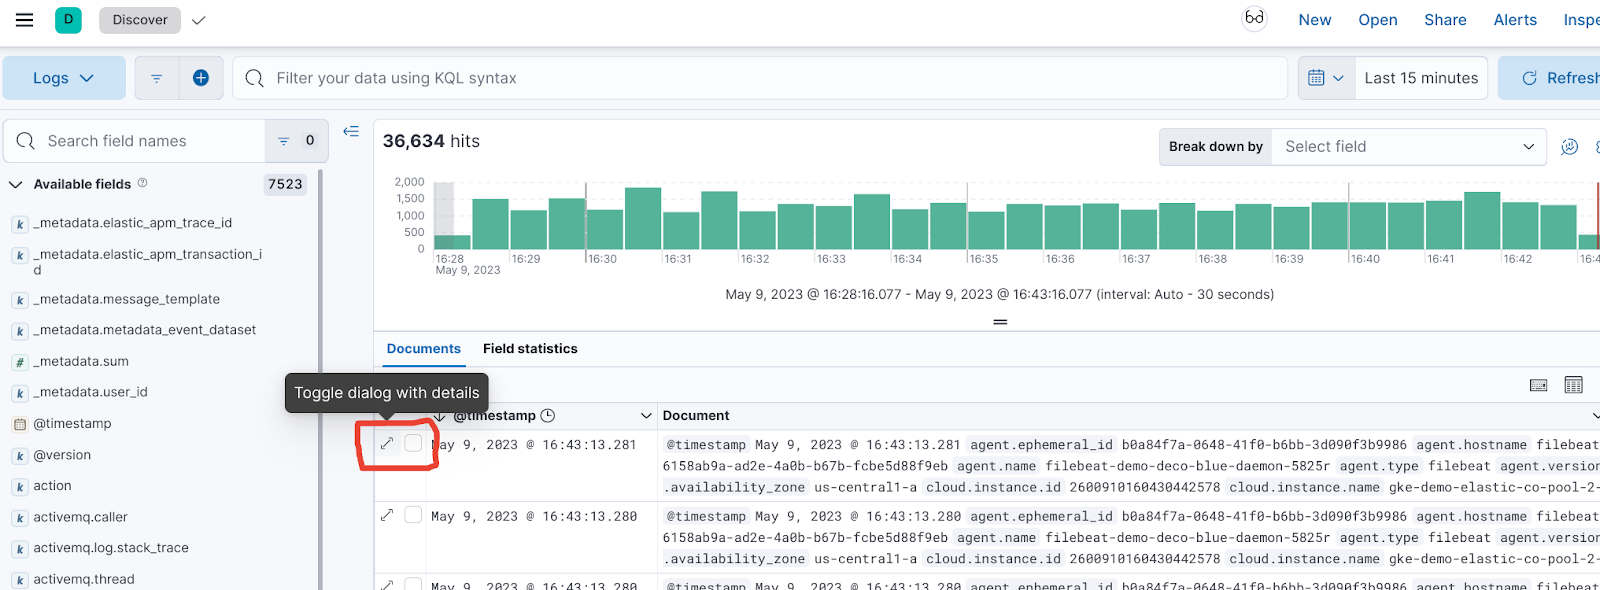
2.9 Expand one of the transactions to see the fields you have to work with.
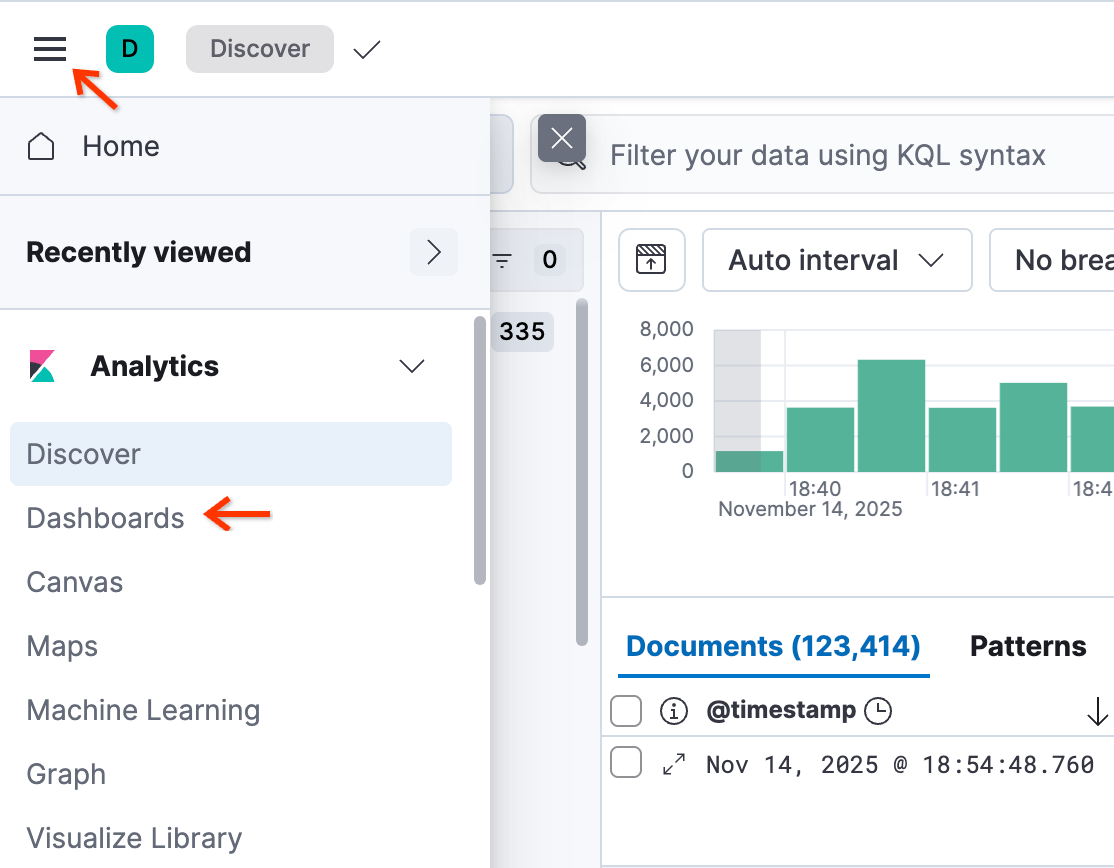
3.1 Select Analytics → Dashboards.
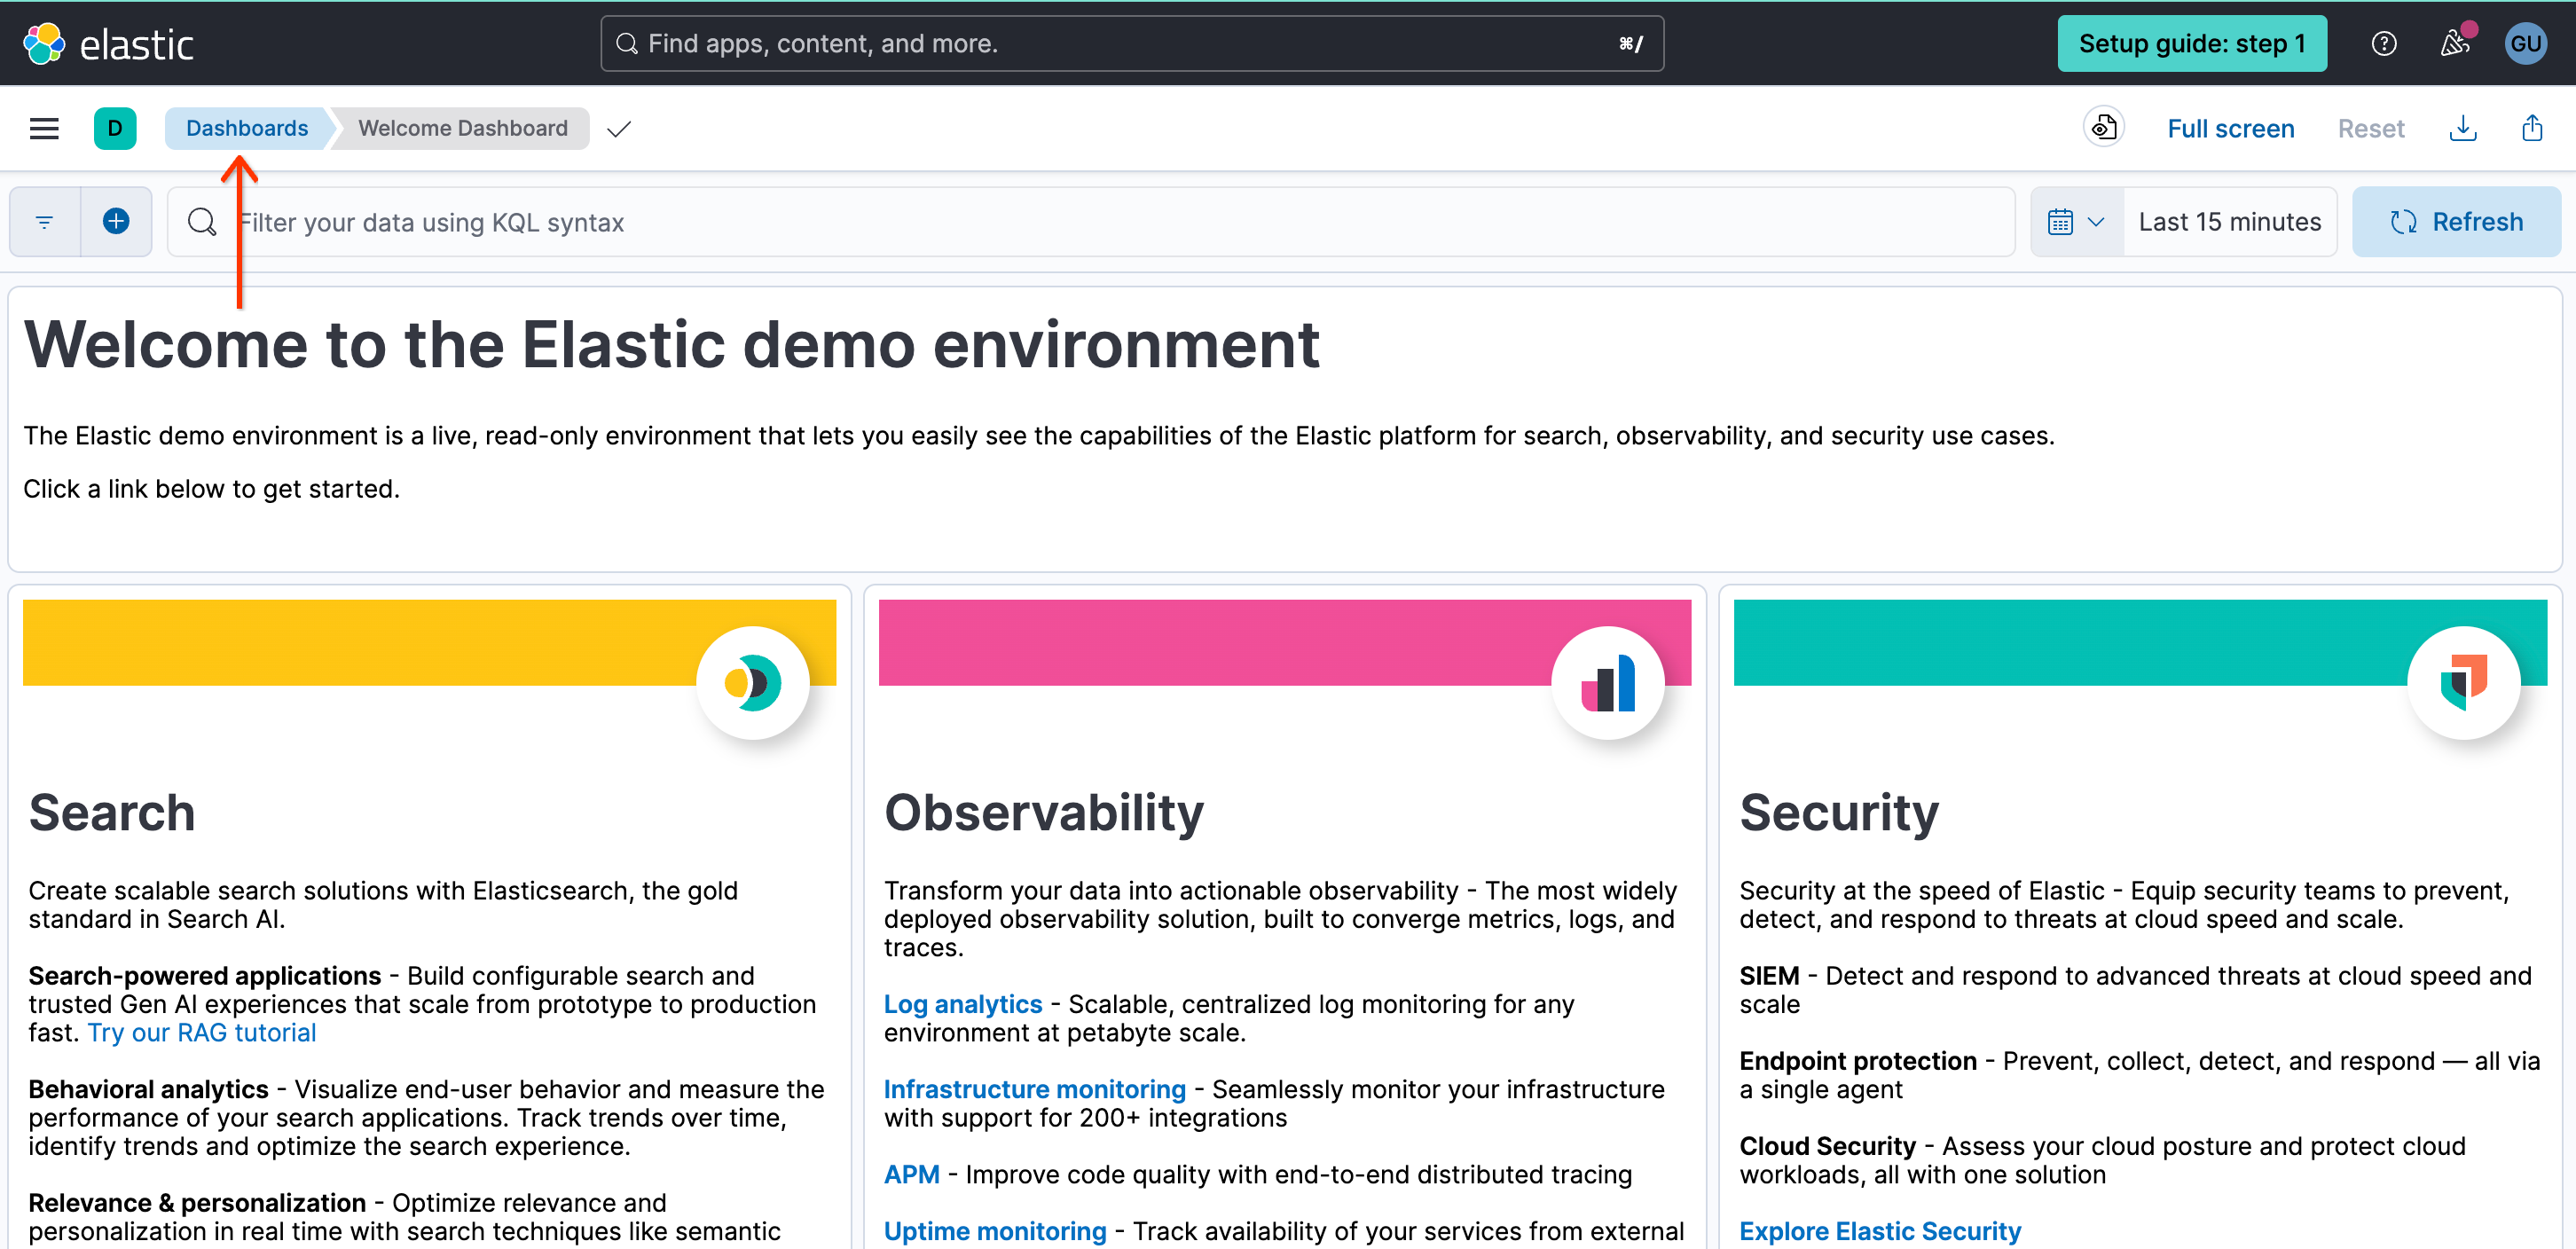
3.2 Select Dashboards in the top-left corner.
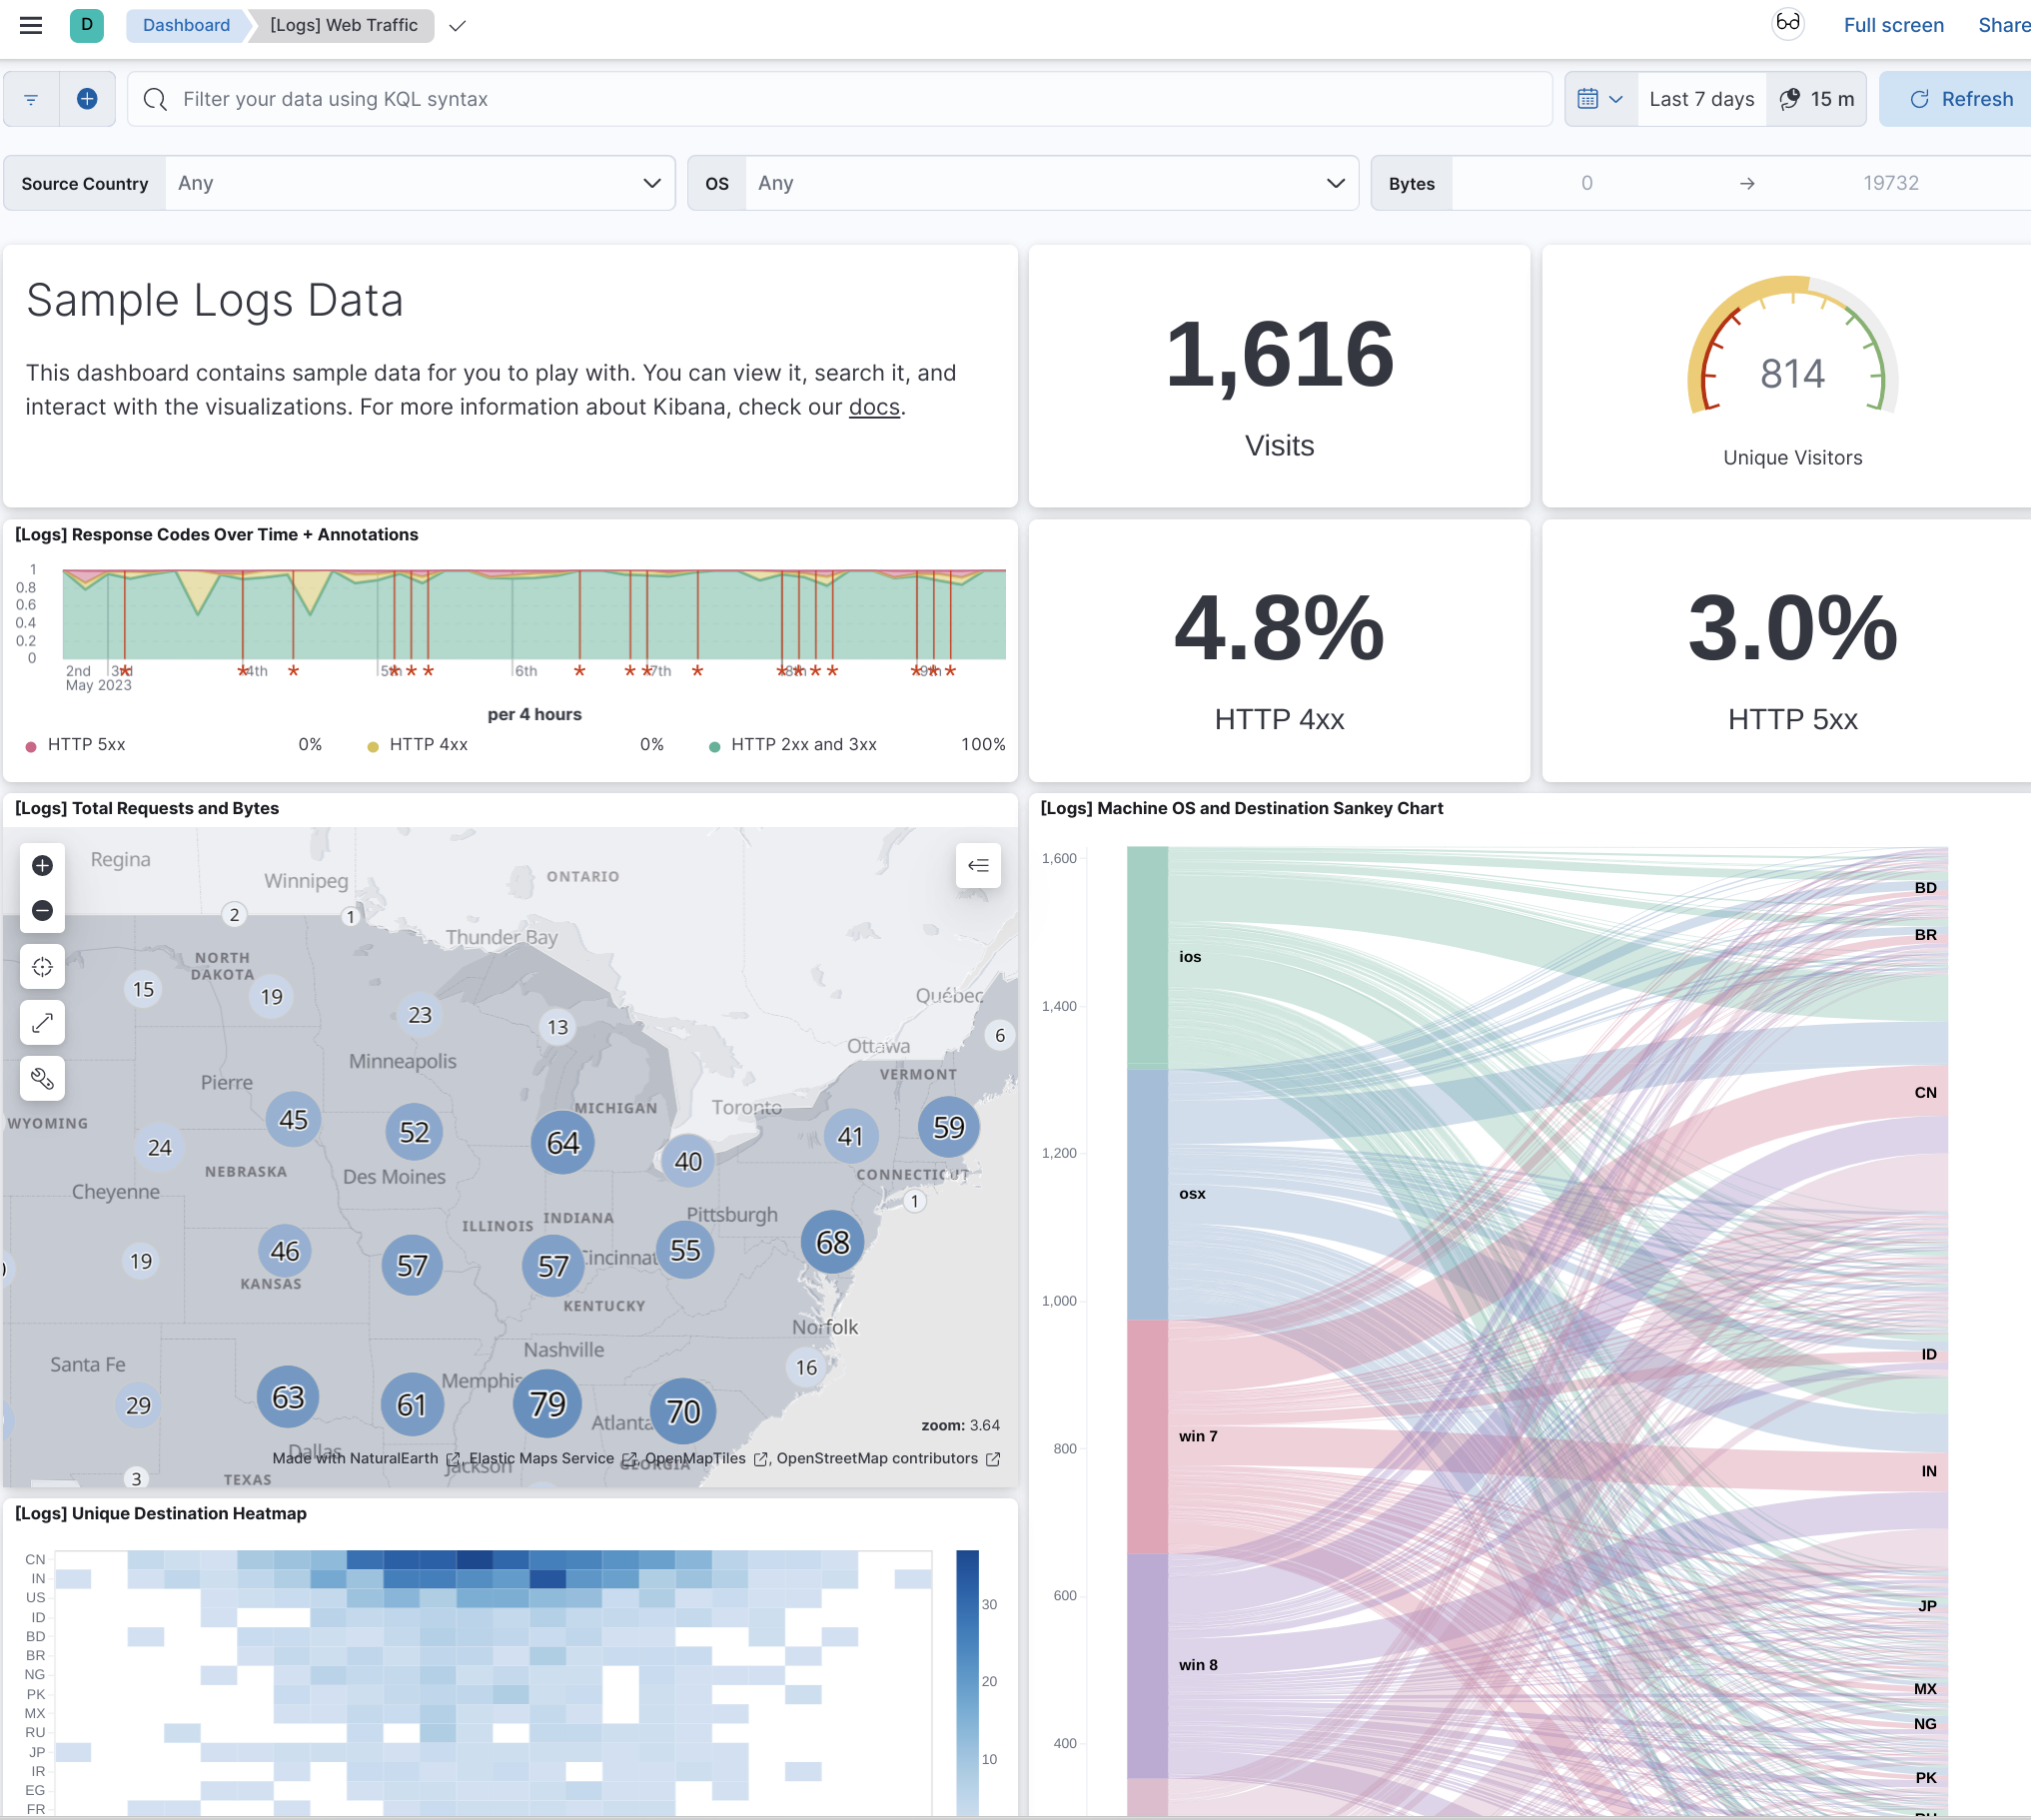
3.3 Select the dashboard that is the most relevant to you. This lab will use the [Logs] Web Traffic dashboard.
3.4 Explore the dashboard and customize it.
In this lab, you have created an Elasticsearch deployment on the Google Cloud Platform and explored data in Elastic through dashboards.
...helps you make the most of Google Cloud technologies. Our classes include technical skills and best practices to help you get up to speed quickly and continue your learning journey. We offer fundamental to advanced level training, with on-demand, live, and virtual options to suit your busy schedule. Certifications help you validate and prove your skill and expertise in Google Cloud technologies.
Manual Last Updated November 17, 2025
Lab Last Tested November 17, 2025
Copyright 2026 Google LLC. All rights reserved. Google and the Google logo are trademarks of Google LLC. All other company and product names may be trademarks of the respective companies with which they are associated.


현재 이 콘텐츠를 이용할 수 없습니다
이용할 수 있게 되면 이메일로 알려드리겠습니다.

감사합니다
이용할 수 있게 되면 이메일로 알려드리겠습니다.

한 번에 실습 1개만 가능
모든 기존 실습을 종료하고 이 실습을 시작할지 확인하세요.
실습을 시작하려면 이 간단한 단계를 완료하세요.