


Before you begin
- Labs create a Google Cloud project and resources for a fixed time
- Labs have a time limit and no pause feature. If you end the lab, you'll have to restart from the beginning.
- On the top left of your screen, click Start lab to begin
Create files
/ 10
Copy files
/ 10
Delete Files
/ 10
Create files
/ 10
Copy files
/ 10
Delete Files
/ 10
В ОС Windows для управления файлами и папками используется Проводник. В этом инструменте файлы и папки представлены в виде иерархической древовидной структуры, что упрощает их создание, копирование, перемещение и удаление.
На выполнение заданий отводится 60 минут.
На этом практическом занятии вы будете создавать и изменять папки с помощью File Explorer. Вы научитесь выполнять следующие действия:
Чтобы получить доступ к материалам, необходимо запустить практическое занятие. Нажмите зеленую кнопку Start Lab (Начать занятие). Если вы используете программу чтения с экрана, ознакомьтесь с инструкциями ниже в разделе "Инструкции по виртуальной машине для пользователей программ чтения с экрана". В противном случае откройте виртуальную машину Windows, выполнив действия ниже.
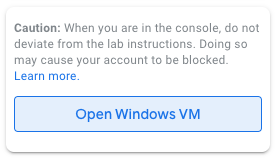
Когда вы нажмете кнопку Start Lab (Начать занятие), ниже появится панель с кнопкой Open Windows VM (Запустить виртуальную машину Windows).
Нажмите кнопку Open Windows VM (Запустить виртуальную машину Windows). Откроется новая вкладка с визуальным интерфейсом ОС Windows, в котором вы будете выполнять задания.
Примечание. Когда виртуальная машина загрузится, в левом верхнем углу появится всплывающее окно с запросом на доступ к буферу обмена. Чтобы копировать и вставлять команды, нажмите "Разрешить".
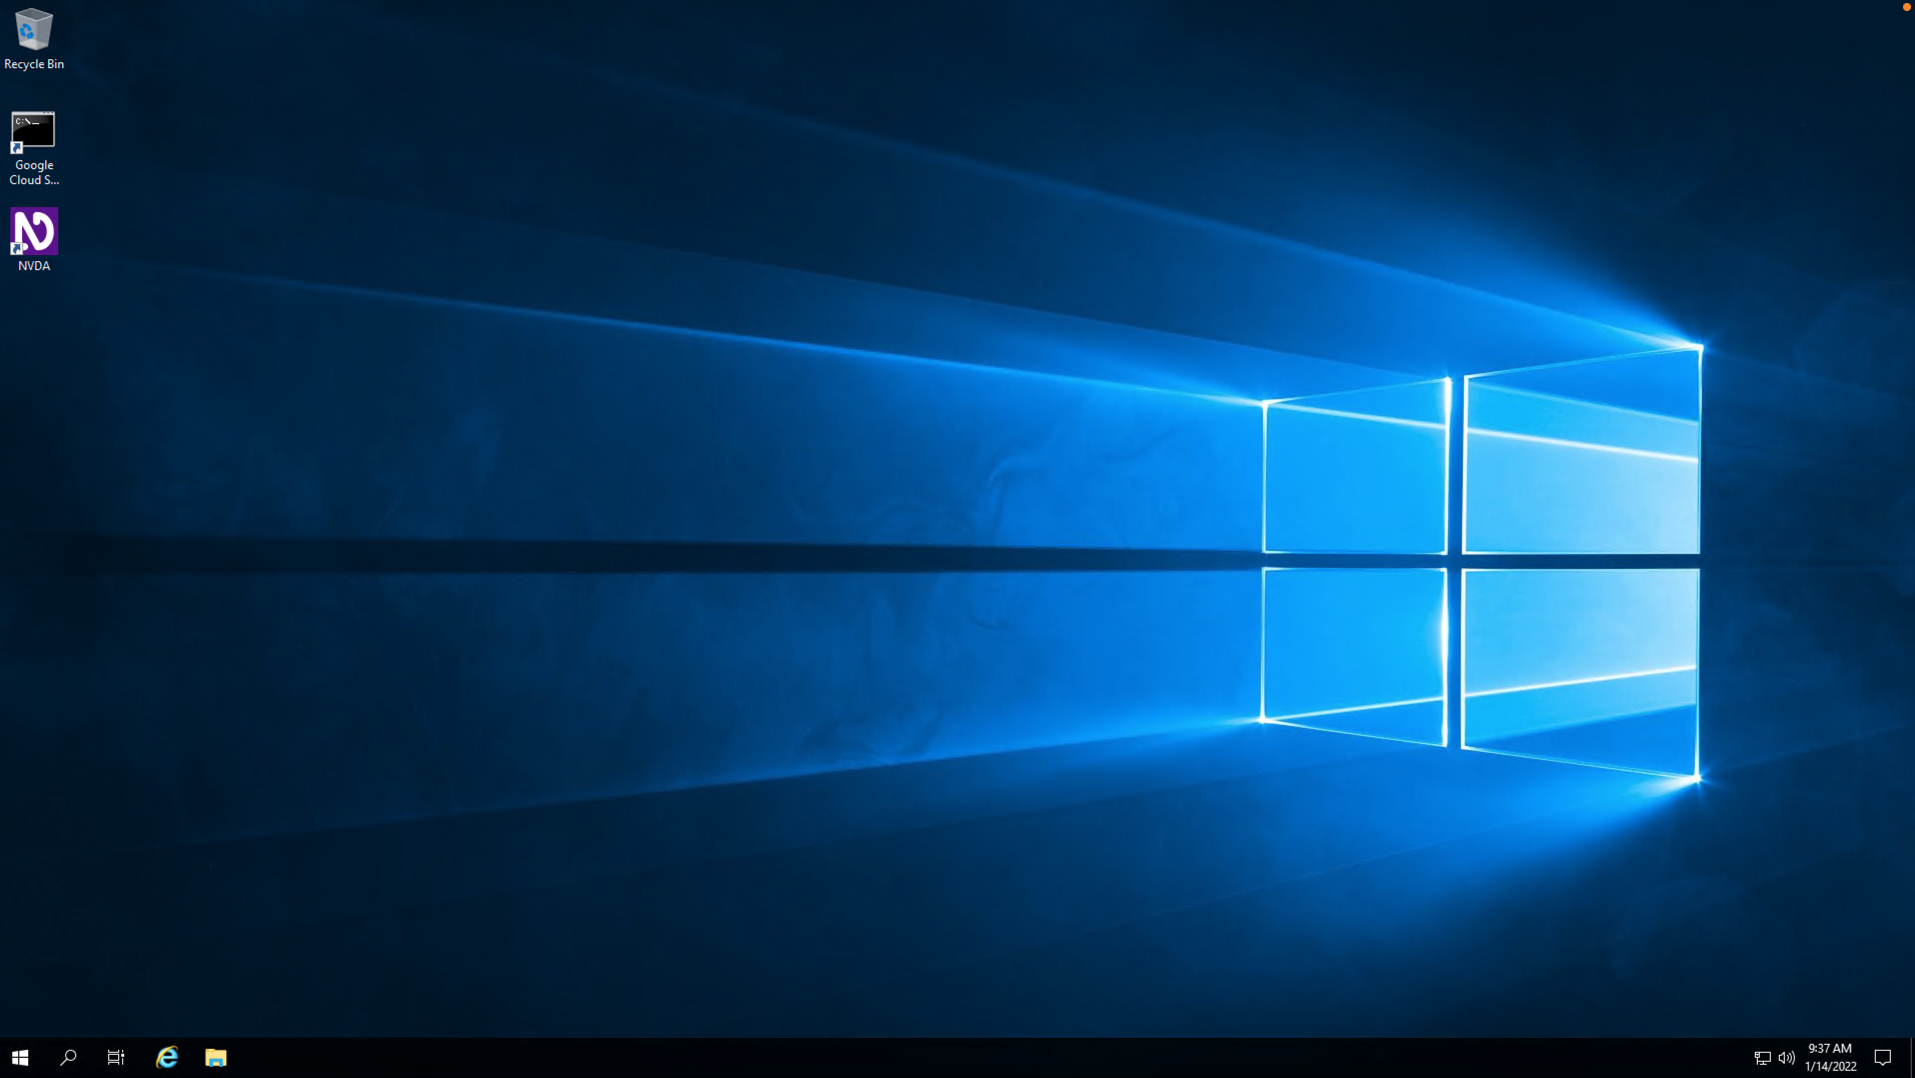
Вы увидите примерно следующее:
Примечание. Если виртуальная машина Windows зависнет и подключение будет автоматически разорвано, вы можете восстановить его одним из следующих способов:
Если для выполнения практического задания вам требуется программа чтения с экрана, вы можете развернуть виртуальную машину Windows с установленным приложением NVDA. Чтобы получить доступ к виртуальной машине, следуйте инструкциям ниже.
Сведения о подключении
Когда вы нажмете кнопку Start Lab (Начать занятие), ниже появятся все сведения о подключении. Обратите внимание, что формирование этой информации может занять несколько минут. Используйте следующие сведения о подключении и следуйте инструкциям в разделе "Доступ к виртуальной машине" в зависимости от вашей операционной системы.
внешний IP-адрес:
имя пользователя: qwiklabs;
пароль:
Ниже мы перечислили четыре способа подключения в зависимости от операционной системы вашего устройства.
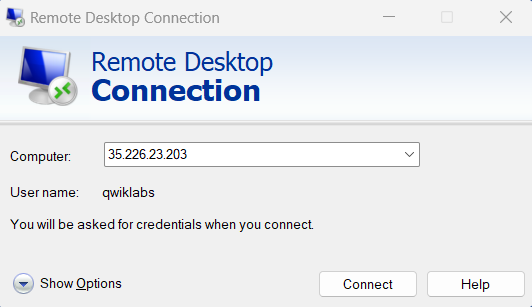
Для подключения к экземпляру Windows через внешний IP-адрес вам предстоит использовать инструмент "Подключение к удаленному рабочему столу".
Теперь у вас есть доступ к виртуальной машине с ОС Windows 10.
Если вы видите сообщение об ошибке, закройте окно и подождите немного. Иногда процесс создания виртуальной машины занимает несколько минут, и вы не сможете получить доступ к ней, пока он не завершится. Это также относится к любым сообщениям об ошибках, в которых говорится, что ваши учетные данные (имя пользователя и пароль) неверны.
Для подключения к экземпляру Windows через внешний IP-адрес вам предстоит использовать Microsoft Remote Desktop 10. Пользователи macOS могут скачать Microsoft Remote Desktop в Mac App Store. Если вы используете Microsoft Remote Desktop 8, обратите внимание, что интерфейс этого инструмента будет немного отличаться от указанного ниже.
Теперь у вас есть доступ к виртуальной машине с ОС Windows 10.
Если вы видите сообщение об ошибке, закройте окно и подождите немного. Иногда процесс создания виртуальной машины занимает несколько минут, и вы не сможете получить доступ к ней, пока он не завершится. Это также относится к любым сообщениям об ошибках, в которых говорится, что ваши учетные данные (имя пользователя и пароль) неверны.
Для подключения к экземпляру Windows через внешний IP-адрес вам предстоит использовать приложение "Удаленный рабочий стол Chrome".
Пользователи Chrome OS могут скачать Удаленный рабочий стол Chrome в интернет-магазине Chrome. На странице приложения нажмите кнопку Установить. Если будут появляться всплывающие окна, нажимайте Установить приложение. Когда установка будет завершена, нажмите Запустить.
Теперь у вас есть доступ к виртуальной машине с ОС Windows 10.
Если вы видите сообщение об ошибке, закройте инструмент и подождите немного. Иногда процесс создания виртуальной машины занимает несколько минут, и вы не сможете получить доступ к ней до его завершения. Это также относится к любым сообщениям об ошибках, в которых говорится, что ваши учетные данные (имя пользователя и пароль) неверны.
Для подключения к экземпляру Windows через внешний IP-адрес вы будете использовать клиент Remmina. Откройте клиент Remmina на компьютере с Linux. Если у вас нет этого приложения, установите его.
Теперь у вас есть доступ к виртуальной машине с ОС Windows 10.
Если вы видите сообщение об ошибке, закройте окно и подождите немного. Иногда процесс создания виртуальной машины занимает несколько минут, и вы не сможете получить доступ к ней, пока он не завершится. Это также относится к любым сообщениям об ошибках, в которых говорится, что ваши учетные данные (имя пользователя и пароль) неверны.
Теперь у вас есть доступ к экземпляру Windows. Можете начинать работу с ним.
Когда виртуальная машина запустится, вы можете включить программу чтения с экрана NVDA с помощью сочетания клавиш Ctrl + Alt + N. После этого NVDA должна сразу же начать чтение. Если вы успешно настроили NVDA и слышите звук на своем компьютере, вернитесь к инструкциям и выполните задание.
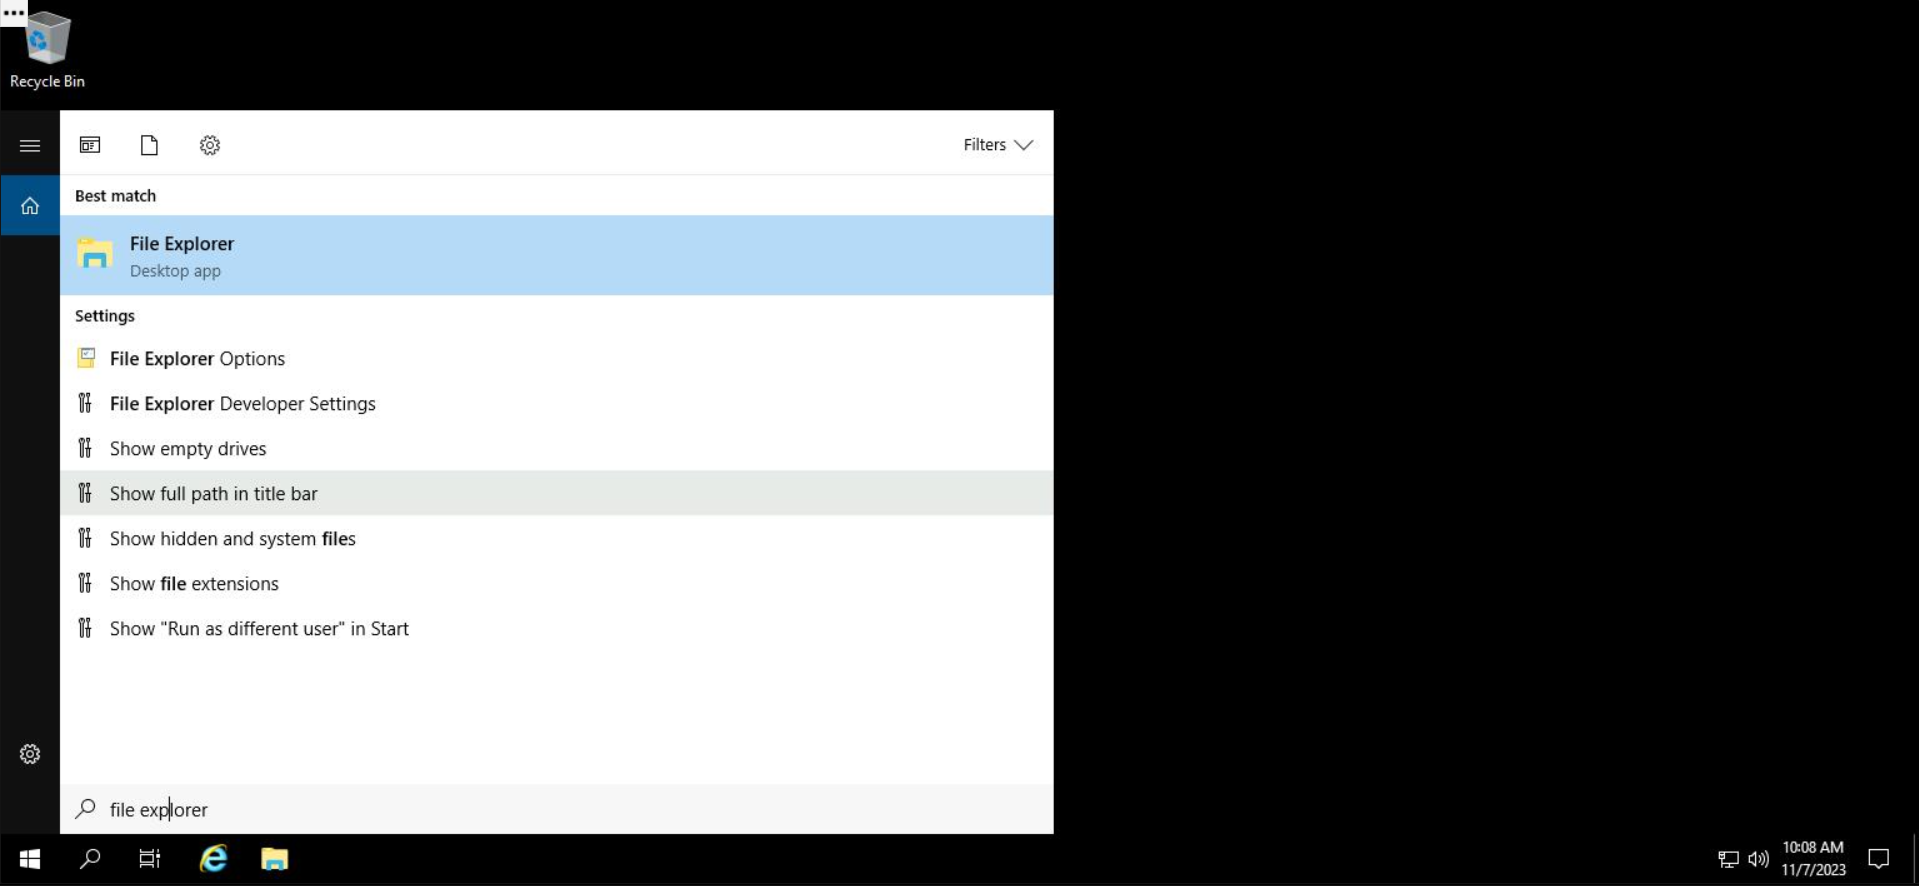
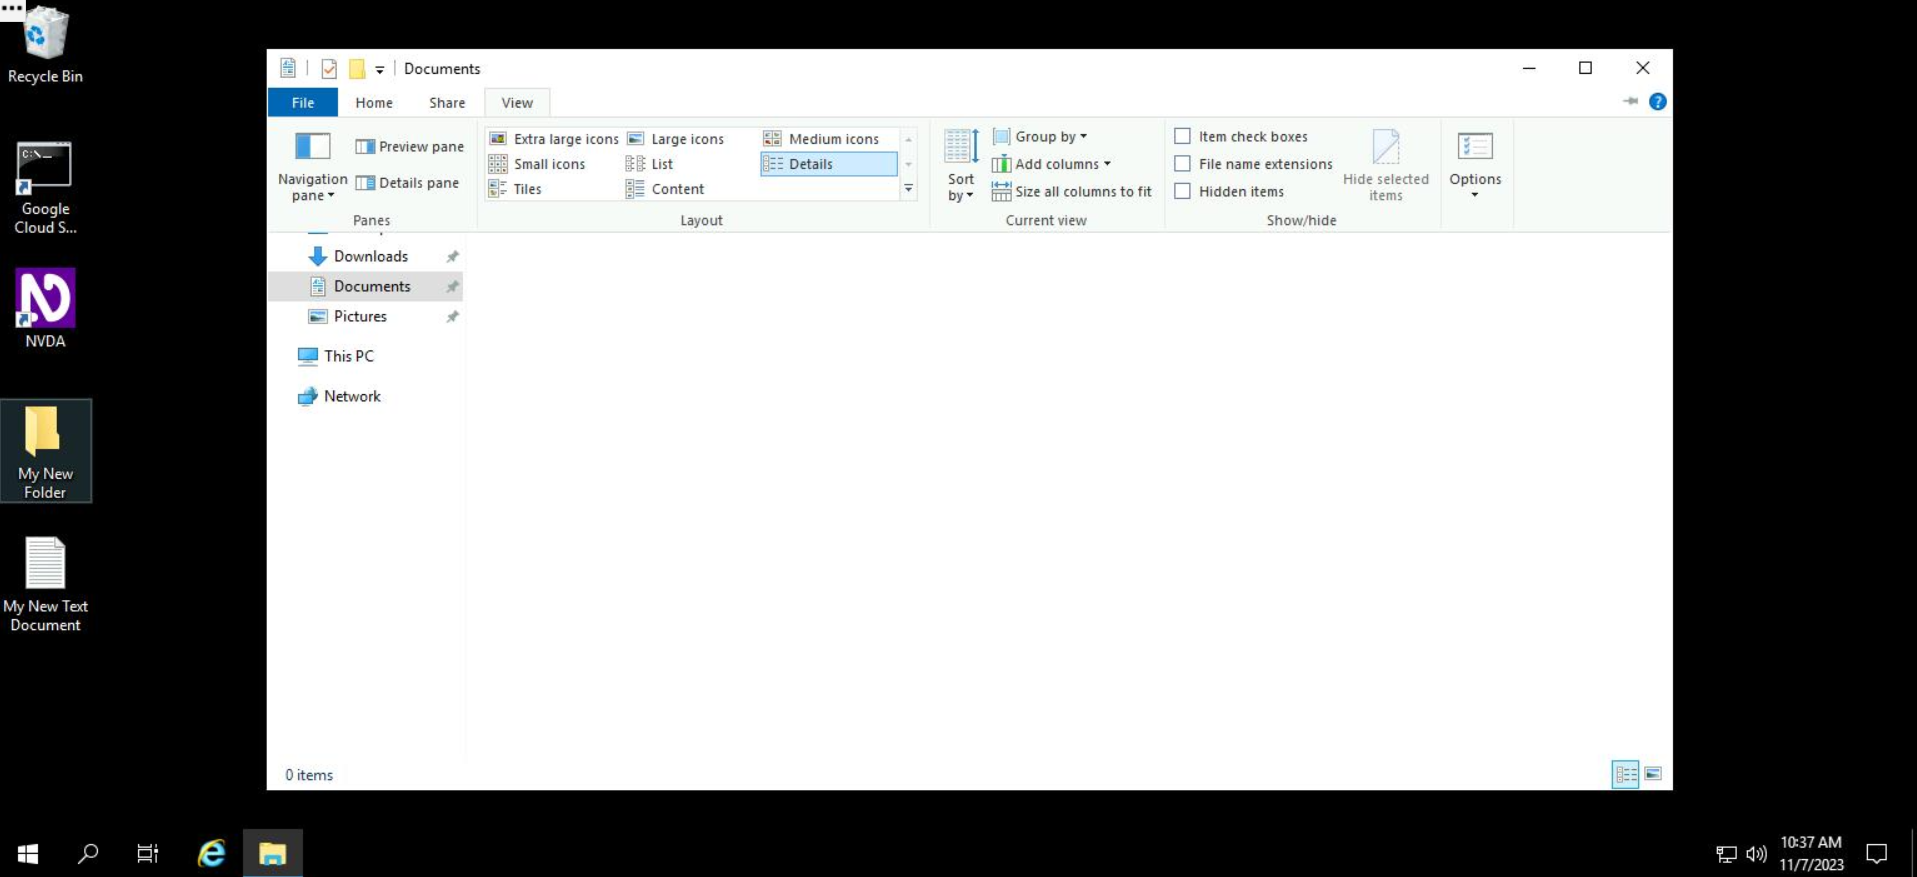
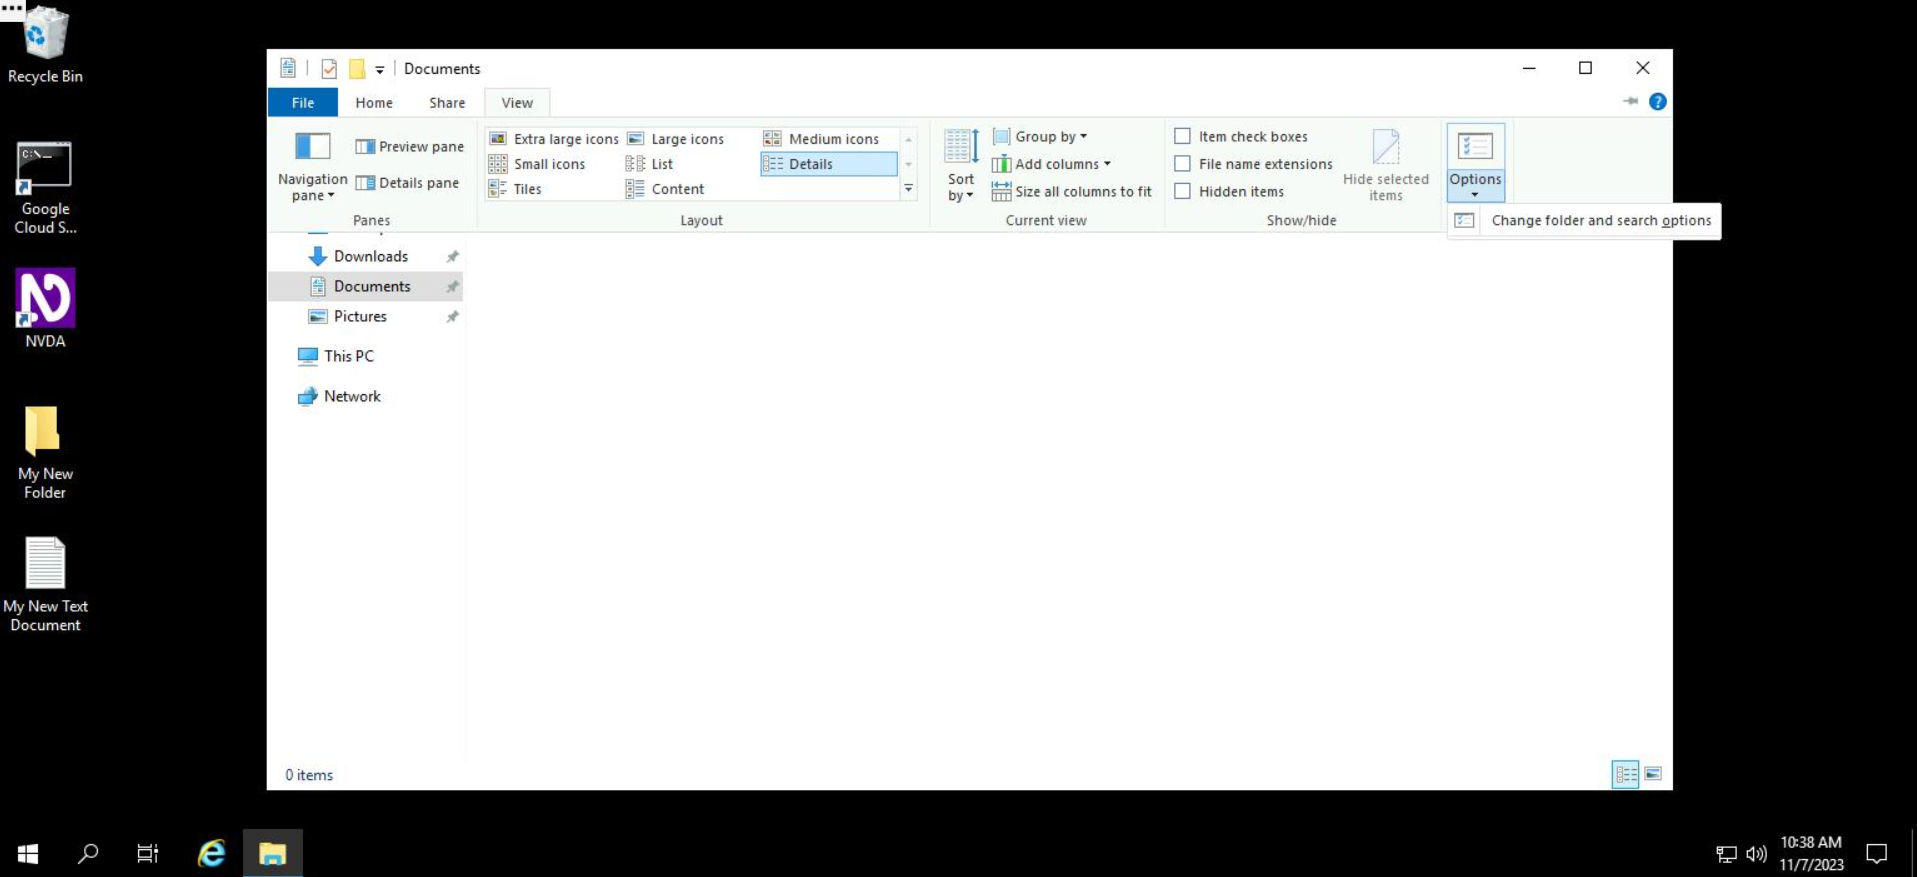
Открыть Проводник можно приведенными ниже способами.
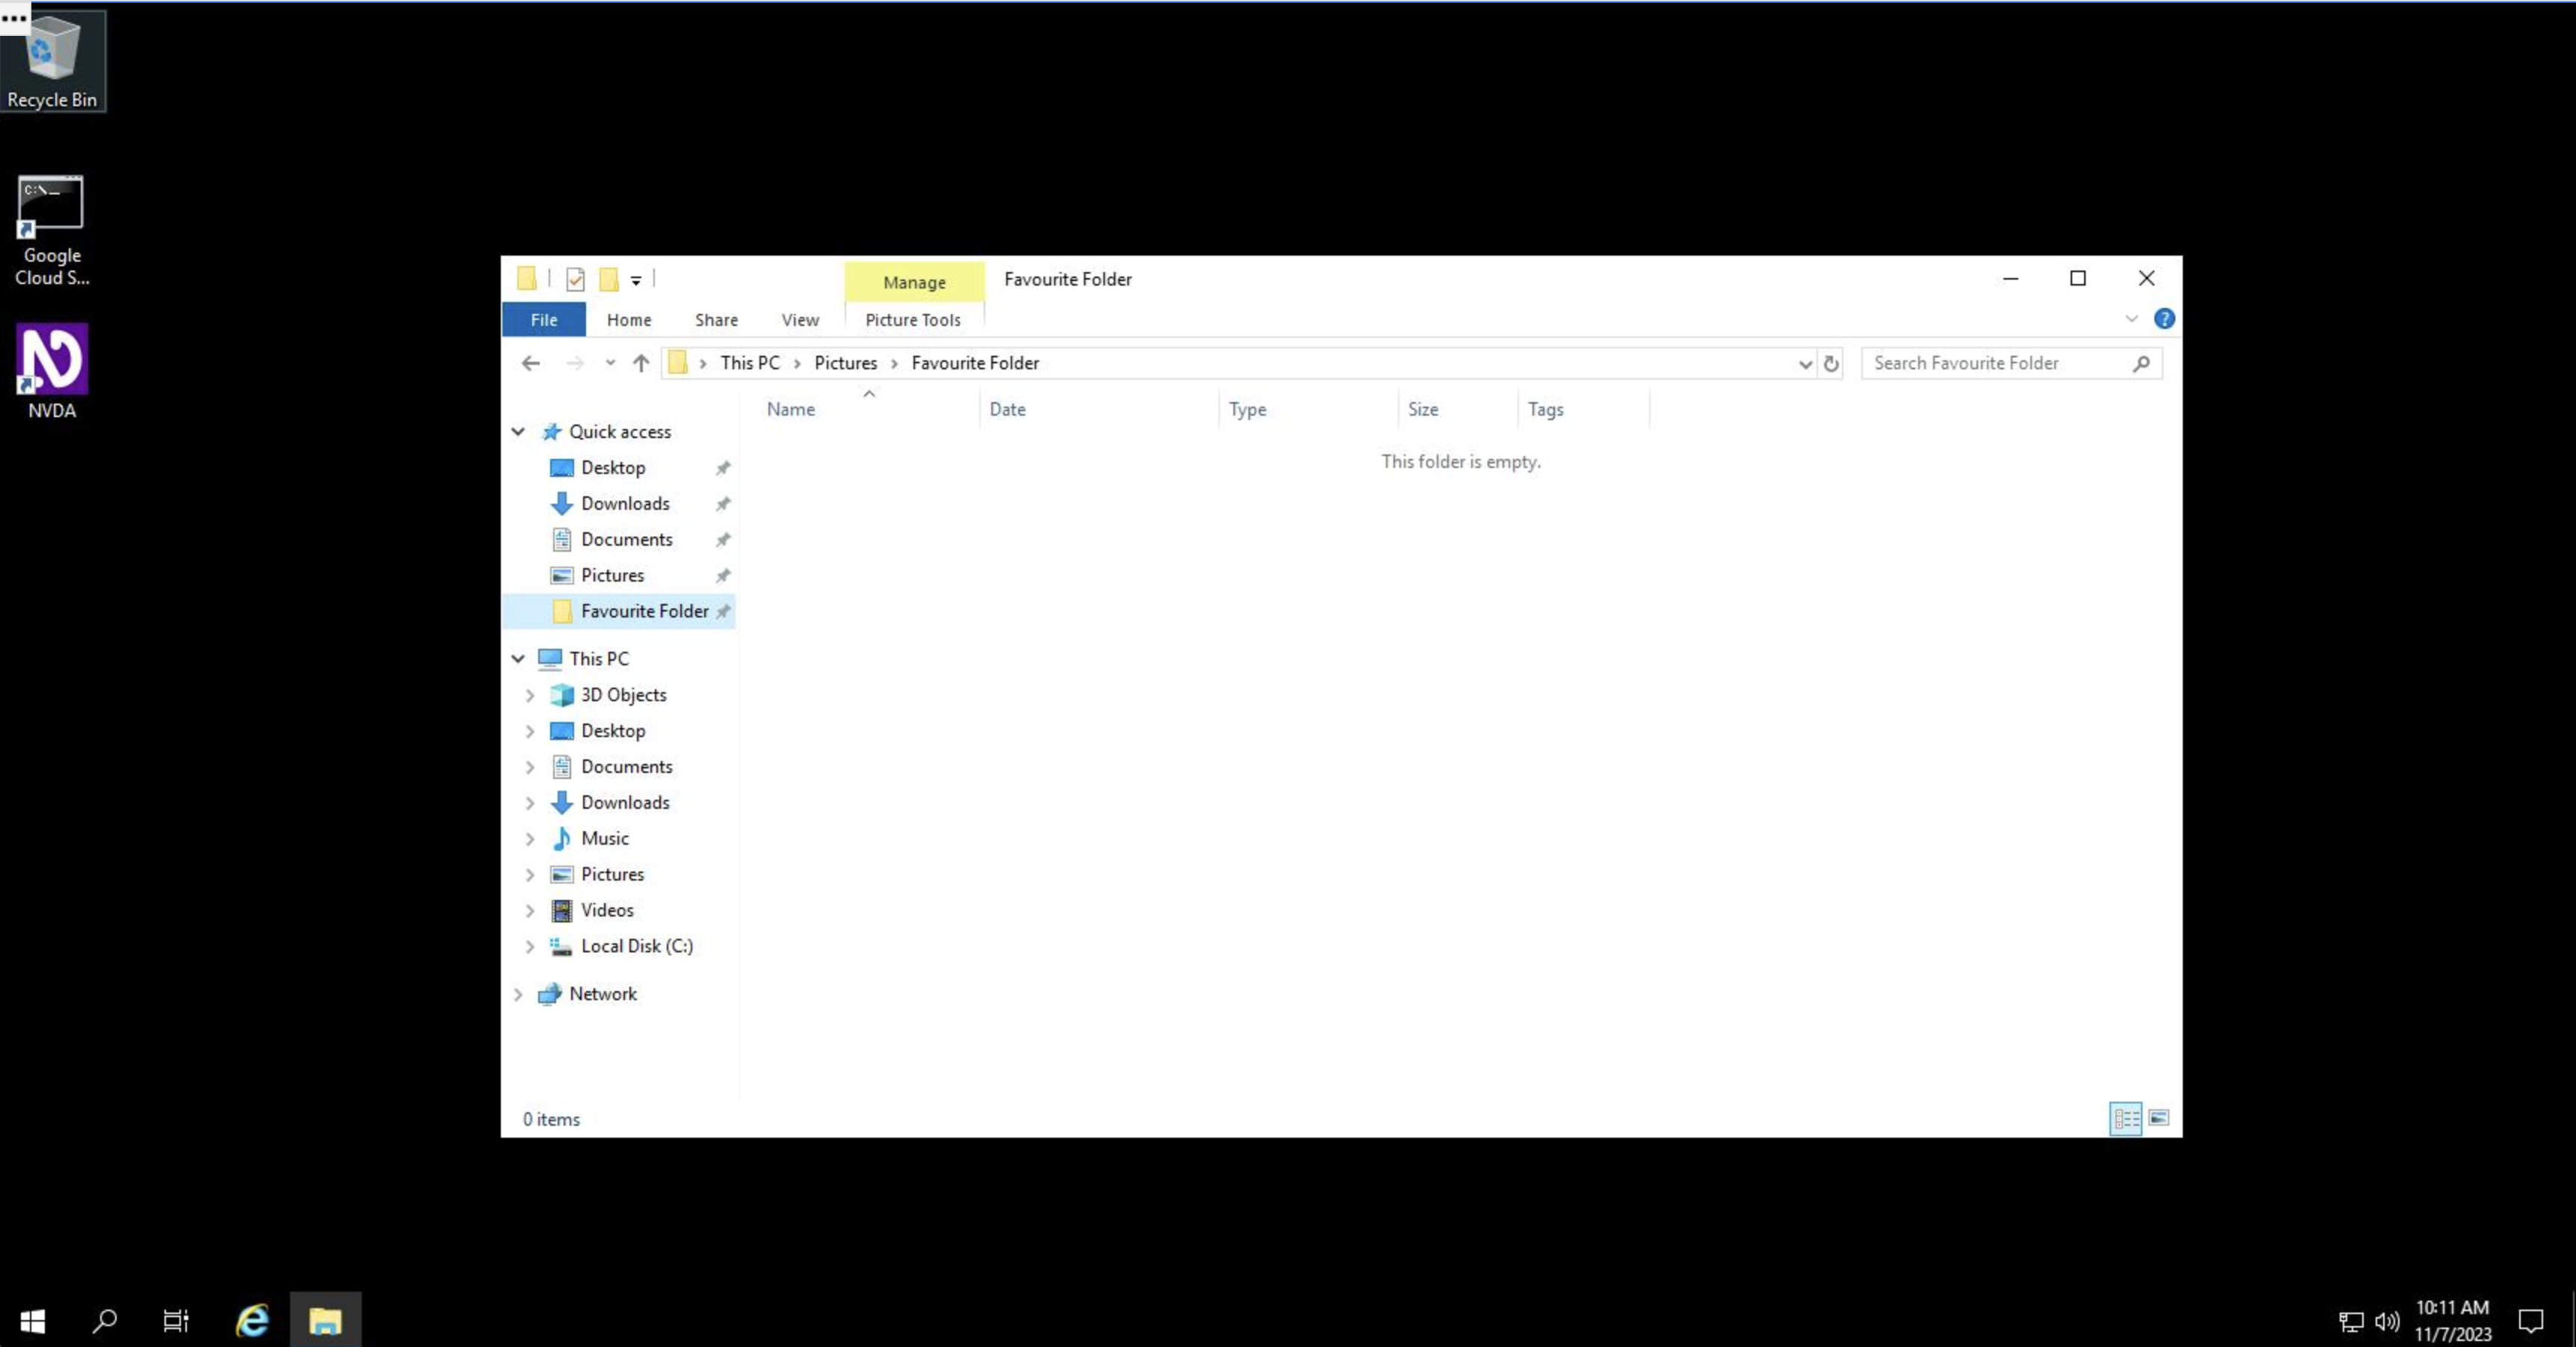
В левой части Проводника находится панель "Быстрый доступ" со списком папок. Чтобы добавить папки на эту панель, перетащите их в нее.
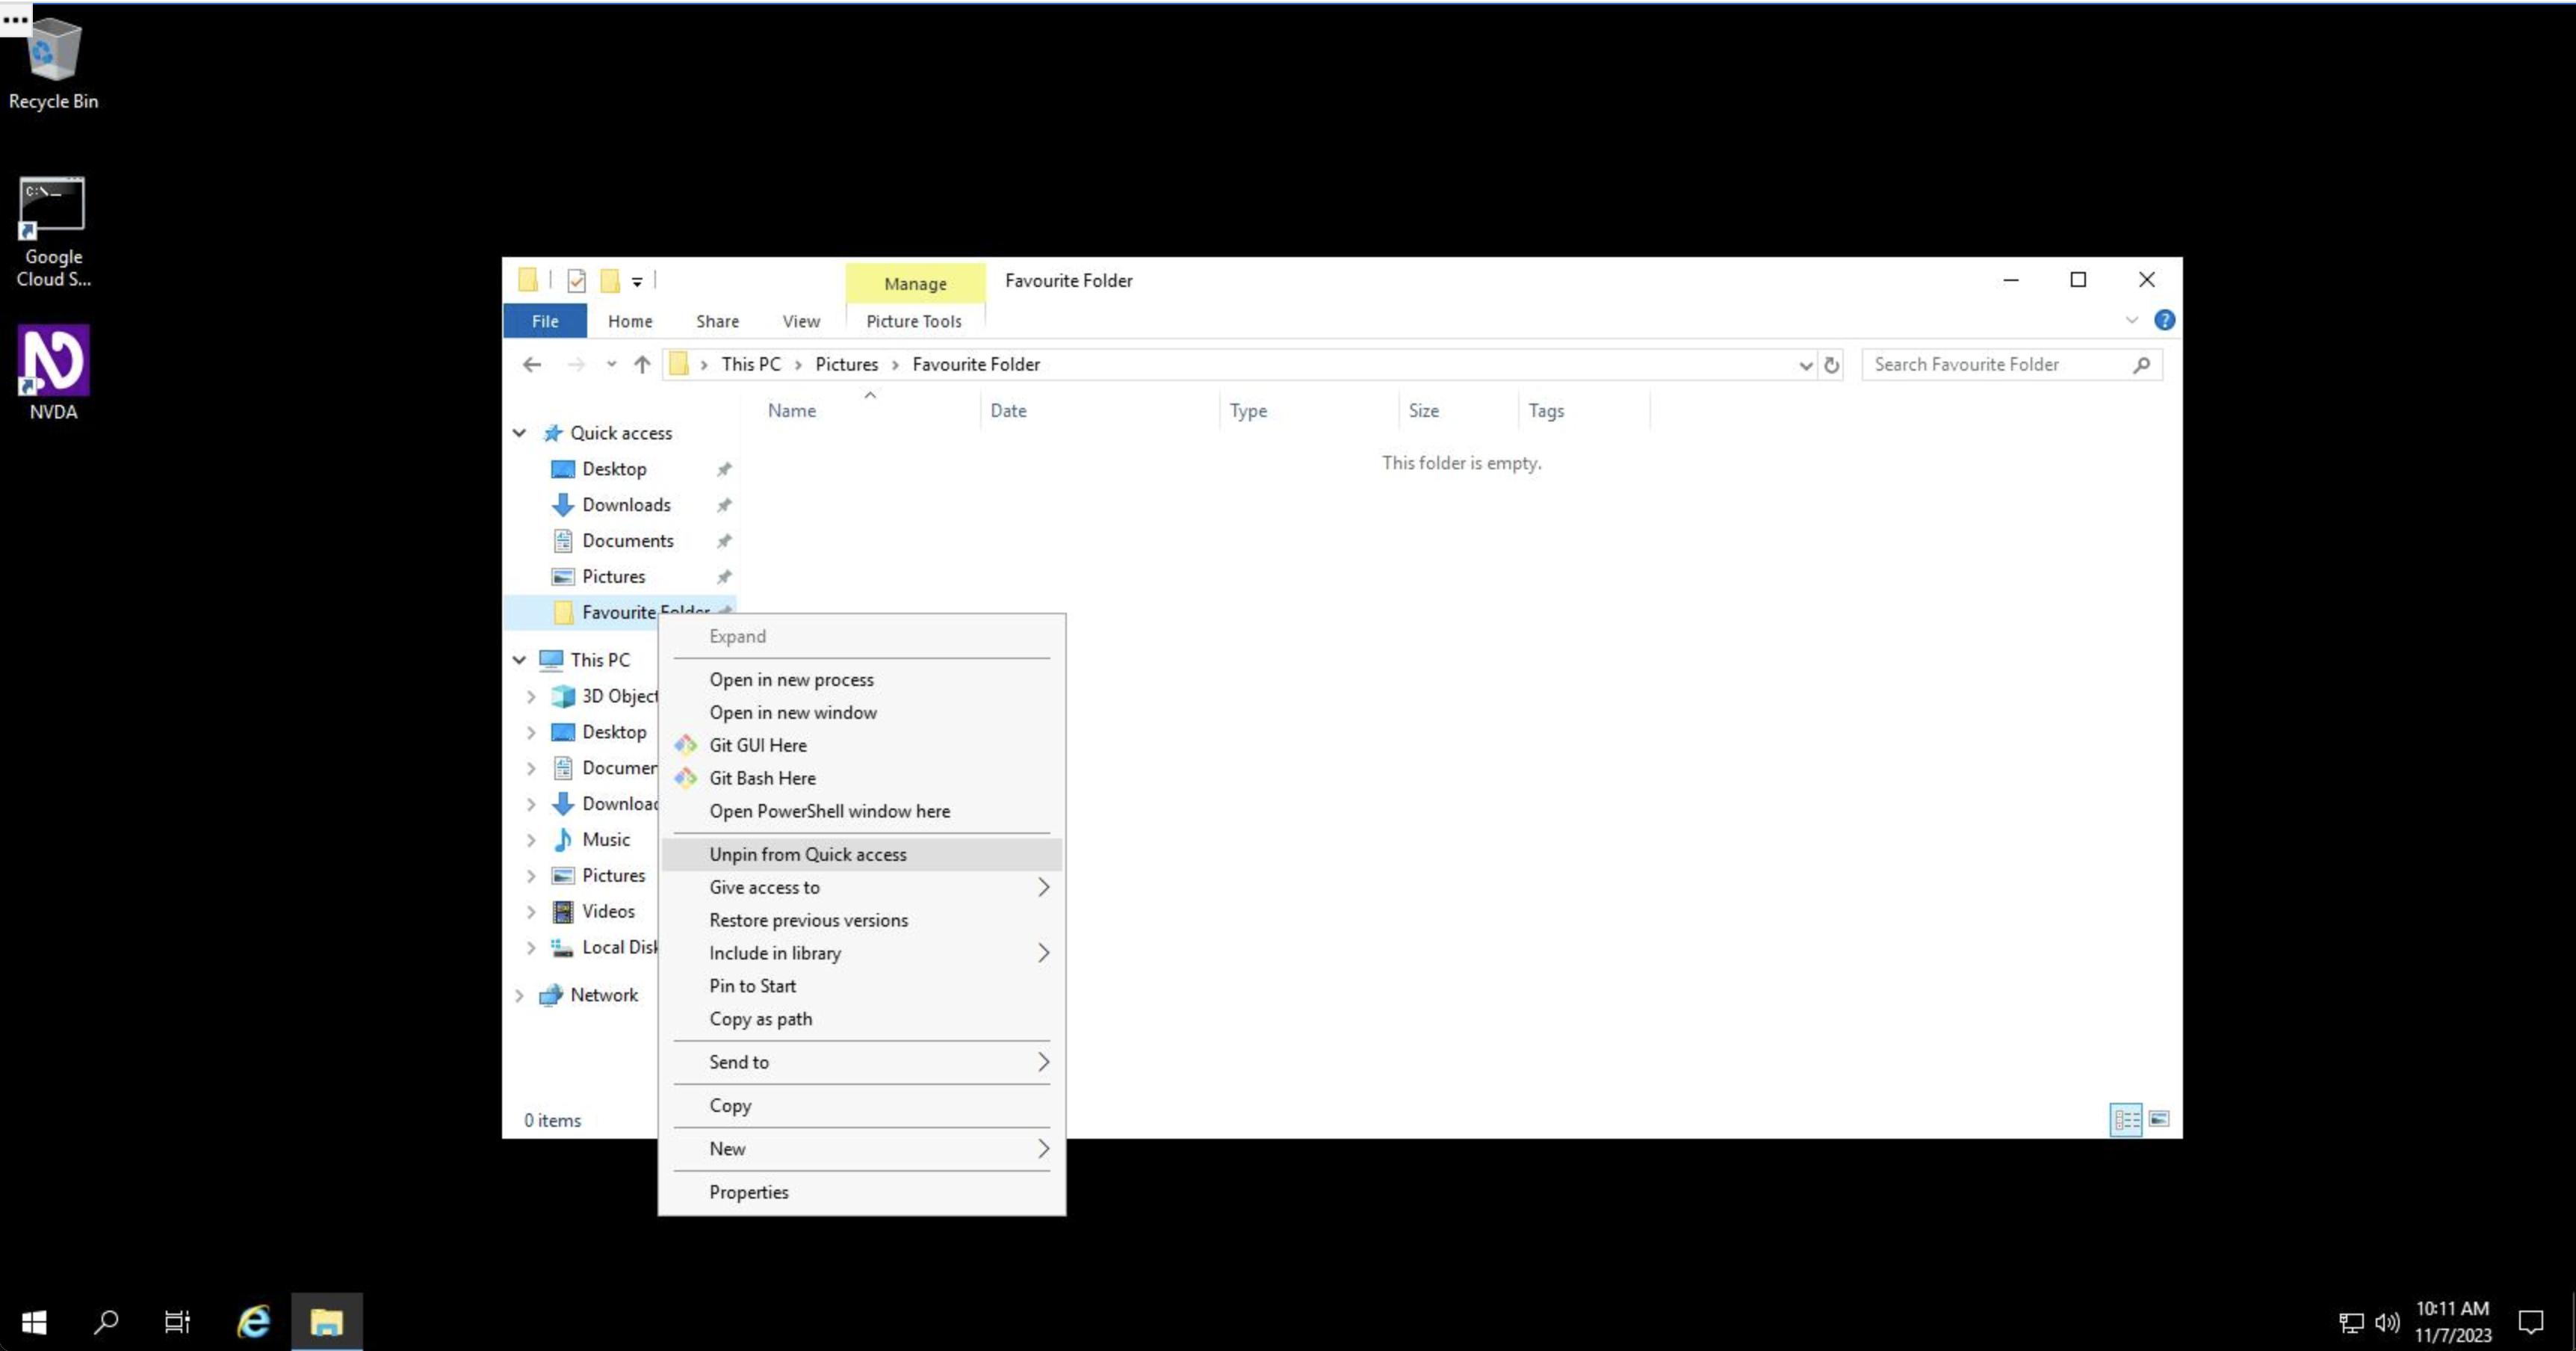
Если вам больше не нужен быстрый доступ к папке на этой панели, нажмите на папку правой кнопкой мыши и выберите "Удалить из панели быстрого доступа".
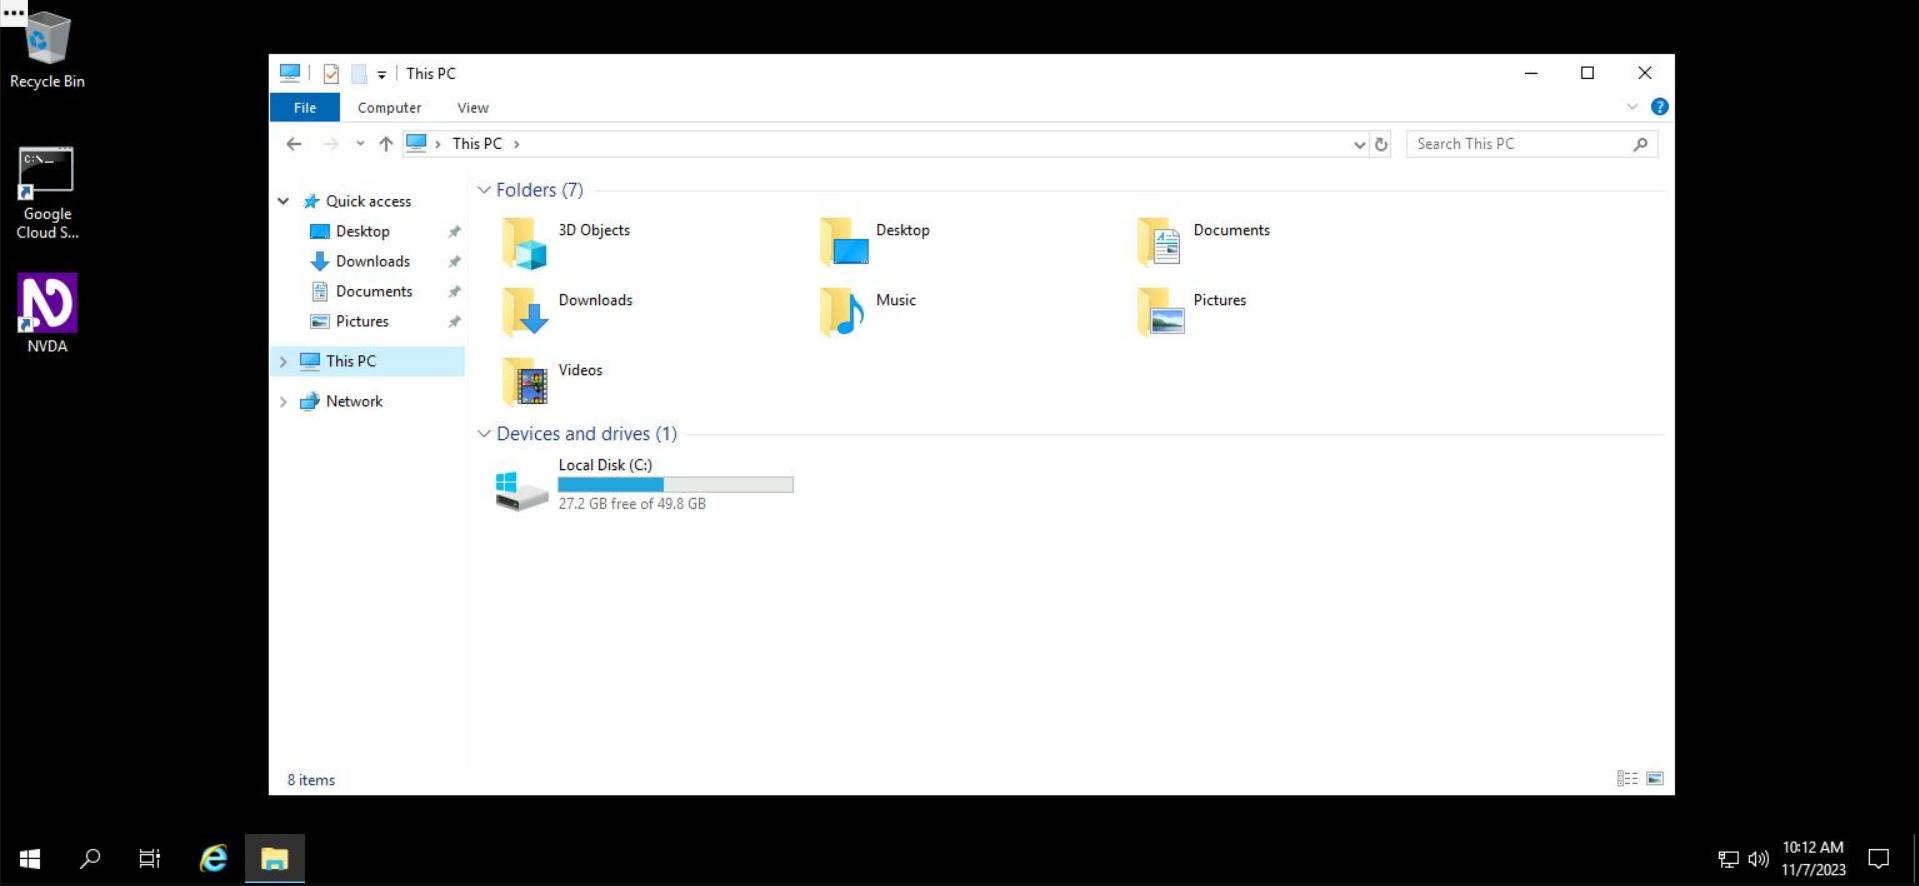
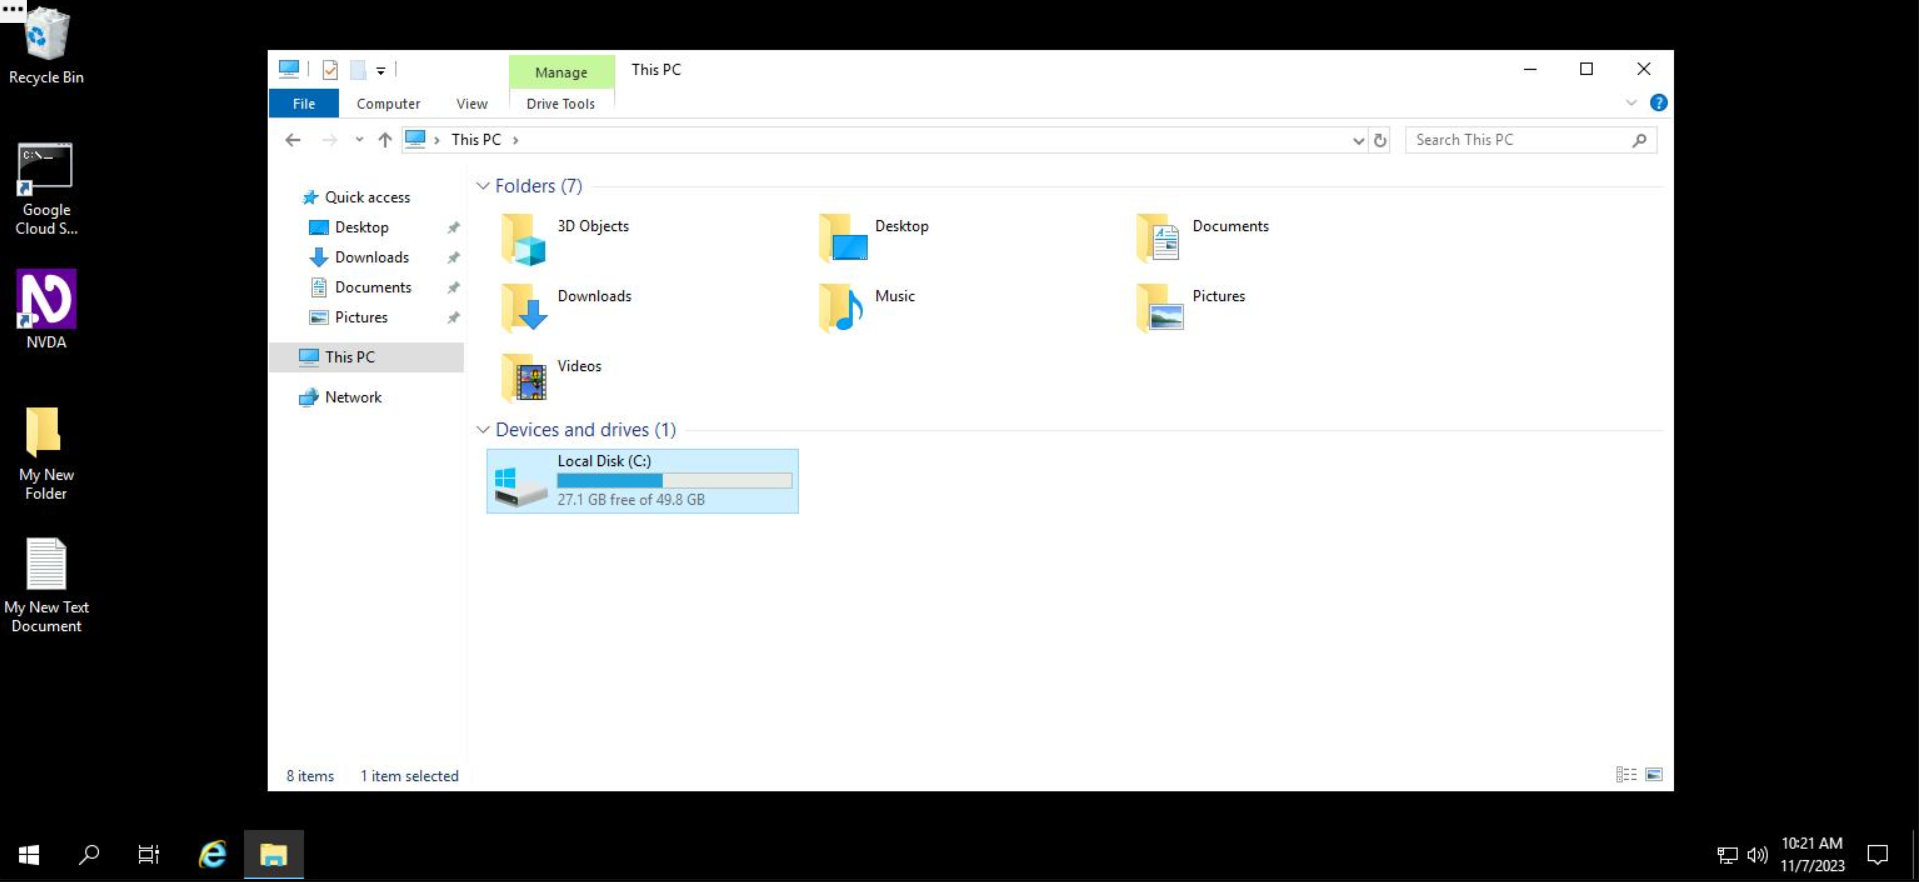
В Windows диски обозначаются одной буквой. Это может быть любая буква латинского алфавита от A до Z. Обычно в Windows программы устанавливаются на диск C:\. На виртуальной машине с ОС Windows все файлы и папки в системе находятся в корневом каталоге на диске C:\.
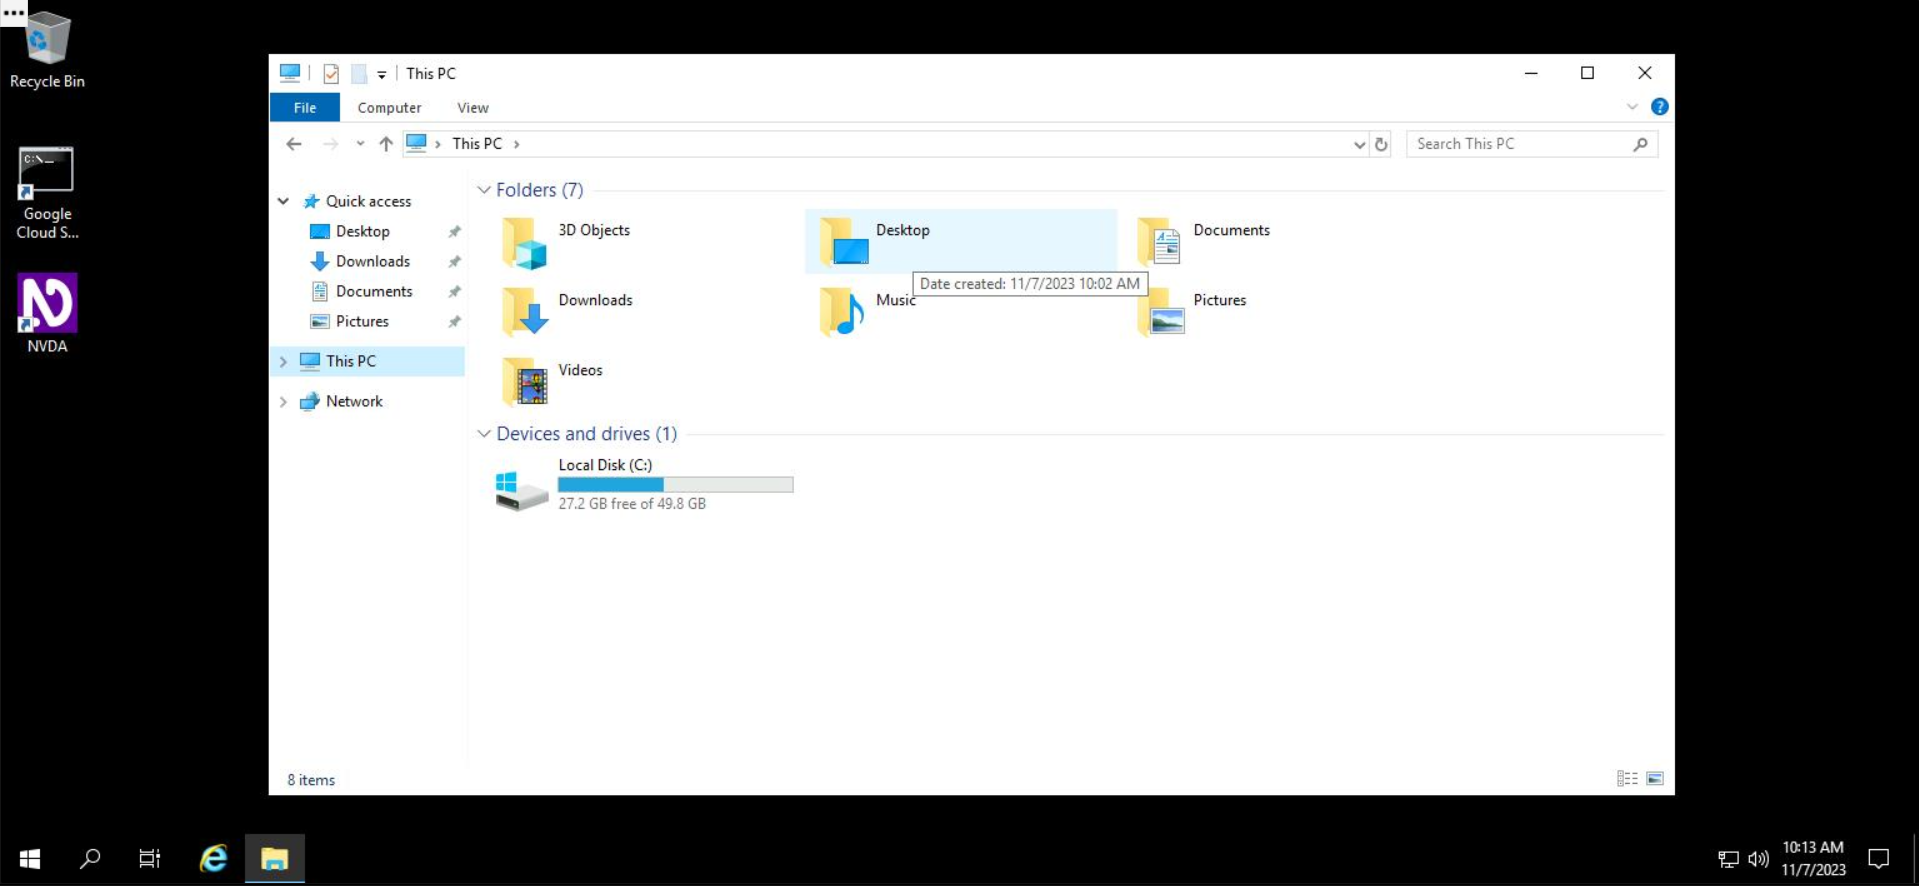
Если нажать "Этот компьютер" в левой части Проводника, отобразится список дисков, используемых на этом компьютере с Windows. В приведенном ниже примере показан только один диск, которому по умолчанию присвоено обозначение C:\. Чтобы получить доступ к размещенным на этом диске файлам, дважды нажмите на него.
Дальше в ходе этого практического занятия вы будете создавать, изменять, копировать и удалять файлы и каталоги в среде Windows с помощью Проводника.
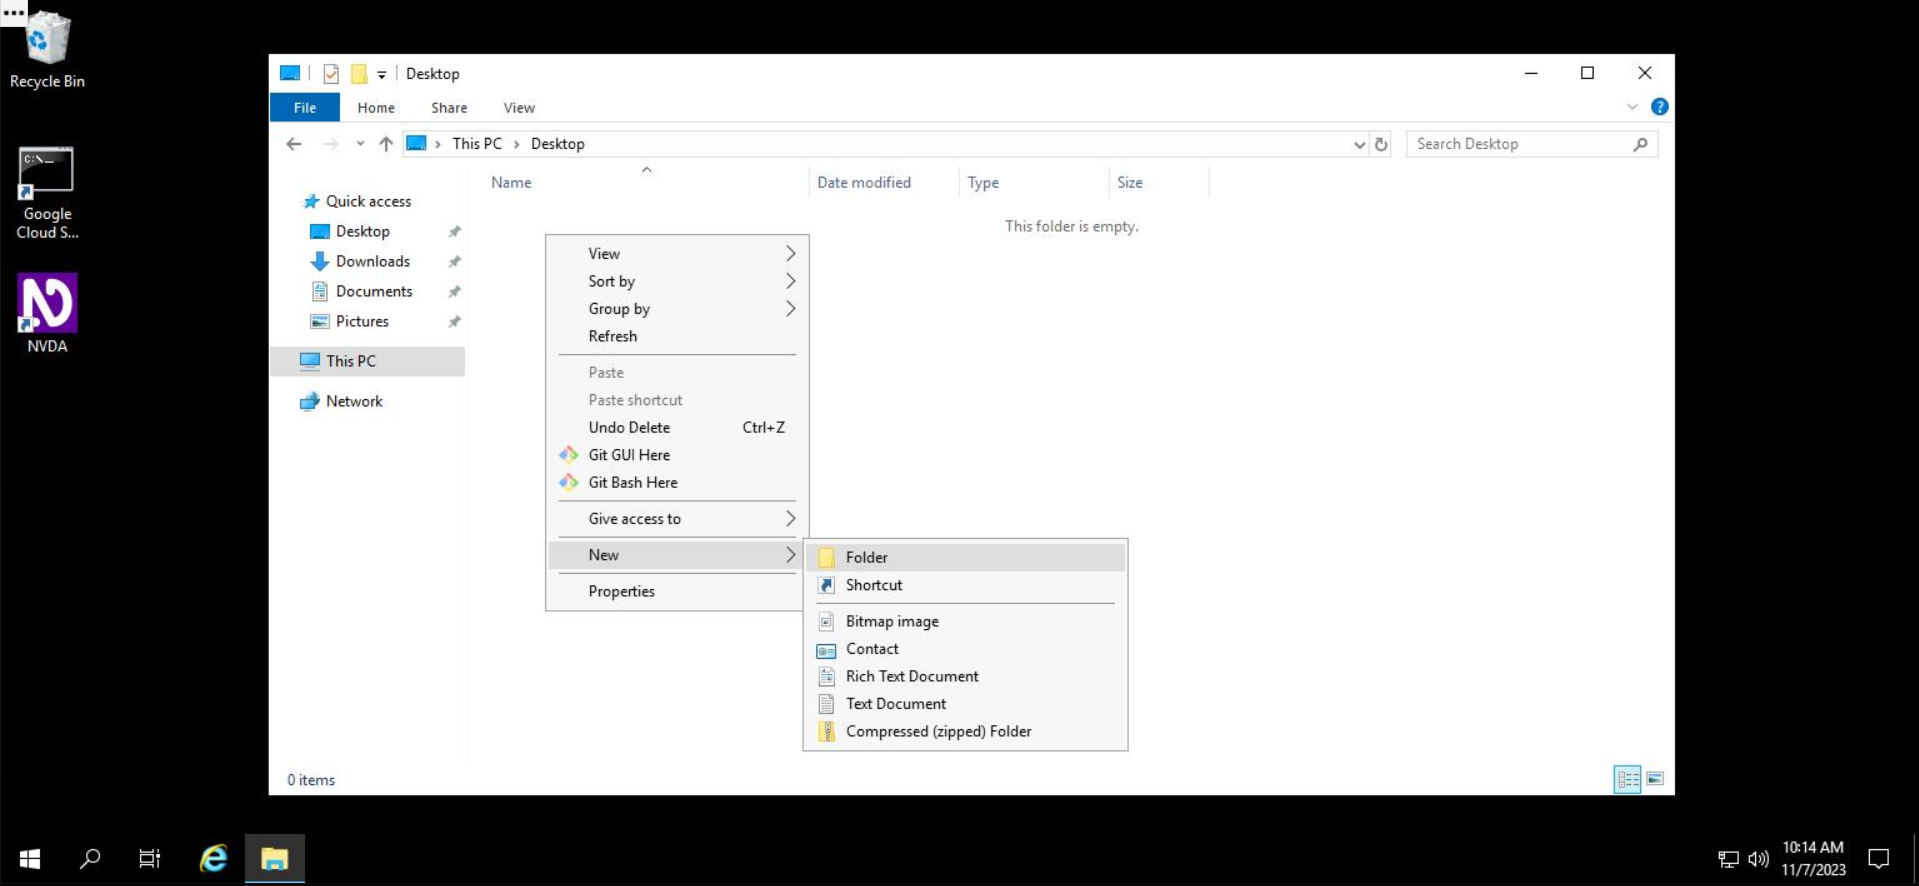
Сначала вам нужно будет перейти к тому разделу, в котором вы хотите создать файл или папку. Нажмите дважды на папку Рабочий стол, чтобы перейти к ней.
Внутри пустой папки нажмите правой кнопкой мыши в любом месте и выберите Создать, а затем – Папку.
В Проводнике появится редактируемое текстовое поле, в котором можно ввести название папки.
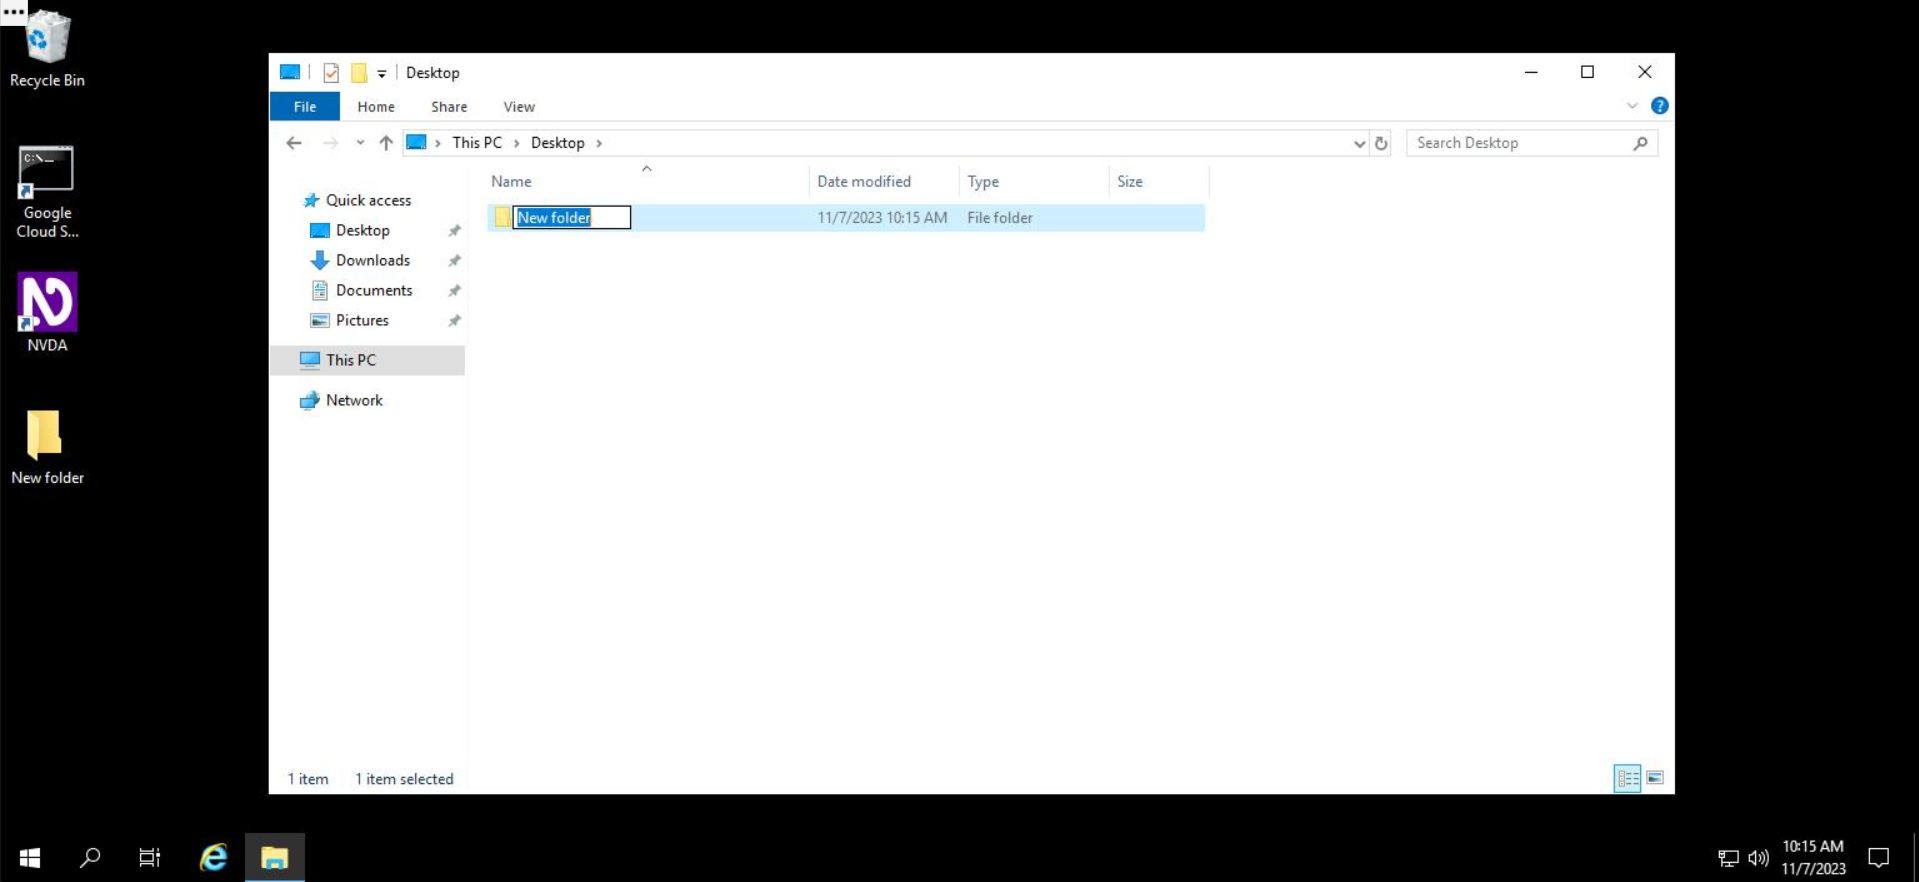
Давайте назовем папку My New Folder (Моя новая папка). Введите это название в редактируемое текстовое поле.
После этого нажмите Ввод.
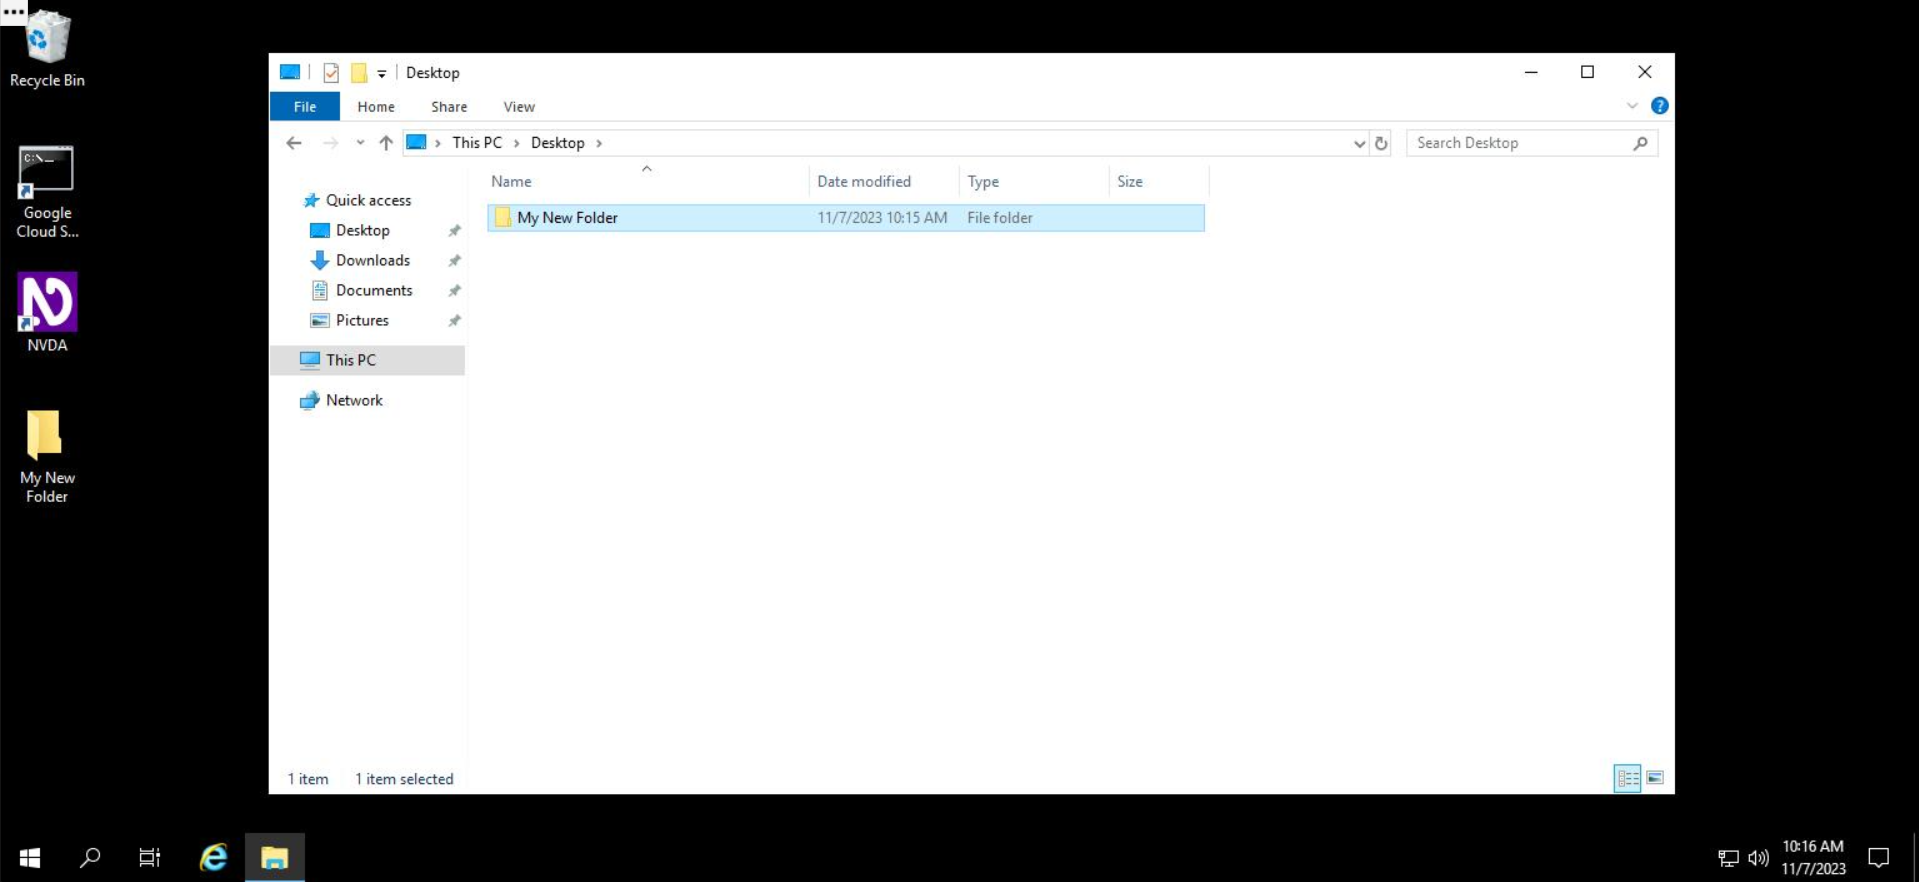
Поздравляем! Вы успешно создали папку.
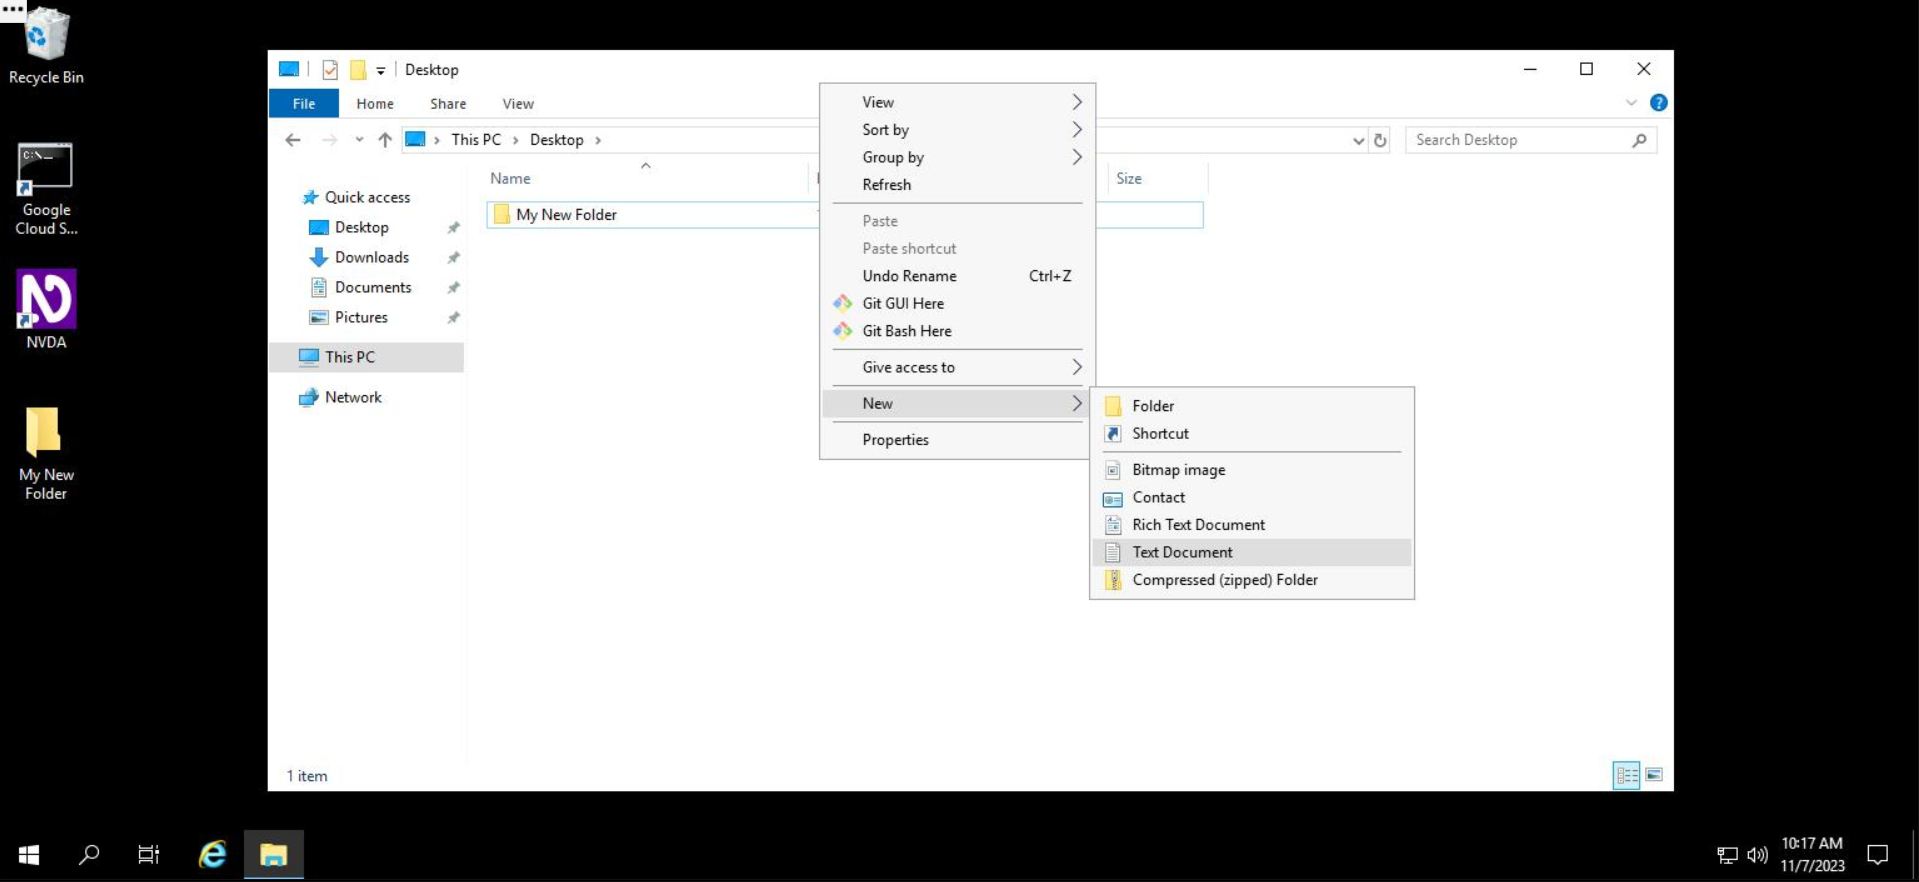
Перейдите в папку Рабочий стол, чтобы создать файл. Нажмите правой кнопкой мыши в любом месте внутри папки, выберите "Создать", а затем в контекстном меню нажмите "Текстовый документ".
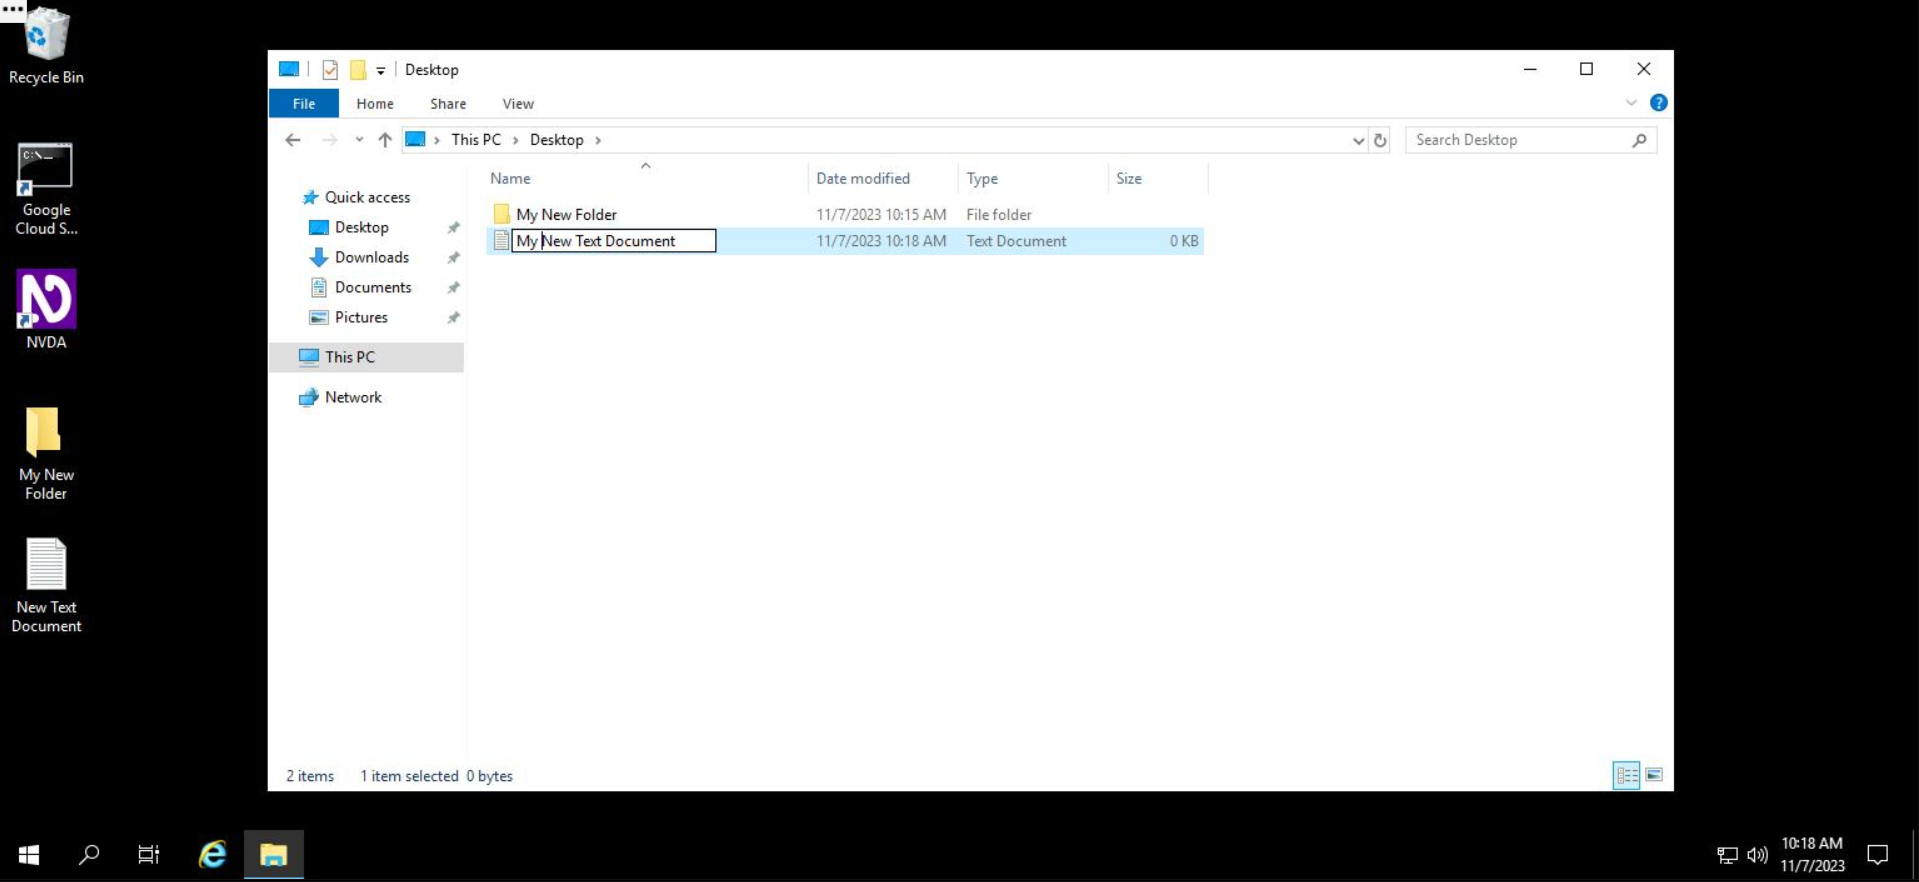
В Проводнике появится редактируемое текстовое поле, в котором вы можете присвоить файлу имя. В нашем случае это будет My New Text Document (Мой новый текстовый документ).
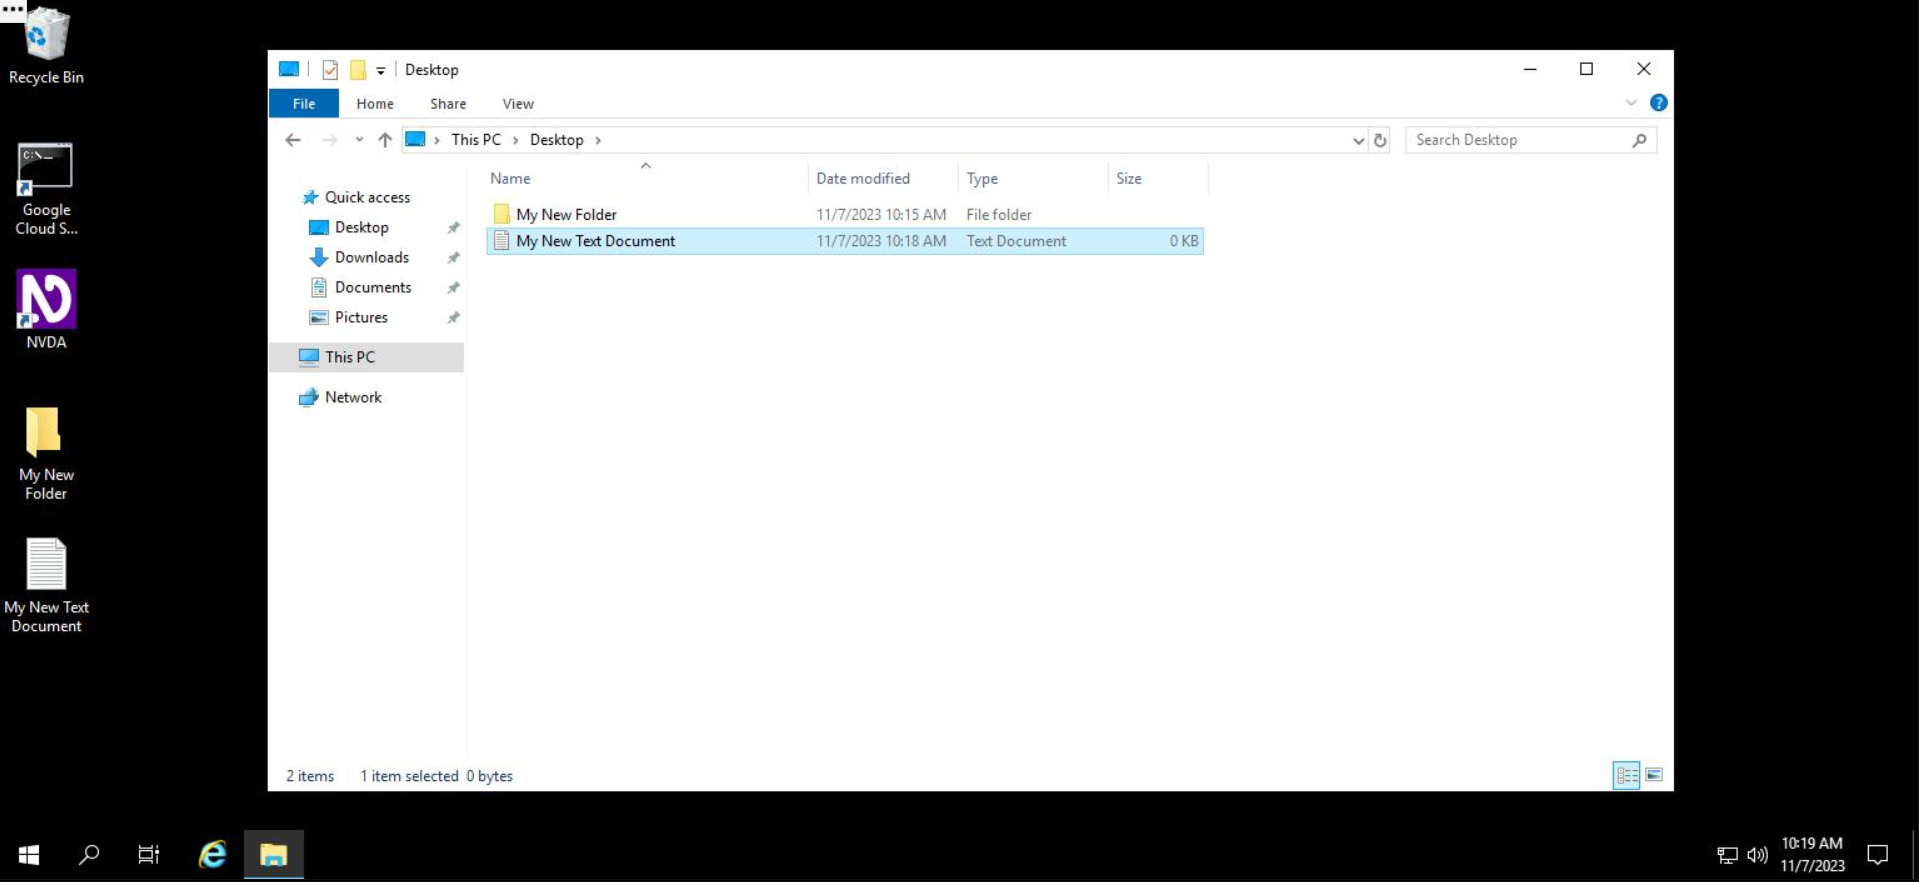
После этого нажмите Ввод.
Поздравляем! Вы успешно создали файл.
Нажмите Check my progress (Выполнено), чтобы узнать, справились ли вы с заданием.
Копирование, перемещение и переименование файлов и папок в Windows выполняется аналогичным способом. Чтобы скопировать папку в другое место, вам сначала нужно найти ее. Затем в Проводнике выберите "Копировать", перейдите в целевой каталог и нажмите "Вставить".
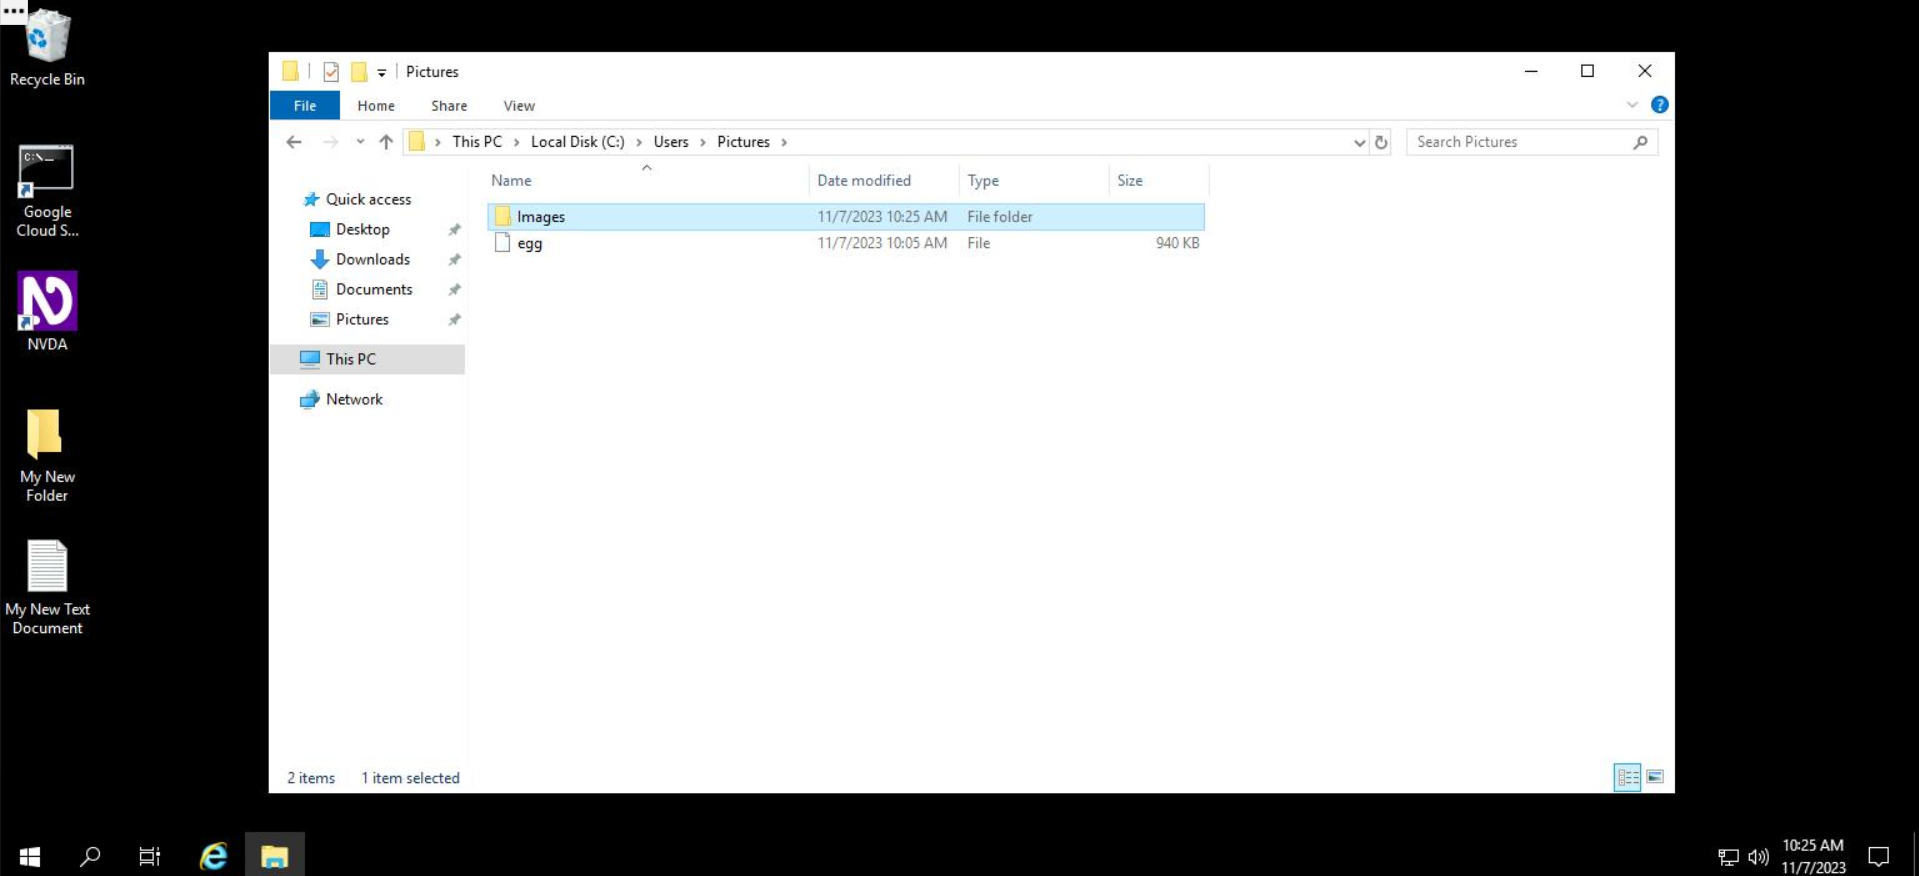
Вам предстоит скопировать папку "Изображения" в папку "Картинки".
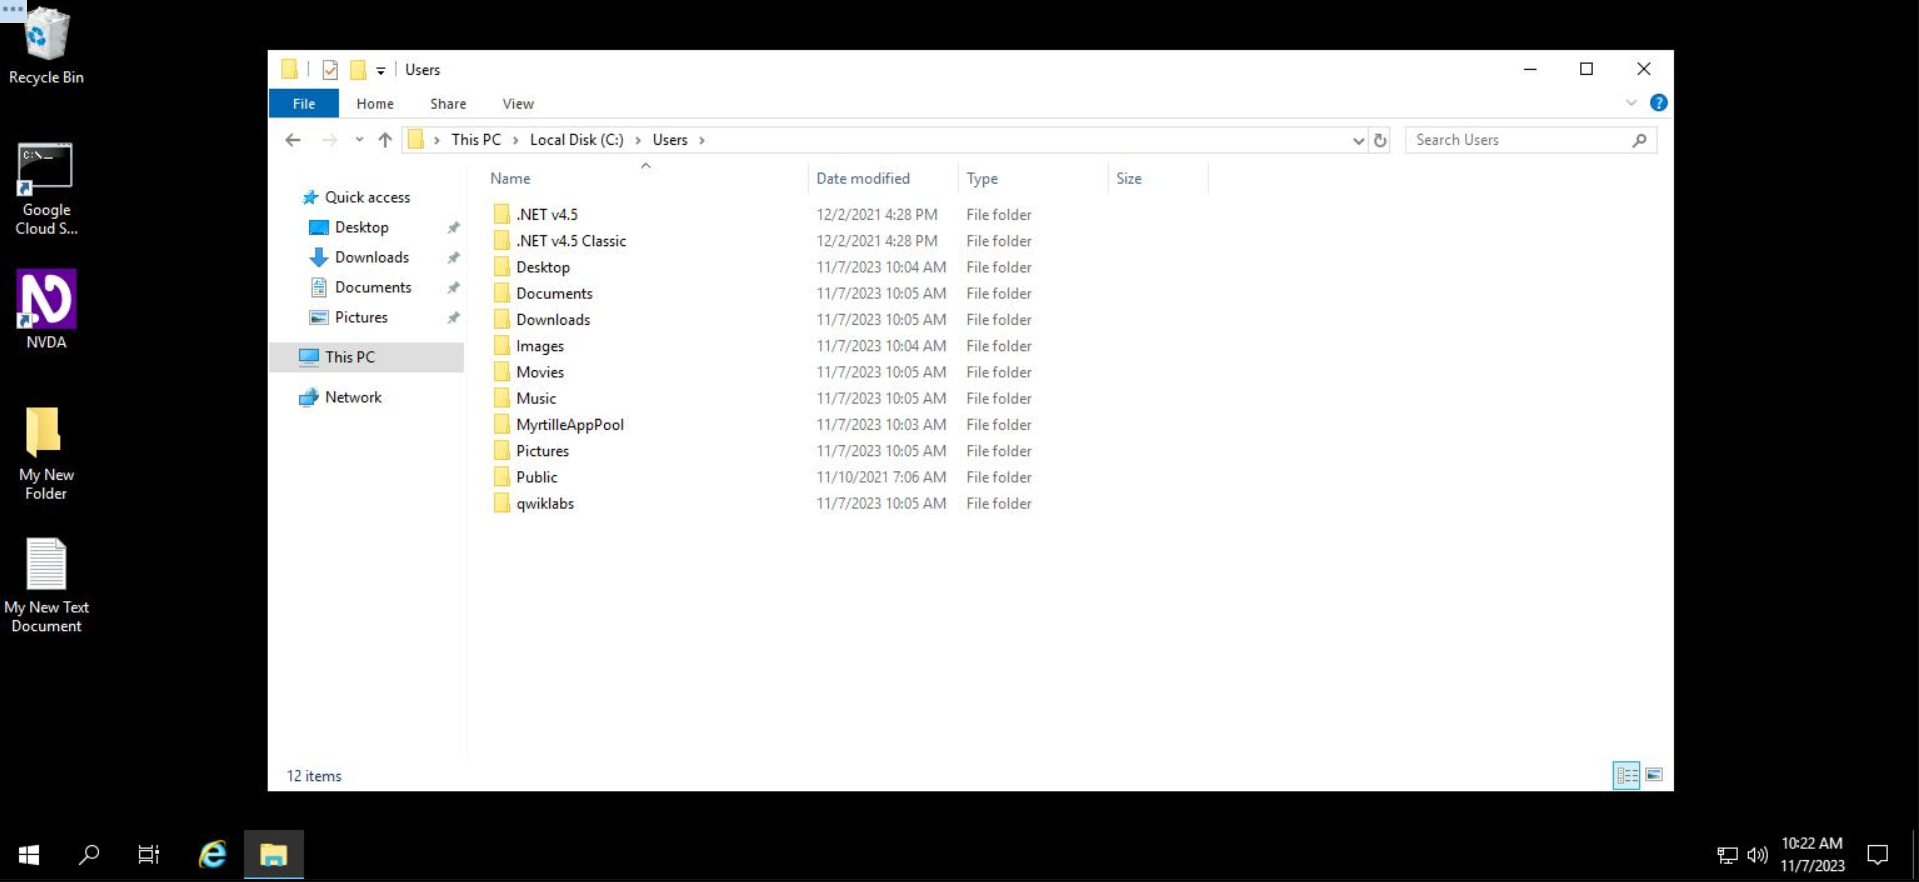
Шаг 1: в Проводнике перейдите в папку C:\Пользователи.
В этом каталоге вы увидите папку Изображения и папку Картинки.
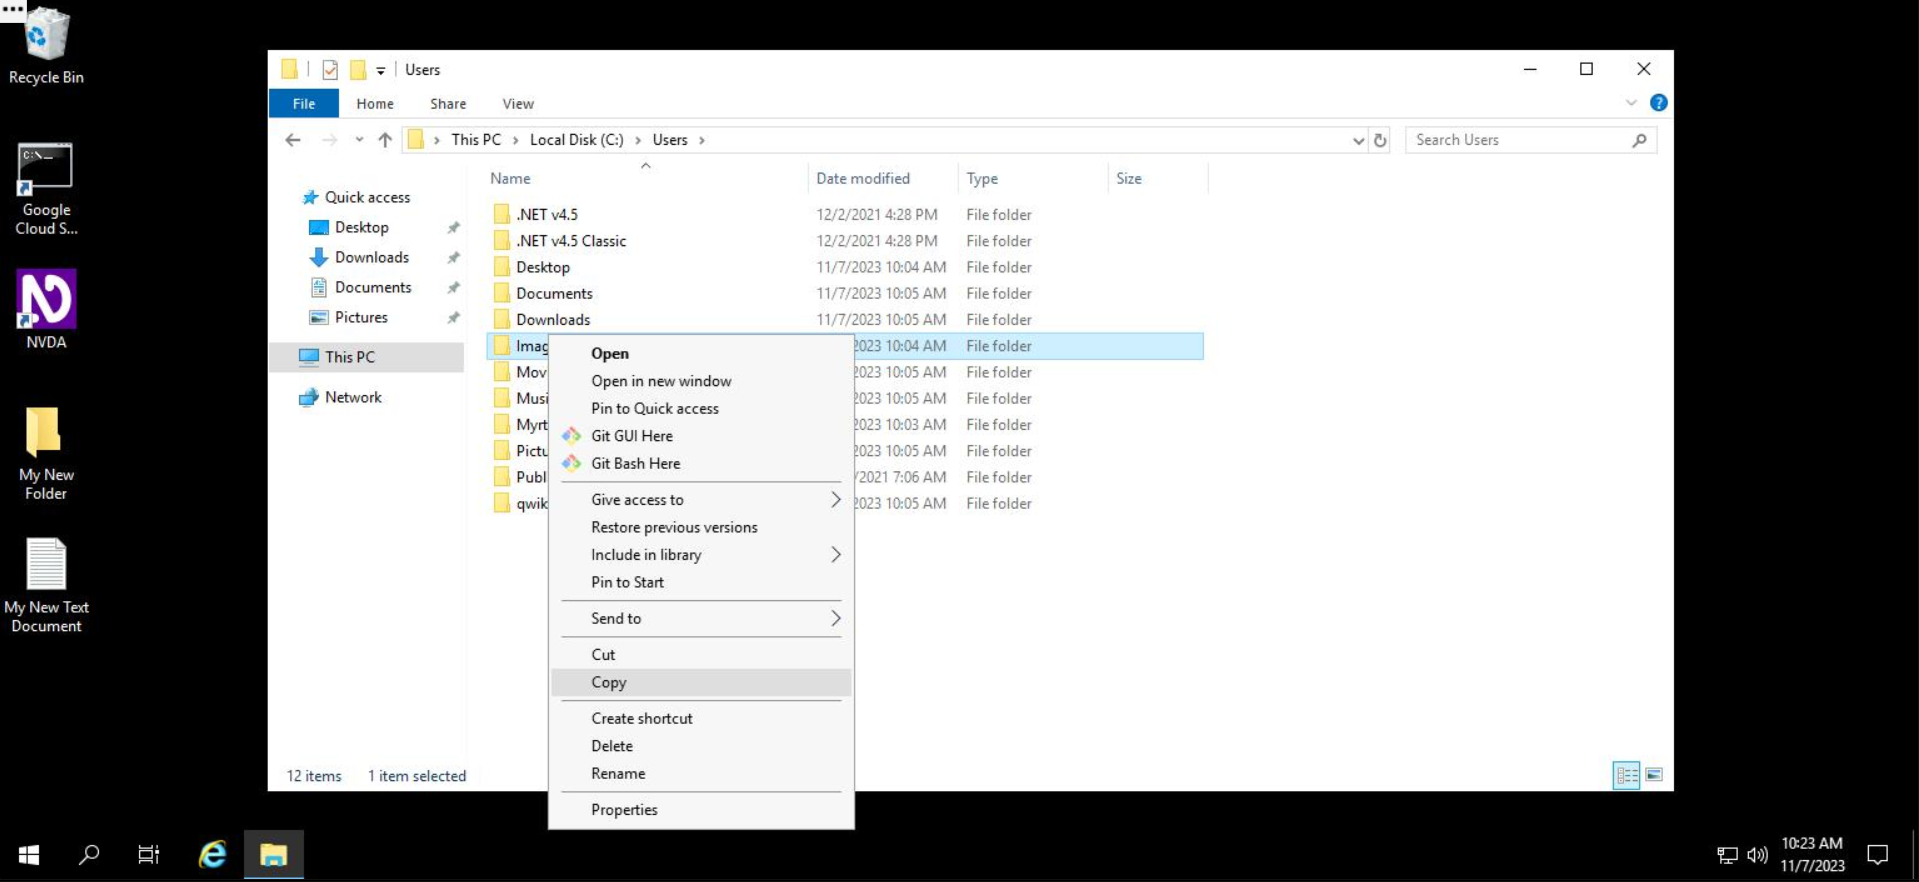
Чтобы скопировать папку Изображения в папку Картинки, выполните следующее:
Шаг 2: правой кнопкой мыши нажмите на папку Изображения и выберите Копировать.
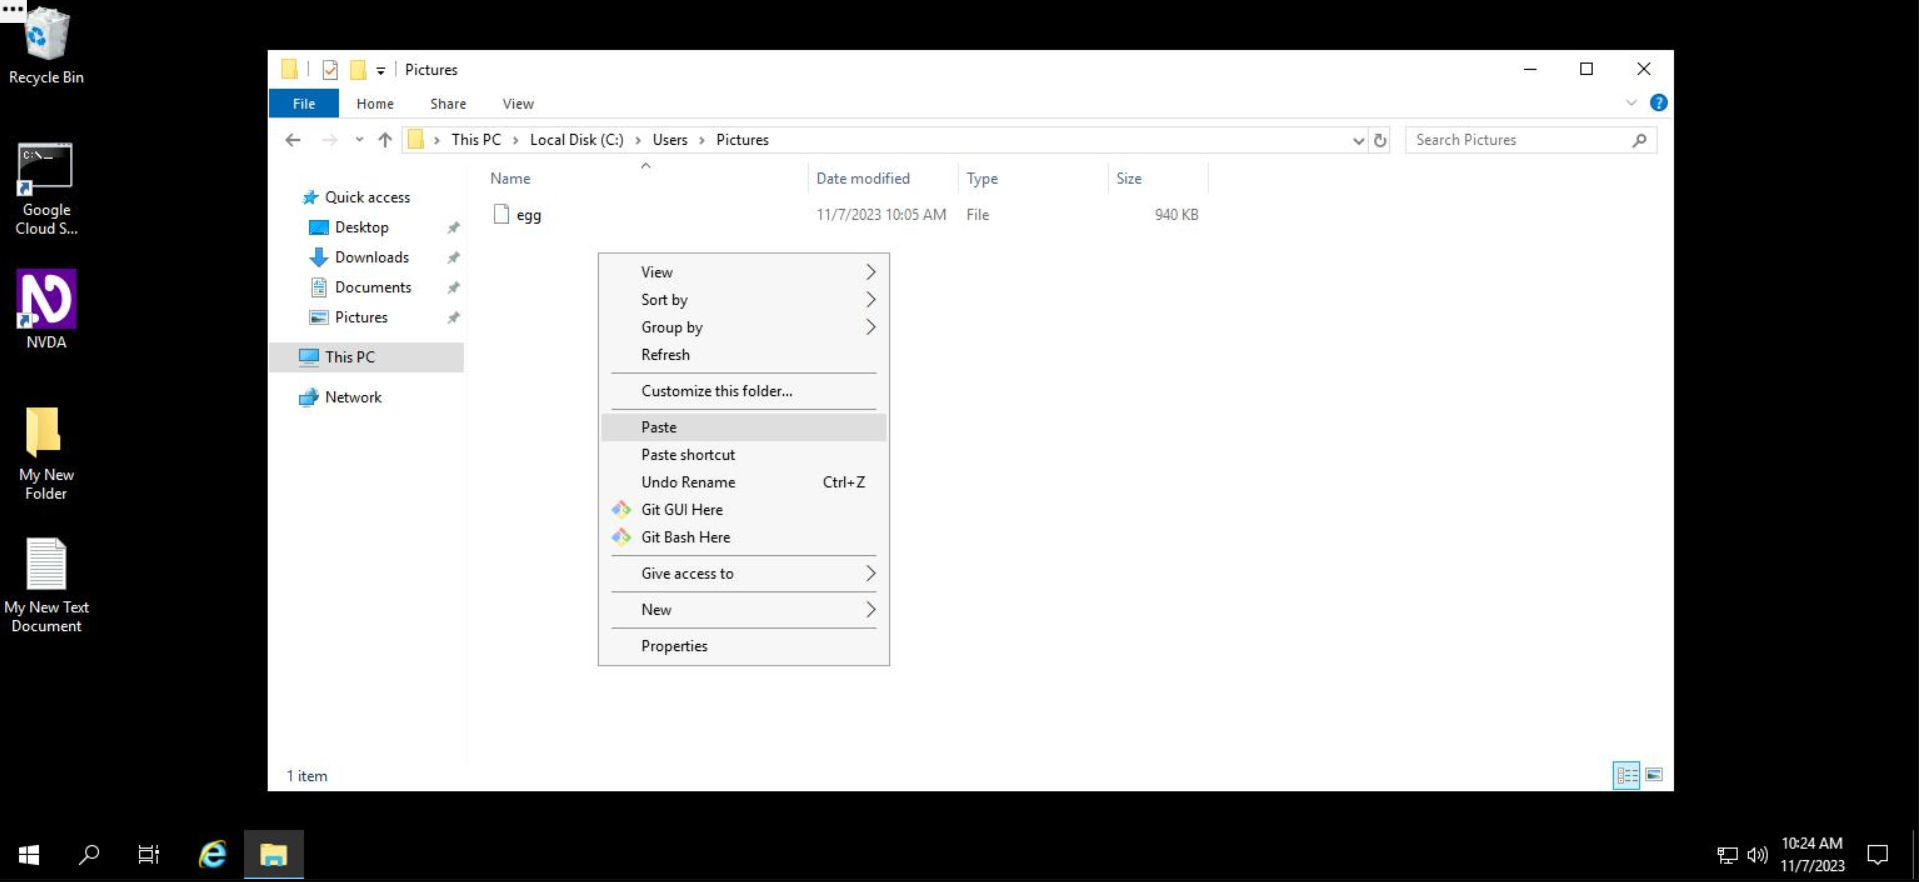
Шаг 3: дважды нажмите на папку Картинки, чтобы открыть ее.
Шаг 4: правой кнопкой мыши нажмите в любом месте в папке "Картинки" и выберите Вставить.
Папка будет скопирована в папку "Картинки".
Готово! Вы скопировали папку "Изображения" в папку "Картинки".
Нажмите Check my progress (Выполнено), чтобы узнать, справились ли вы с заданием.
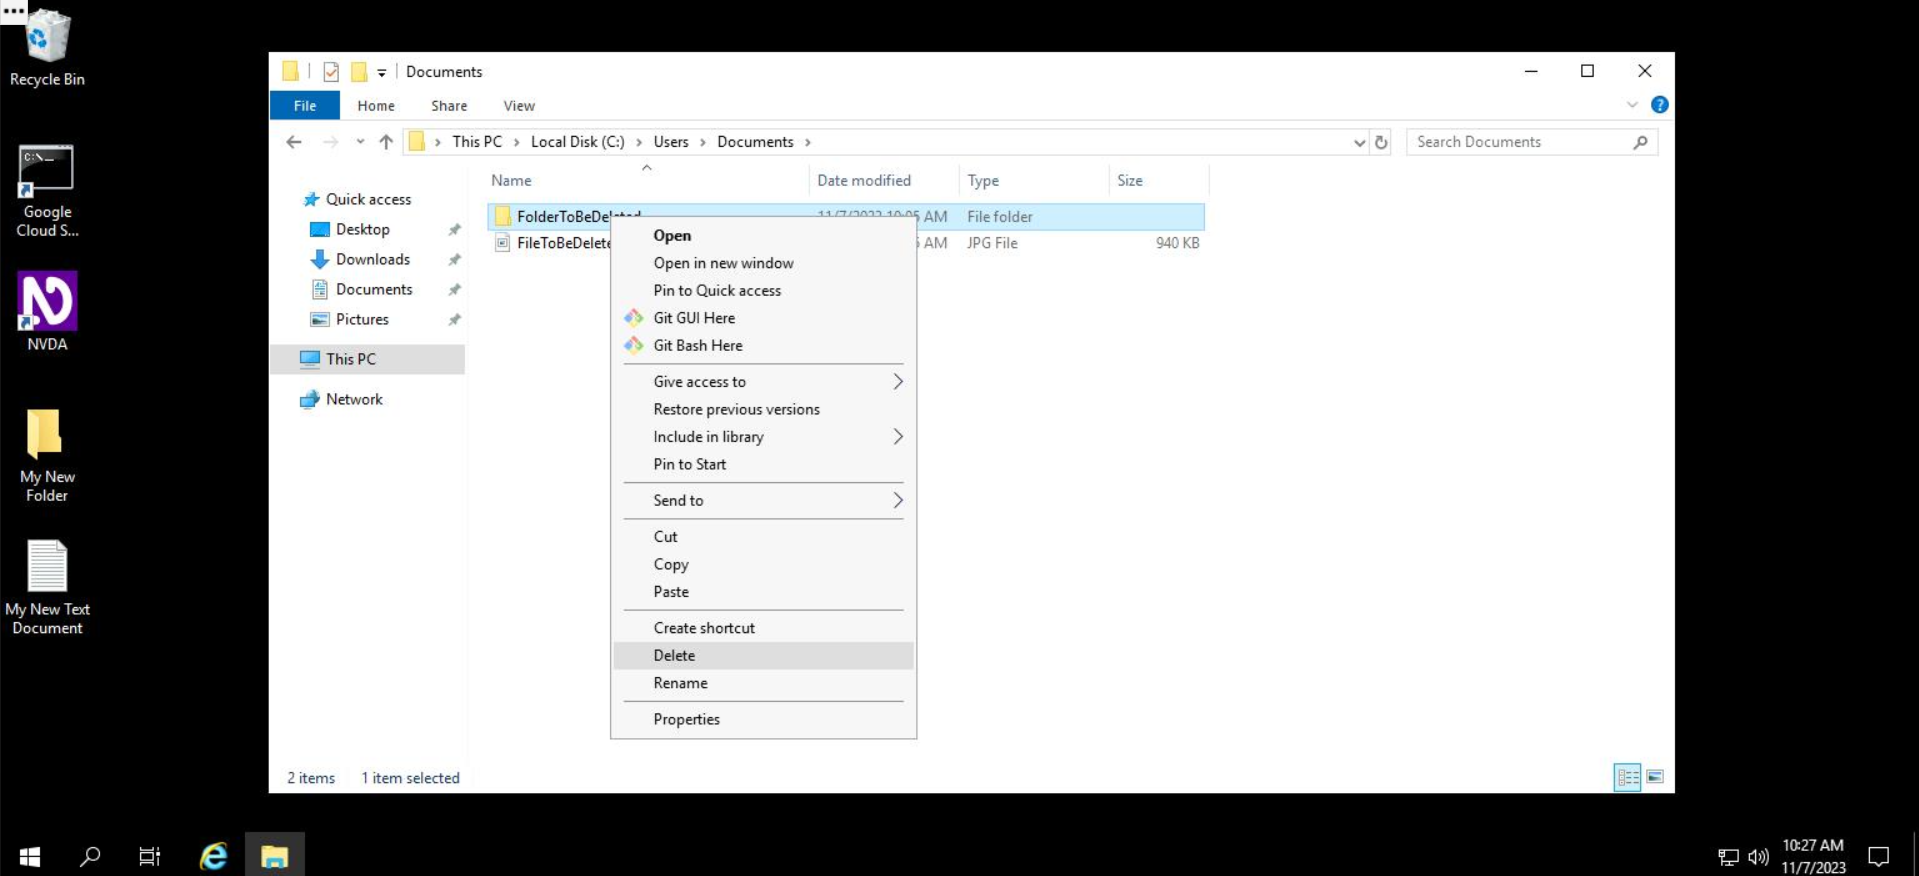
Чтобы удалить файл или папку, сначала перейдите в ту папку (C:/Пользователи/Документы), откуда вы хотите удалить их, а затем нажмите правой кнопкой мыши на нужный файл или папку и выберите Удалить.
Рассмотрим пример удаления файла в Проводнике. Откройте Проводник и перейдите в папку Документы. Сначала вам предстоит удалить папку FolderToBeDeleted (Папка на удаление).
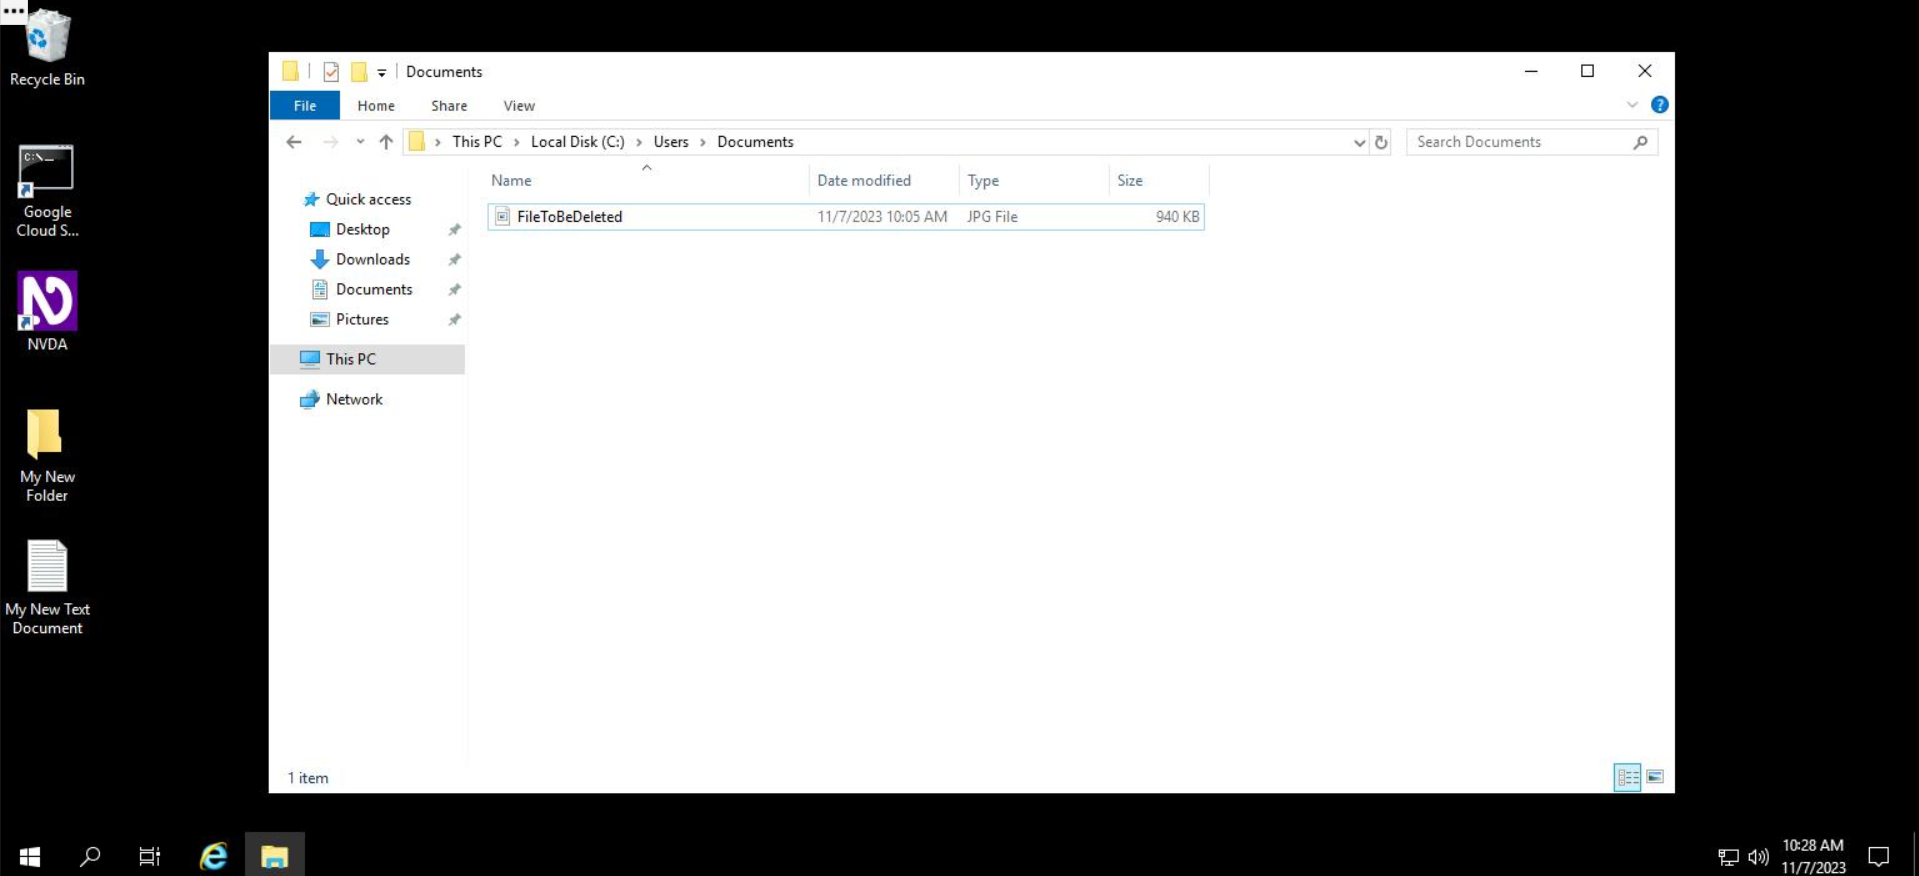
Папка "Документы" останется, а папка FolderToBeDeleted (Папка на удаление) исчезнет.
Чтобы удалить файл, перейдите в папку, нажмите на нужный файл правой кнопкой мыши и выберите Удалить. В папке "Документы" удалим файл FileToBeDeleted (Файл на удаление).
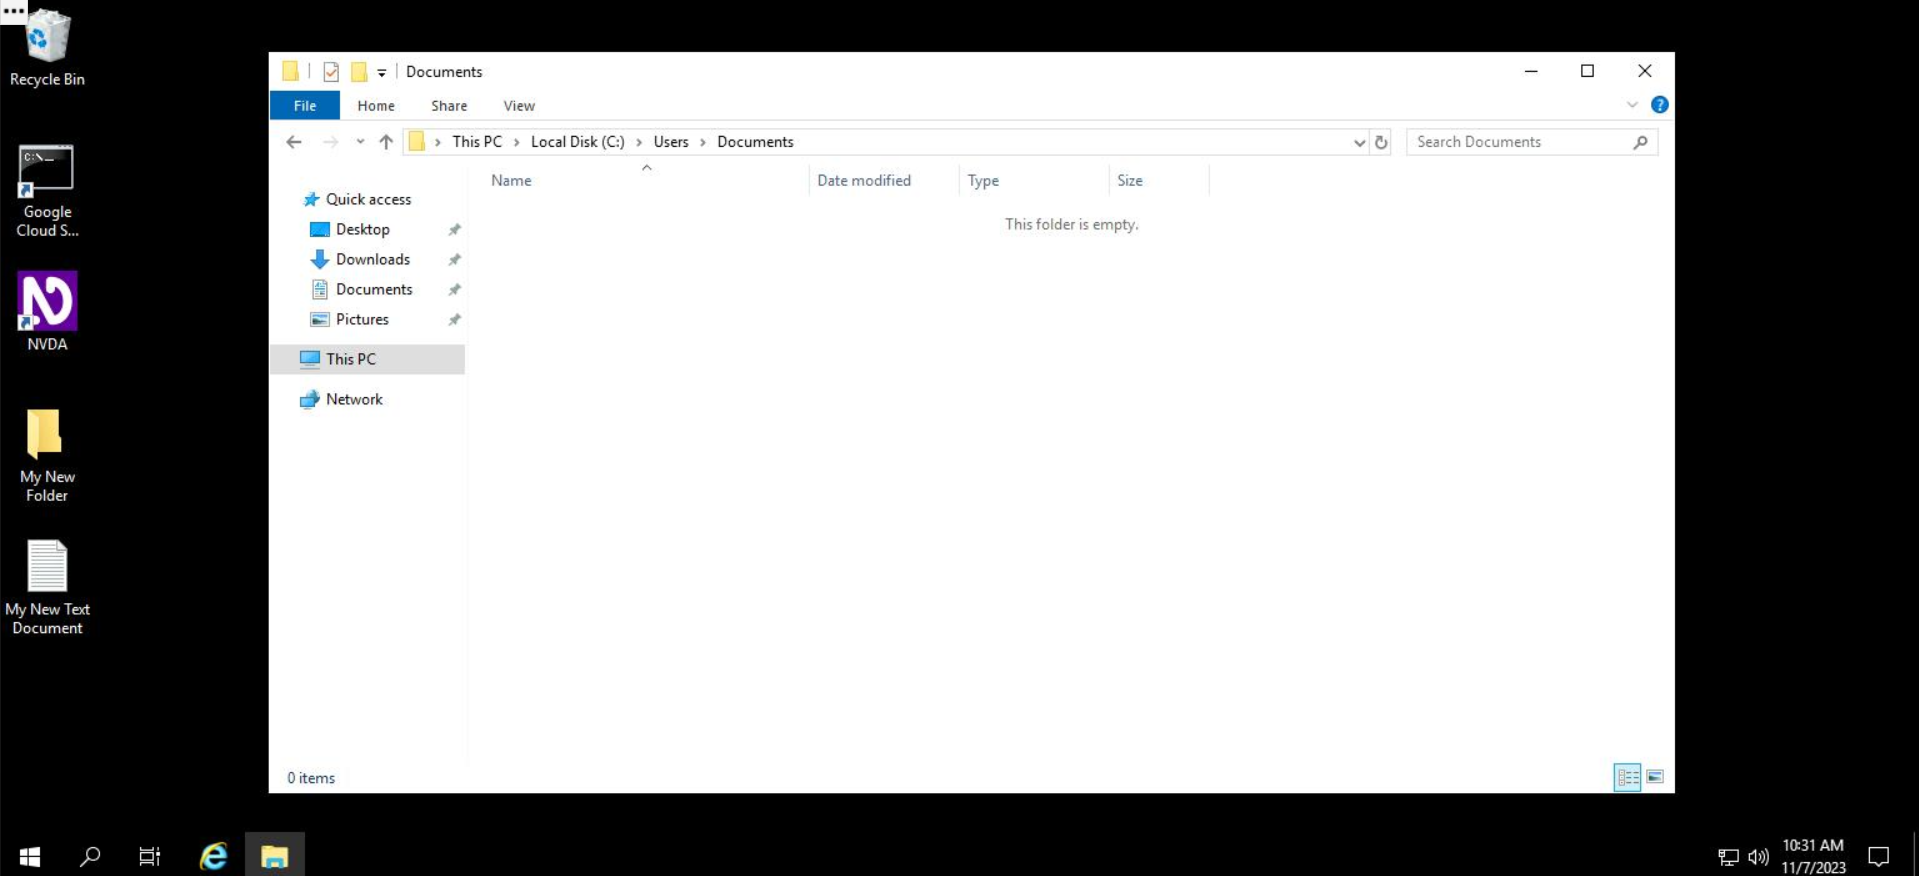
Готово! Папка "Документы" останется, а папка FolderToBeDeleted (Папка на удаление) и файл FileToBeDeleted (Файл на удаление) больше не будут доступны.
Нажмите Check my progress (Выполнено), чтобы узнать, справились ли вы с заданием.
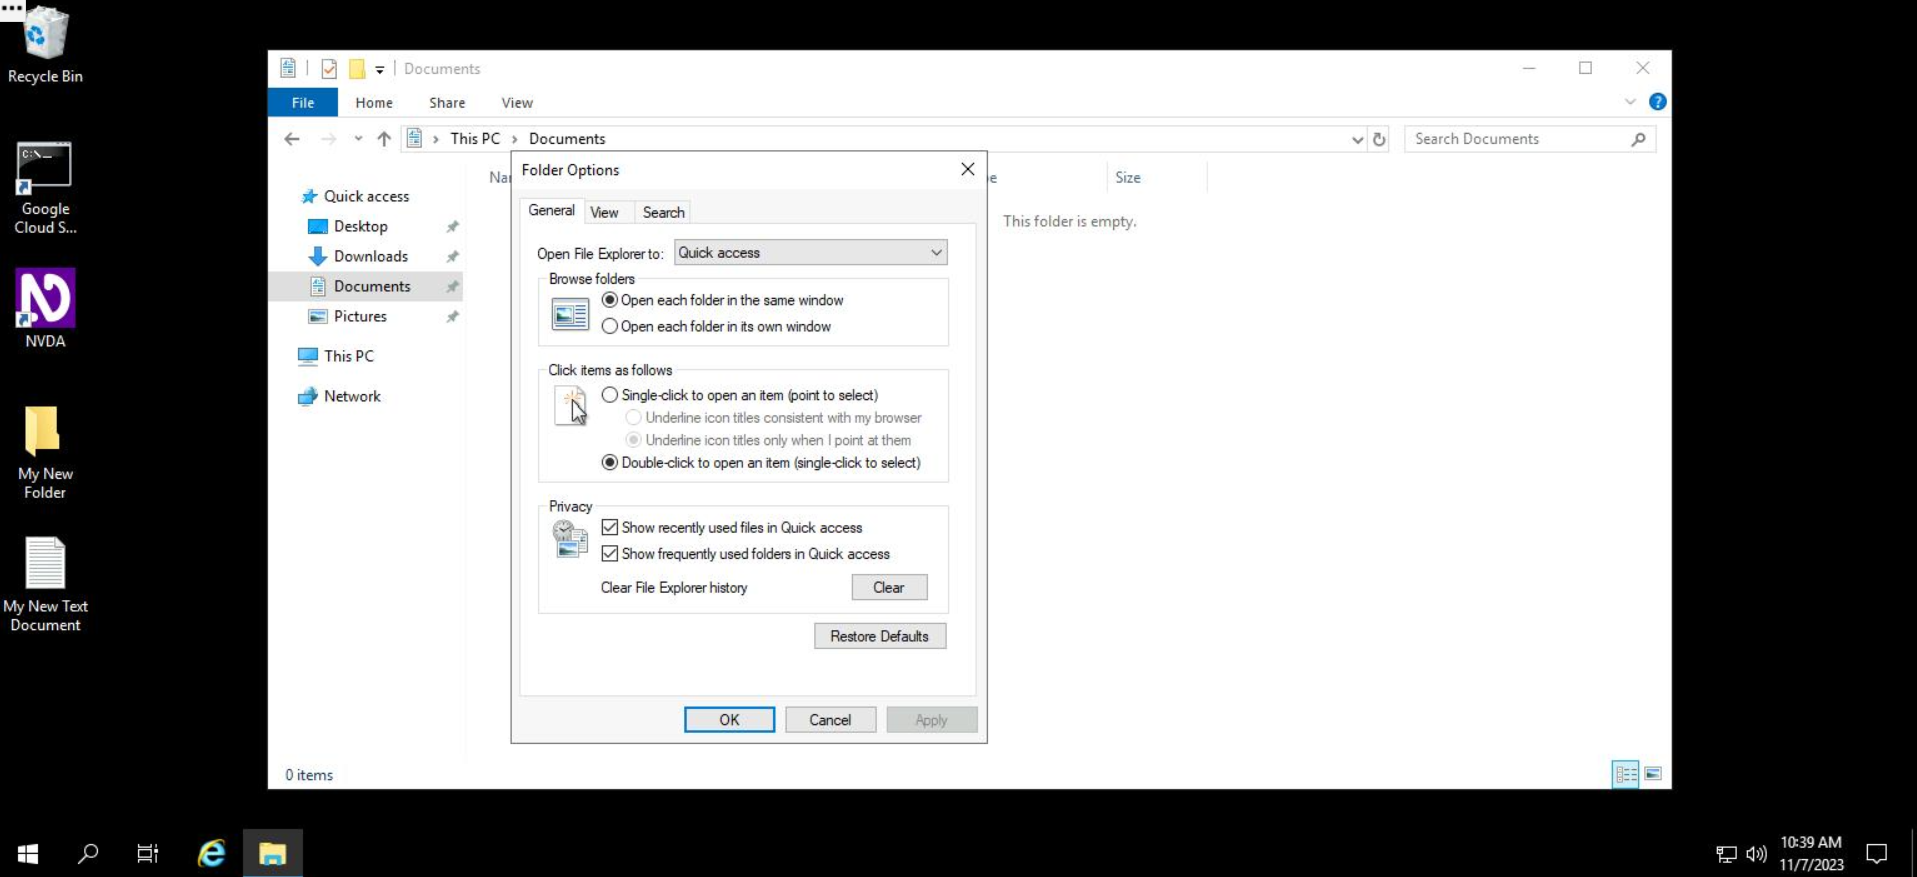
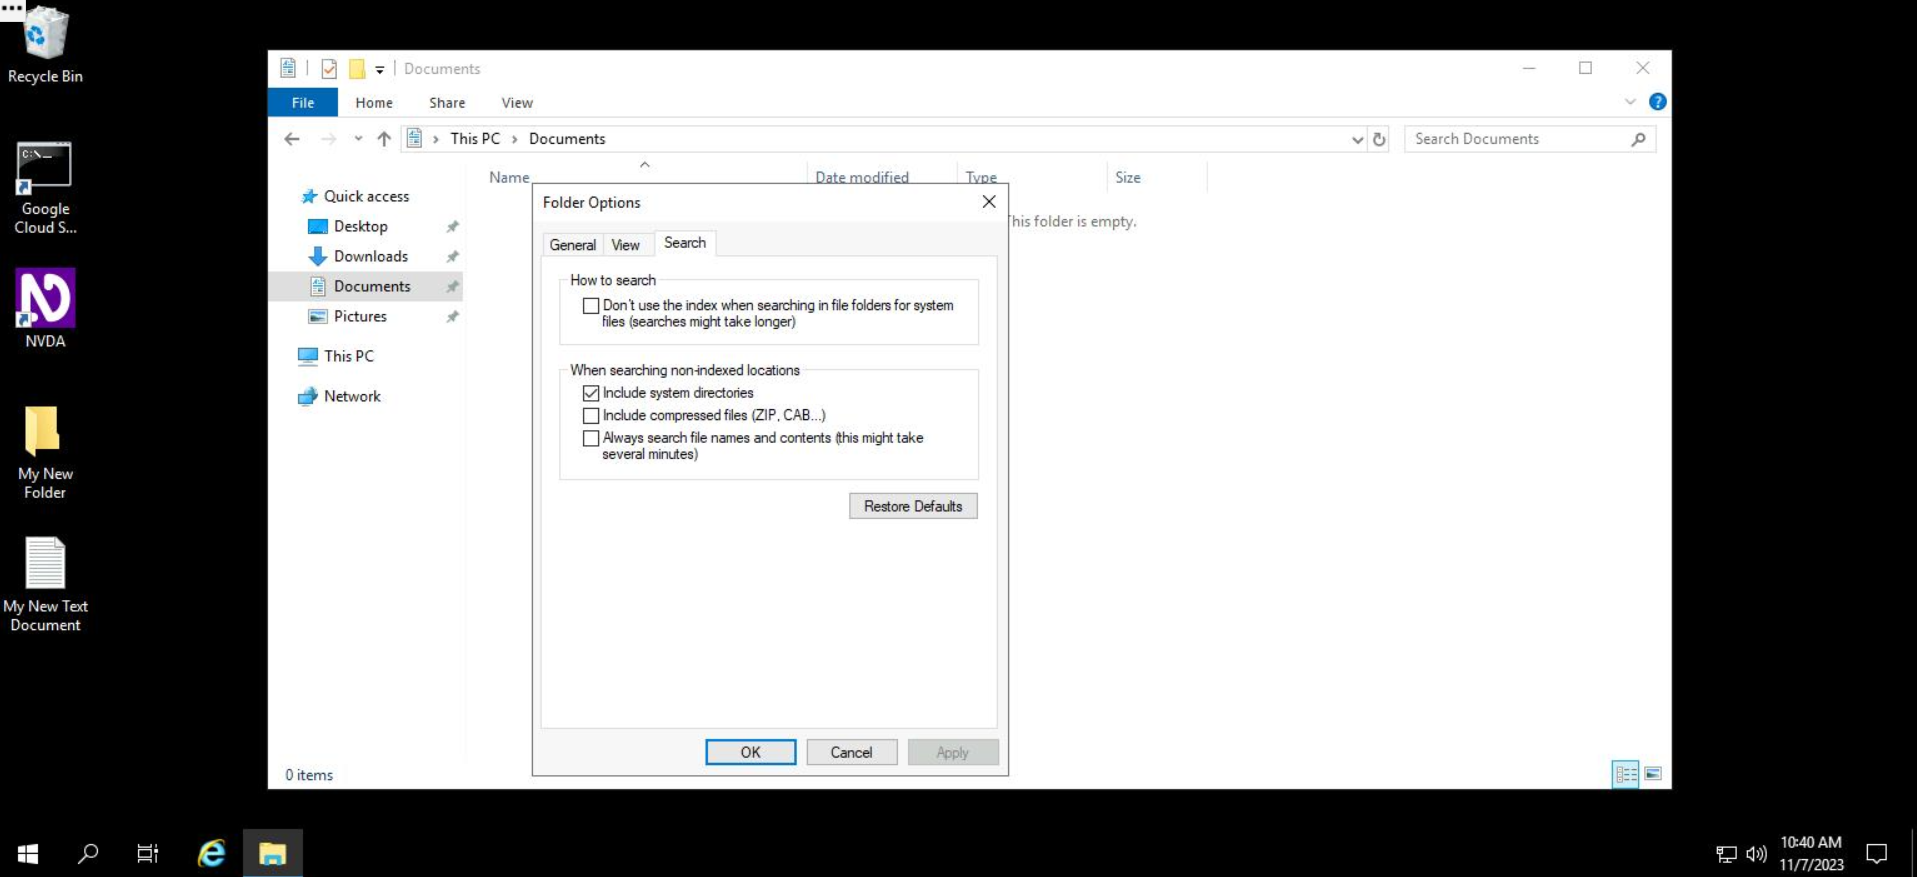
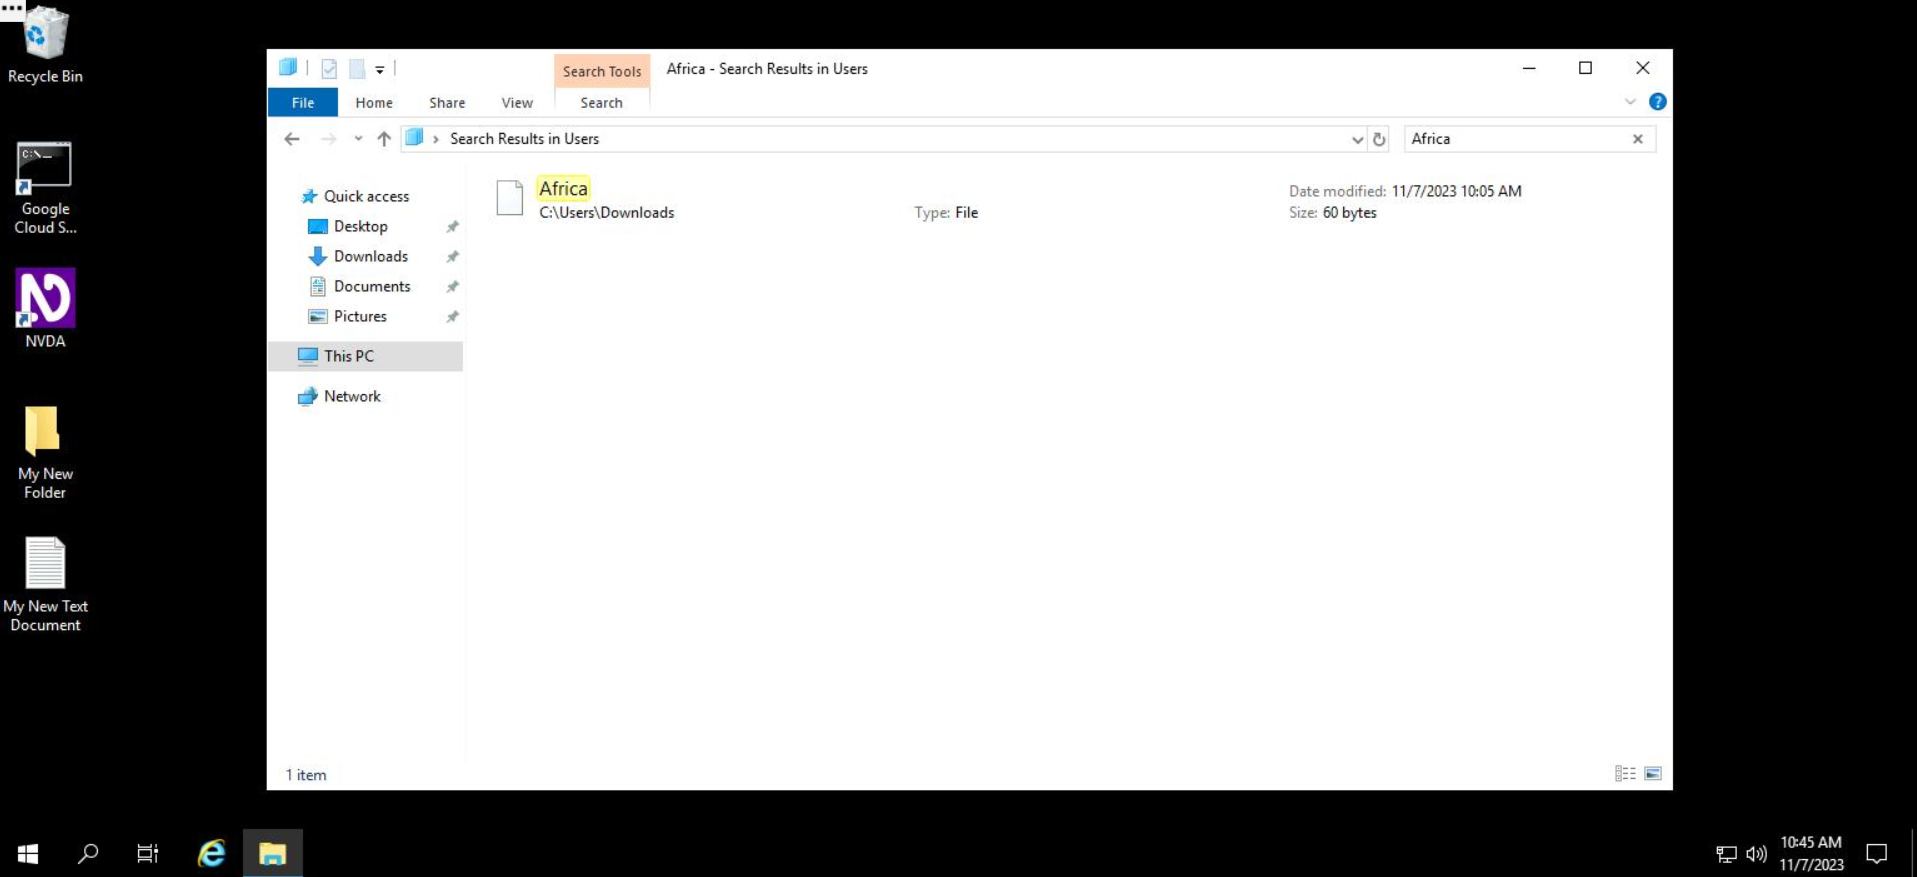
В Проводнике можно выполнять поиск по содержимому файлов. Чтобы использовать эту функцию, нужно сначала включить ее в меню Проводника. После этого вы сможете с помощью строки поиска в Проводнике искать содержимое в файлах из этого каталога. Чтобы включить поиск по содержимому файлов, выполните следующие действия:
Поиск по содержимому файлов теперь включен. Указав поисковый запрос в меню поиска, вы сможете найти файл, в котором есть такое сочетание символов.
В результатах также будут показаны имена файлов, в содержимом которых есть поисковый запрос.
Готово! Теперь вы можете профессионально использовать Проводник для управления файлами в Windows.
В ходе этого практического занятия вы получили базовые навыки создания, изменения, копирования и удаления файлов и папок в Windows. Продолжая работать с Windows, вы будете всё лучше разбираться в принципах взаимодействия с этой ОС.
Выполнив практическое занятие, нажмите End Lab (Завершить занятие). Платформа Qwiklabs удалит список ресурсов, которыми вы пользовались, и выполнит очистку аккаунта.
Вам будет предложено оценить удобство выполнения задания. Выберите нужное количество звезд, введите комментарий и нажмите Submit(Отправить).
Какой оценке соответствует то или иное количество звезд:
Если вы не хотите оценивать занятие, просто закройте диалоговое окно.
Отправлять отзывы, предложения или исправления можно на вкладке Support (Поддержка).


This content is not currently available
We will notify you via email when it becomes available

Great!
We will contact you via email if it becomes available

One lab at a time
Confirm to end all existing labs and start this one
Complete this quick step to start your lab.