
Before you begin
- Labs create a Google Cloud project and resources for a fixed time
- Labs have a time limit and no pause feature. If you end the lab, you'll have to restart from the beginning.
- On the top left of your screen, click Start lab to begin
Create an ML model
/ 25
Create a table by using a BigQuery ML model to generate numerical vector representations
/ 25
Create a vector index on the 'embeddings' table
/ 25
Perform a text similarity search using the vector index
/ 25

BigQuery Vector Search Vector search allows you to find the most similar items in your dataset by comparing the mathematical representations of their features, known as embeddings, rather than relying on exact keyword matches.
Have you ever been shopping online and been impressed by how a website can recommend products that are incredibly similar to what you're searching for, even if you can't quite describe them with words? This is often powered by vector search, a technique that goes beyond simple keyword matching. Instead of just searching for text, vector search analyzes the underlying features and characteristics of an item, allowing it to find things that are conceptually or visually similar. In this lab, you'll get hands-on experience using the powerful and scalable vector search capabilities built directly into BigQuery.
For a global retailer like Cymbal E-commerce, this technology is a game-changer for customer experience. Imagine a customer searching for a "lightweight jacket for hiking." A traditional keyword search might miss the perfect product if its description uses "windbreaker" instead of "jacket." With vector search, Cymbal can analyze embeddings—numerical representations of product images and descriptions—to return a list of all relevant outerwear, regardless of the exact terminology. This helps customers discover the products they want faster, making them happier and boosting sales. Let's dive in and build this for Cymbal!
In this lab, you learn how to use BigQuery to perform vector searches.
VECTOR_SEARCH function against the embeddings you createdRead these instructions. Labs are timed and you cannot pause them. The timer, which starts when you click Start Lab, shows how long Google Cloud resources will be made available to you.
This hands-on lab lets you do the lab activities yourself in a real cloud environment, not in a simulation or demo environment. It does so by giving you new, temporary credentials that you use to sign in and access Google Cloud for the duration of the lab.
To complete this lab, you need:
Since this is a temporary account, which will last only as long as this lab:
 ) at the top-left.
In the Google Cloud Console, enter BigQuery API in the top search bar.
Click on the result for BigQuery API under Marketplace.
If the API is not already enabled, click Enable to enable the API.
Repeat steps 1-3 for BigQuery Connection API and again for Agent Platform API.
In this task, you create a Agent Platform text embedding generation model that is required for a vector search and to create the embeddings for the database.
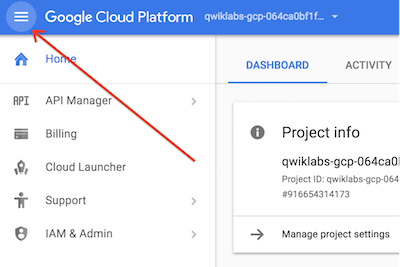
In the Google Cloud Console Navigation menu (
Select the Untitled query tab.
Enter the following code:
Click Run. The query will take a couple of minutes to run. If you get an error regarding a missing service account, simply rerun the same query.
service account does not exist error appears, simply retry the query after a short wait as the service account may still be provisioningClick Check my progress to verify the objective.
Replace the query with the following code:
Click Run. The query will take about 5 minutes to run.
Click Check my progress to verify the objective.
Replace the query with the following code:
Click Run. The query will take a few minutes to run.
Click Check my progress to verify the objective.
Enter the following code to check the status of the index:
Click Run. The index is ready to be used when the coverage_percentage column value is greater than 0 and the last_refresh_time column value isn't NULL. If the index is not ready the first time you run the above query rerun it occasionally to check on the index status. Continue the lab when you see results indicating the index is ready to use.
You will use the VECTOR_SEARCH function to search for entries relevant to your search term which is the phrase "improving online shopper search results" in this example. The model you use to generate the embeddings when searching must be the same as the one you use to generate the embeddings in the table you are comparing against, otherwise the search results won't be accurate.
In the BigQuery query tab replace the code with the following:
Click Run.
Optional: If you want to try other searches replace 'improving online shopper search results' in the code with a different search.
Click Check my progress to verify the objective.
You created an AI model, embeddings for your data, a vector index, and queried using the index to find the items most closely related to your search term.


This content is not currently available
We will notify you via email when it becomes available

Great!
We will contact you via email if it becomes available

One lab at a time
Confirm to end all existing labs and start this one