

准备工作
- 实验会创建一个 Google Cloud 项目和一些资源,供您使用限定的一段时间
- 实验有时间限制,并且没有暂停功能。如果您中途结束实验,则必须重新开始。
- 在屏幕左上角,点击开始实验即可开始
Create Agent Platform Notebooks instance
/ 30
Clone the lab repository
/ 30
Perform Exploratory Data Analysis Using Workbench and Python
/ 40
Create Agent Platform Notebooks instance
/ 30
Clone the lab repository
/ 30
Perform Exploratory Data Analysis Using Workbench and Python
/ 40
In this lab you learn the process of analyzing a dataset stored in BigQuery using a Workbench Instance notebook to perform queries and present the data using various statistical plotting techniques. The analysis will help you discover patterns in the data.
Agent Platform is a unified platform for building, deploying, and managing machine learning (ML) applications.
Agent Platform Workbench notebooks provide a flexible and scalable solution for developing and deploying ML models on Google Cloud. Choose Workbench if you need more customization options and need complete control over your machine learning environment. It offers the security and compliance features needed for enterprise organizations and integrates with other Google Cloud services like Agent Platform and BigQuery for an enhanced data science and machine learning workflow.
BigQuery is a powerful, fully managed, serverless data warehouse that allows you to analyze and manage large datasets with ease. BigQuery uses a familiar standard SQL dialect, making it easy for analysts and data scientists to use without needing to learn a new language.
Agent Platform offers two Notebook Solutions, Workbench and Colab Enterprise.
Agent Platform Workbench is a good option for projects that prioritize control and customizability. It’s great for complex projects spanning multiple files, with complex dependencies. It’s also a good choice for a data scientist who is transitioning to the cloud from a workstation or laptop.
Agent Platform Workbench Instances comes with a preinstalled suite of deep learning packages, including support for the TensorFlow and PyTorch frameworks.
For each lab, you get a new Google Cloud project and set of resources for a fixed time at no cost.
Sign in to Google Skills using an incognito window.
Note the lab's access time (for example, 1:15:00), and make sure you can finish within that time.
There is no pause feature. You can restart if needed, but you have to start at the beginning.
When ready, click Start lab.
Note your lab credentials (Username and Password). You will use them to sign in to the Google Cloud Console.
Click Open Google Console.
Click Use another account and copy/paste credentials for this lab into the prompts.
If you use other credentials, you'll receive errors or incur charges.
Accept the terms and skip the recovery resource page.
In the Google Cloud console, from the Navigation menu (
Click Enable APIs.
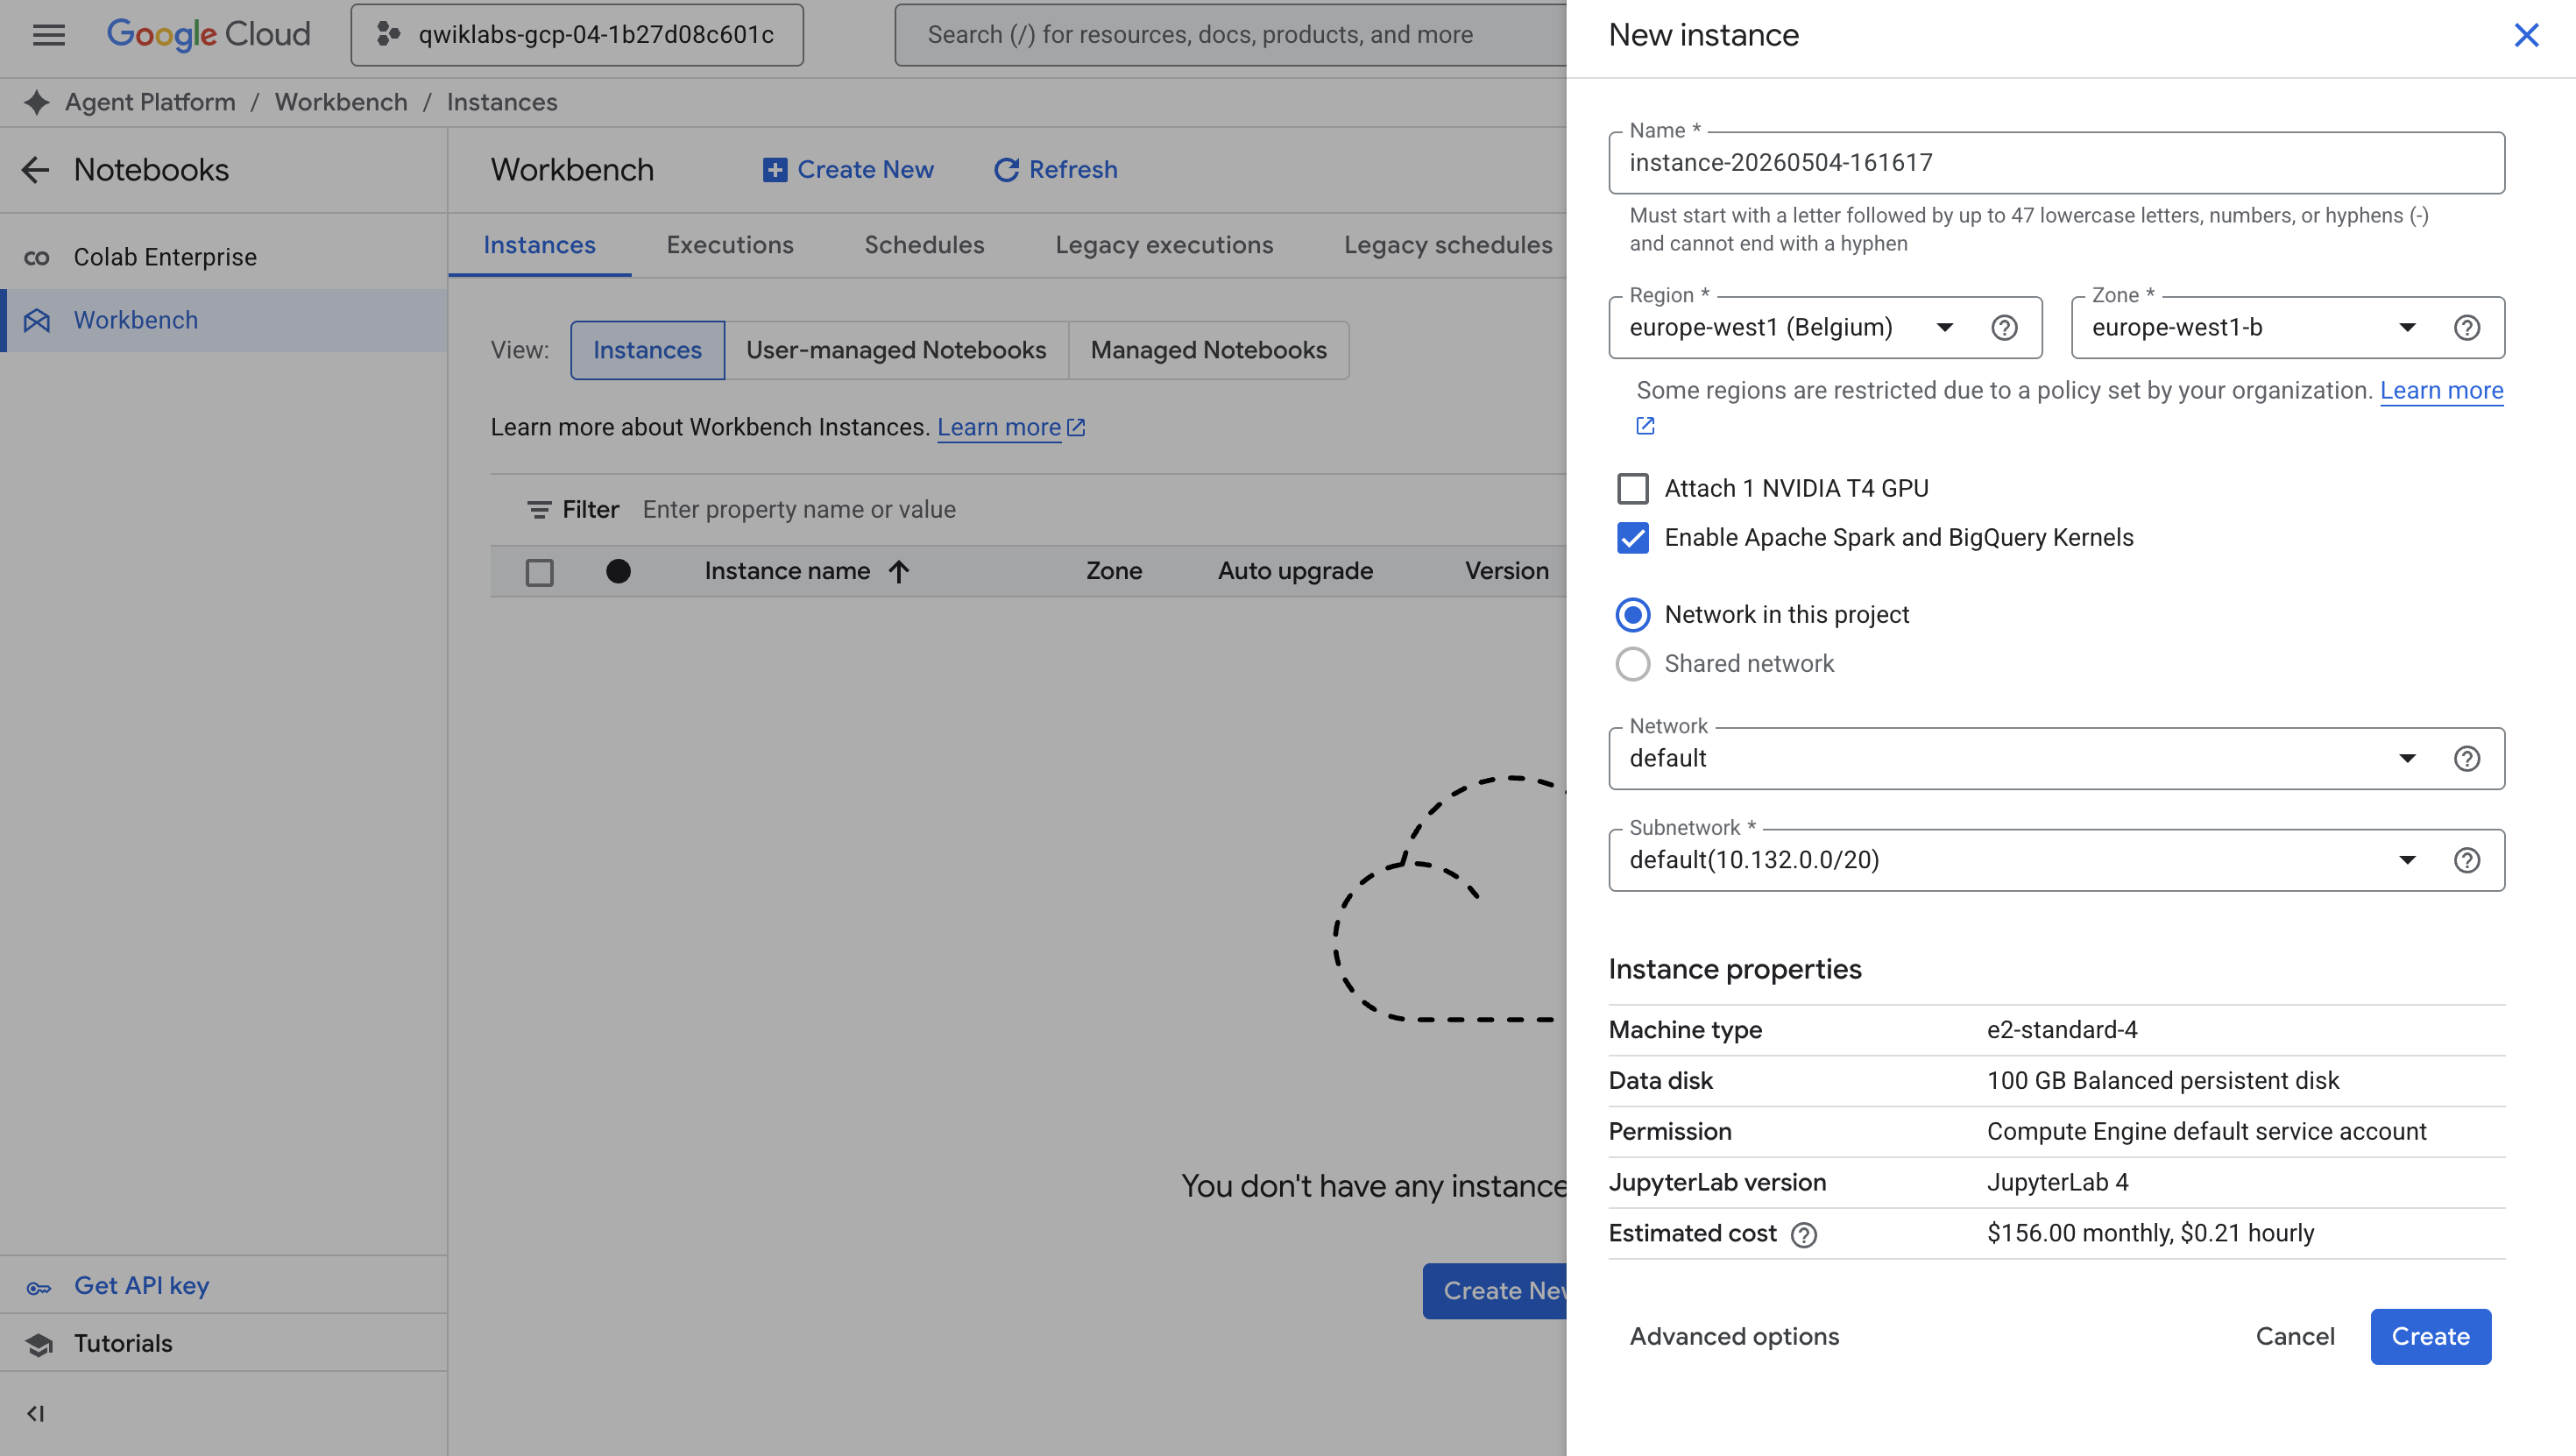
From the left navigation pane, click Notebooks > Workbench.
At the top of the Workbench page, ensure you are in the Instances view.
Click 
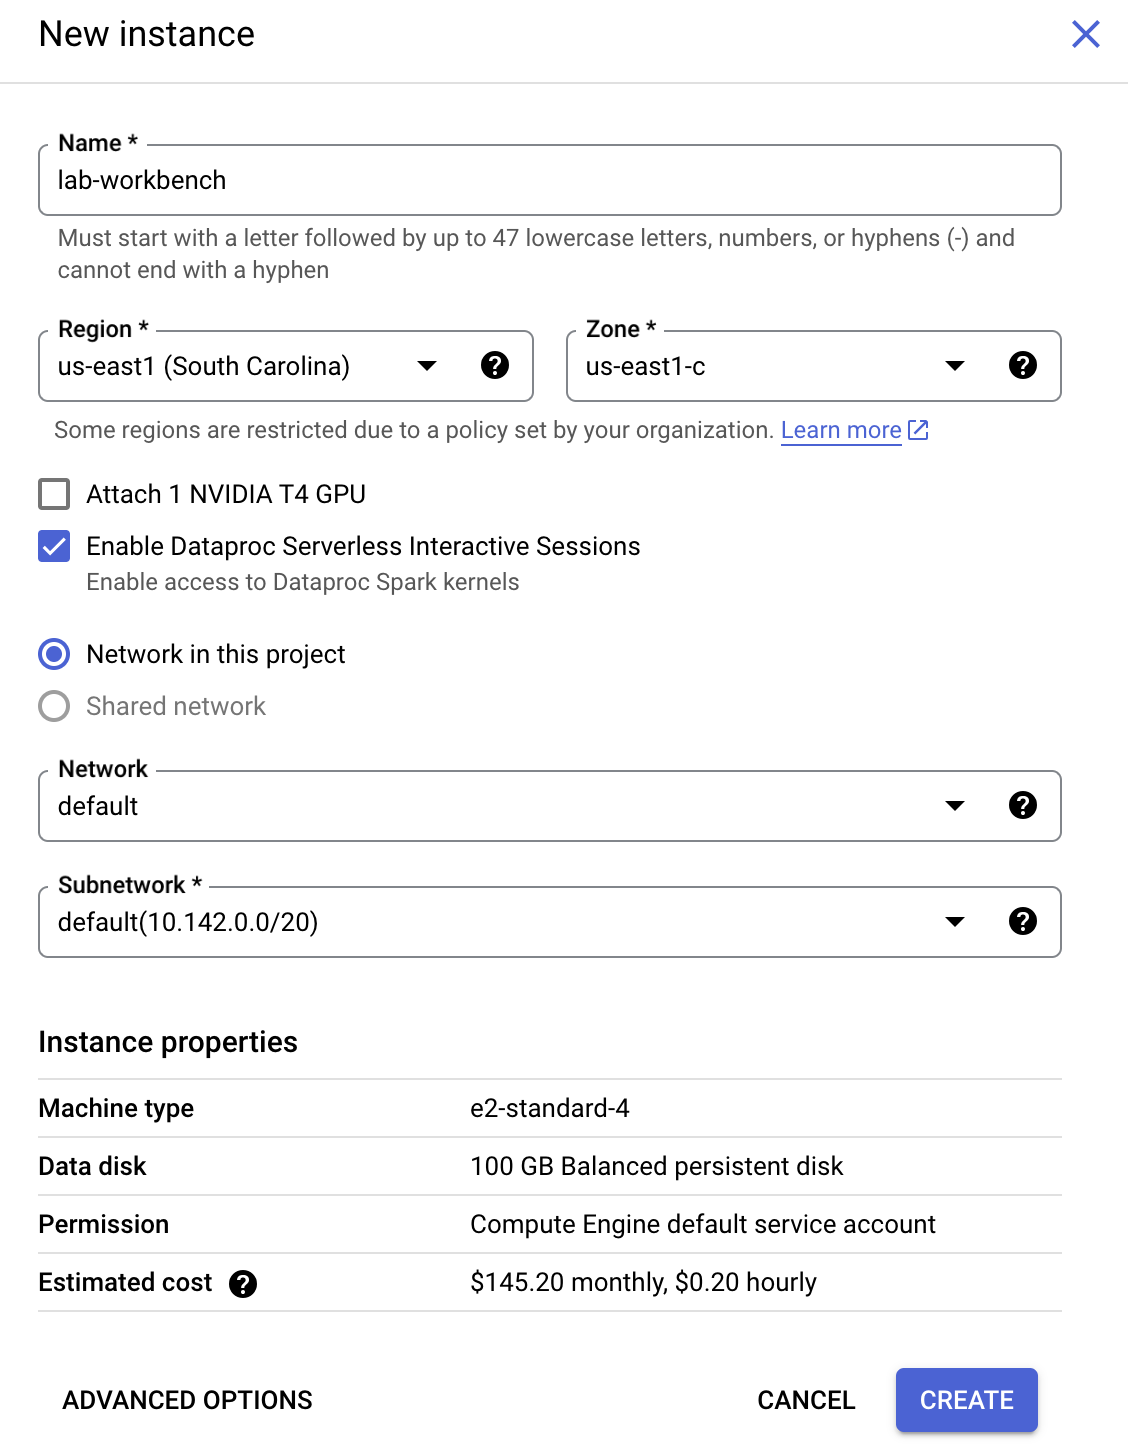
Configure the Instance:
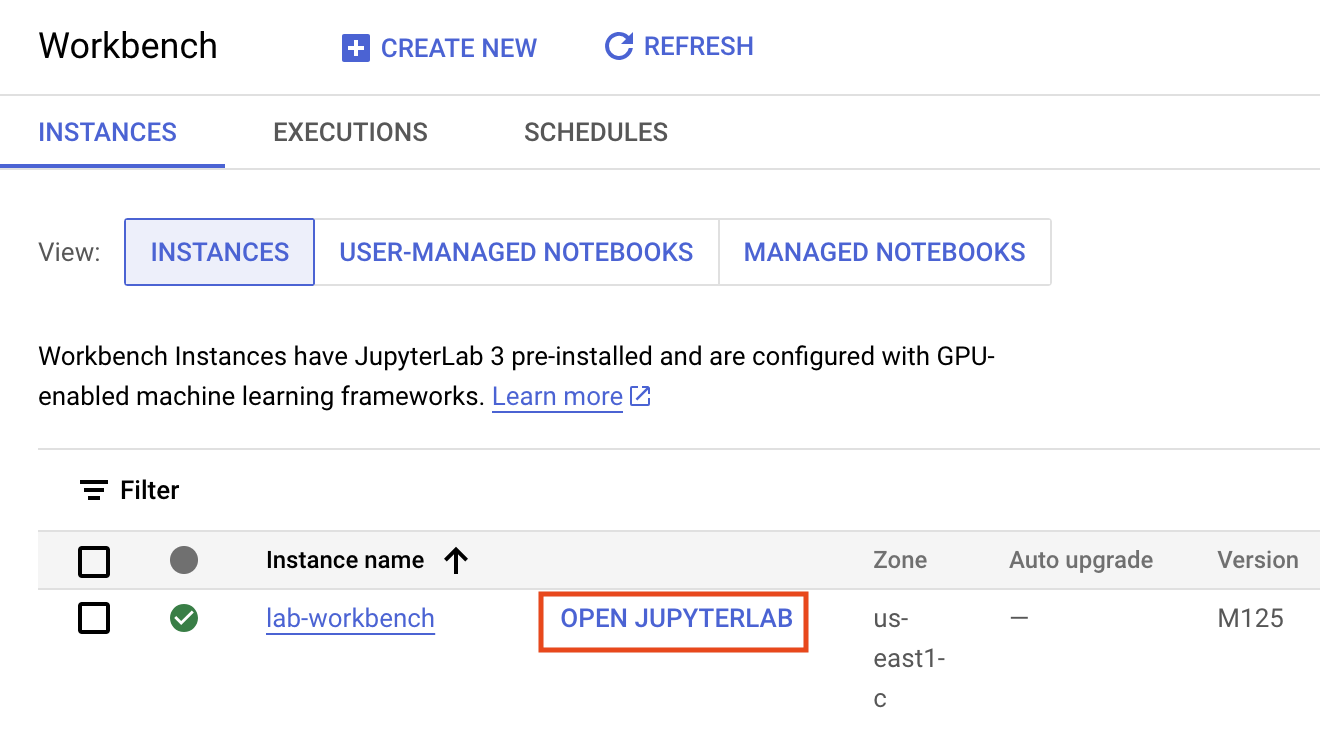
This will take a few minutes to create the instance. A green checkmark will appear next to its name when it's ready.
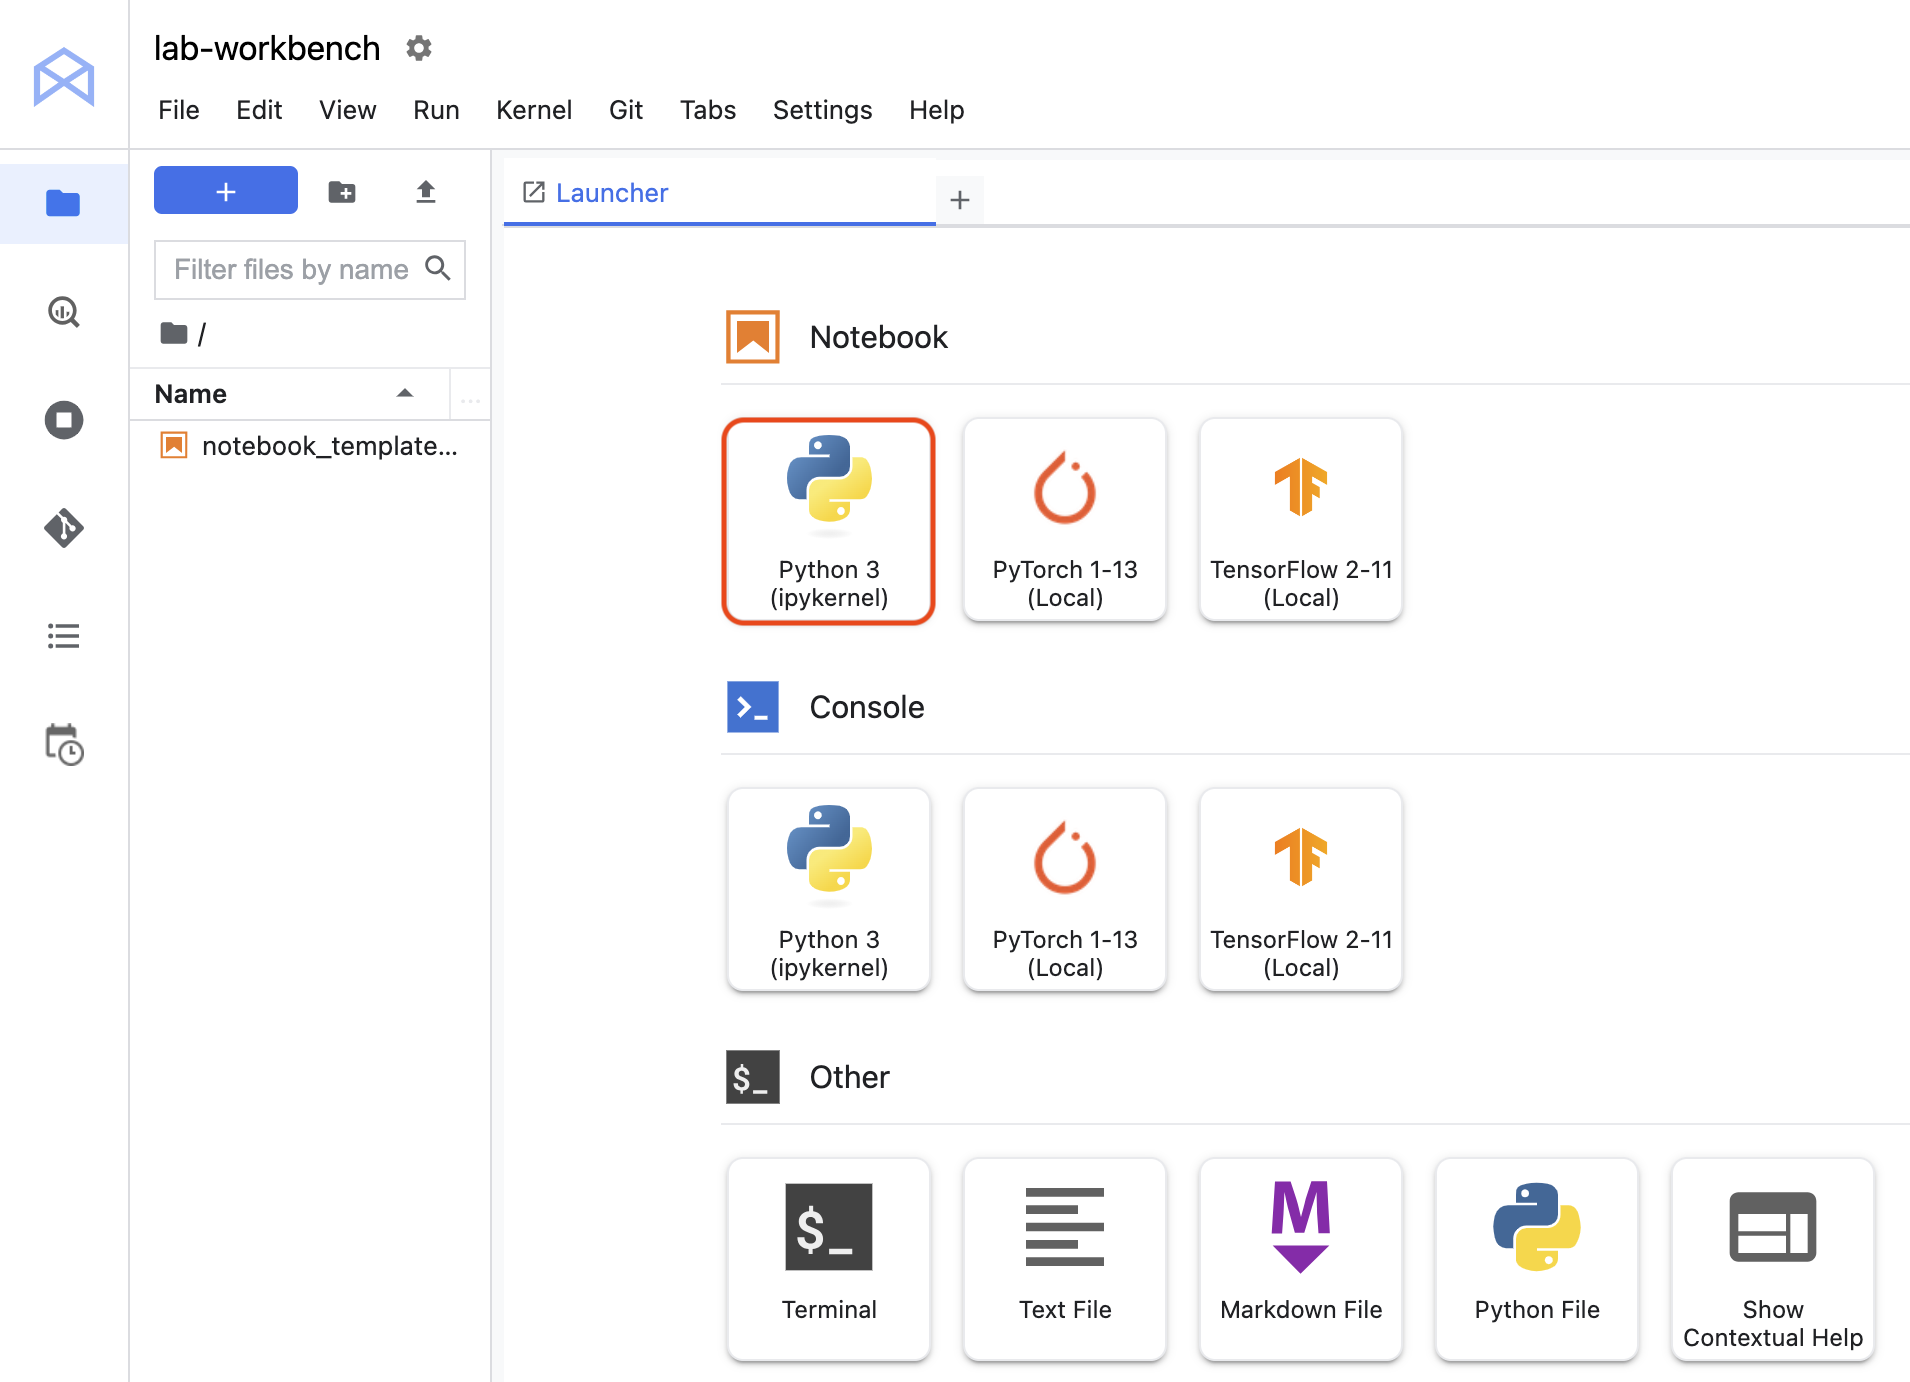
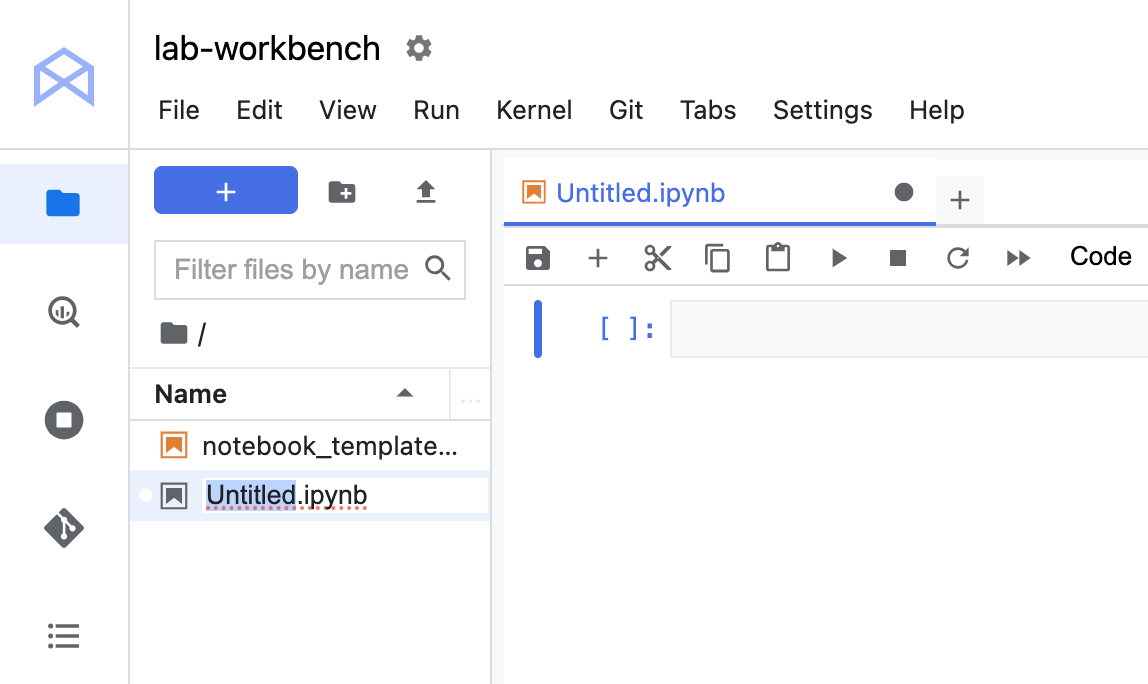
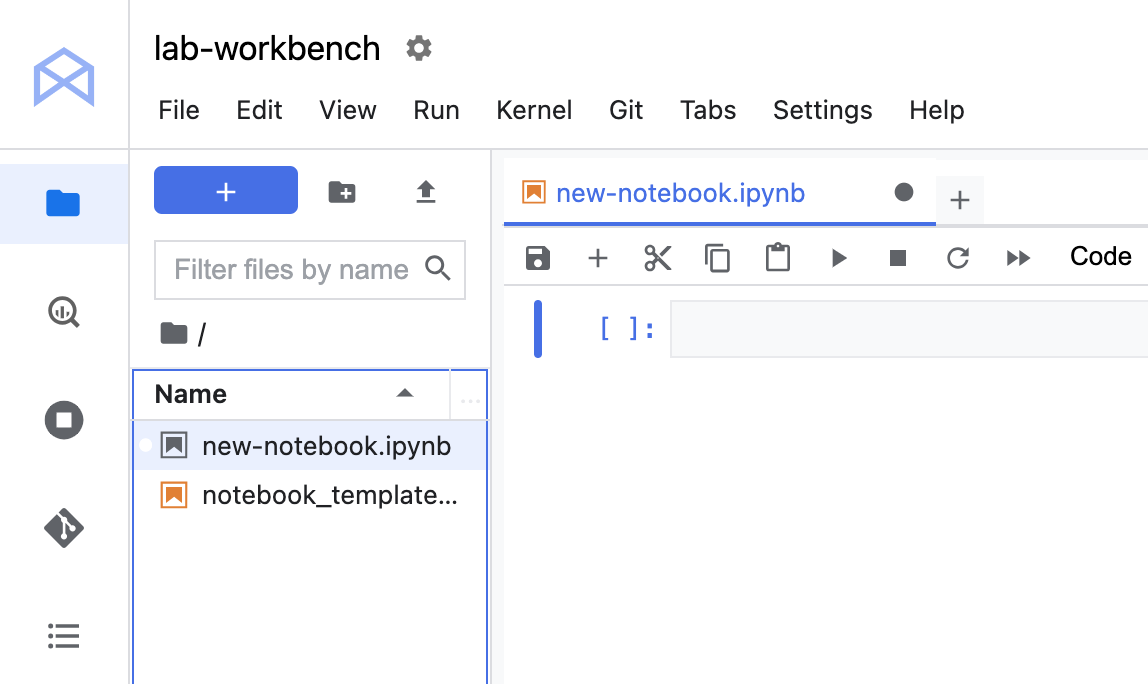
Untitled.ipynb file in the menu bar and select Rename Notebook to give it a meaningful name.Your environment is set up. You are now ready to start working with your Agent Platform Workbench notebook.
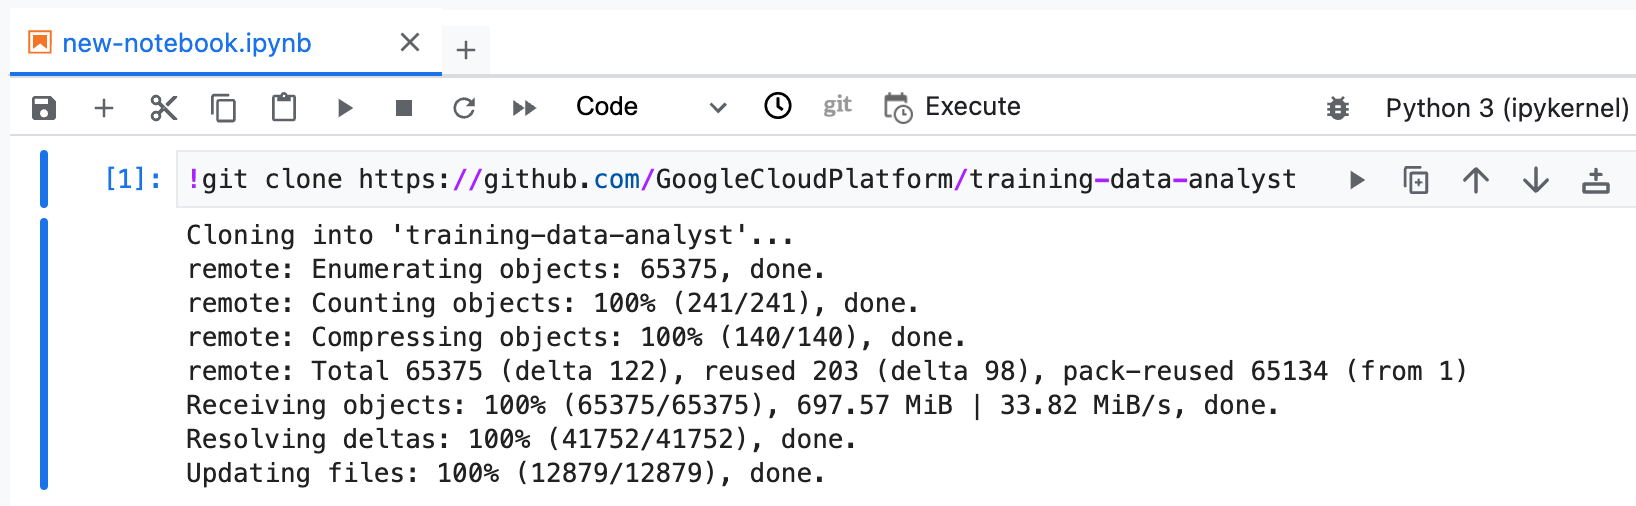
The GitHub repo contains both the lab file and solutions files for the course.
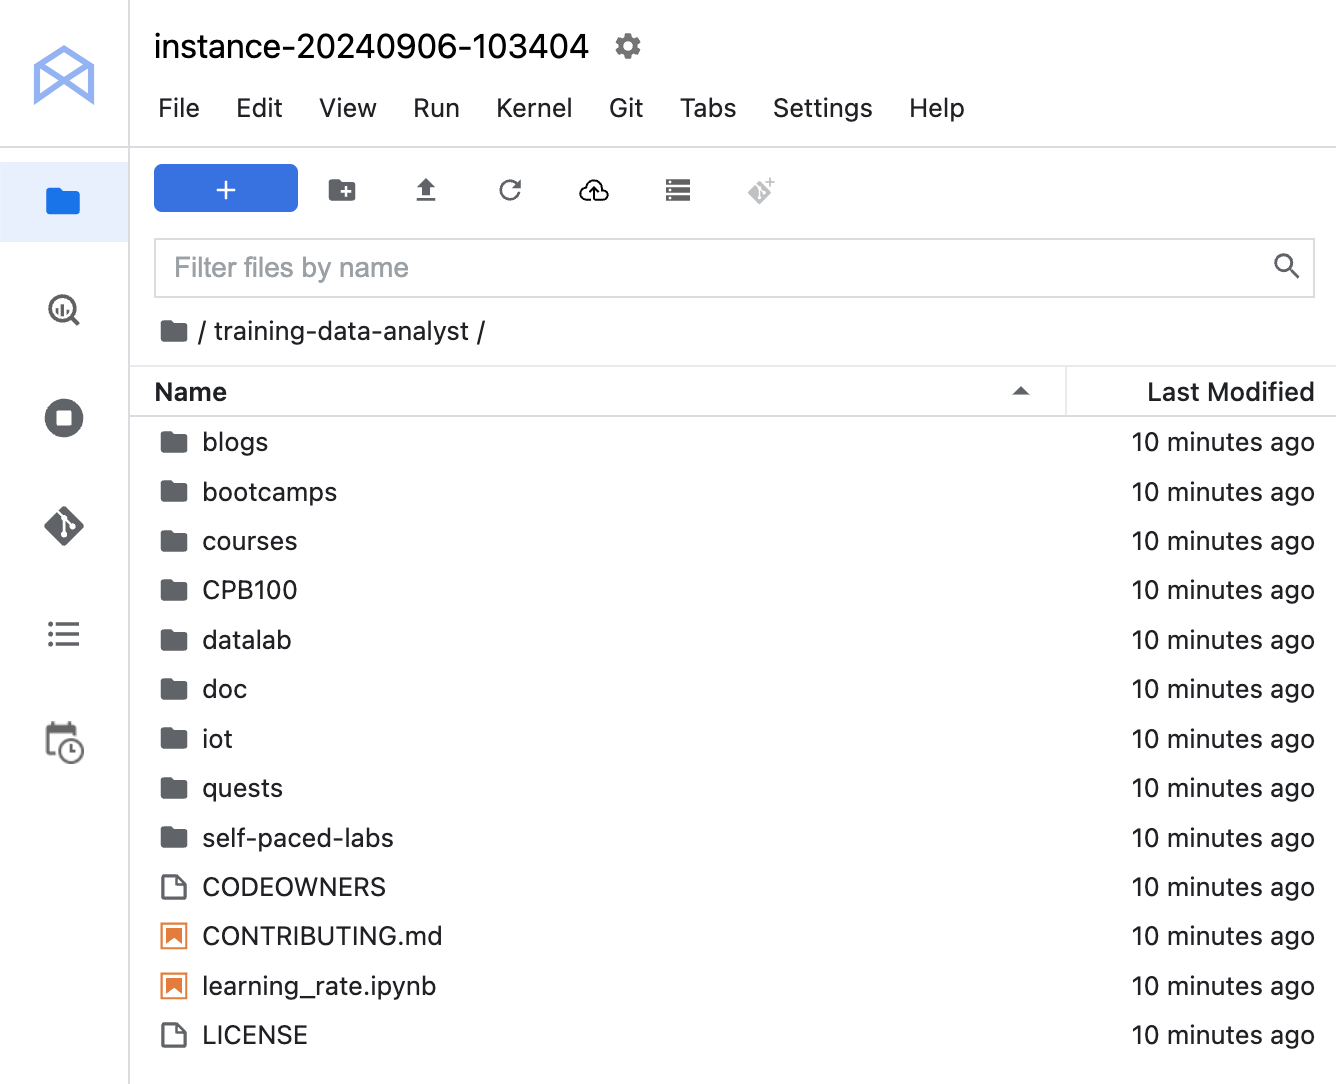
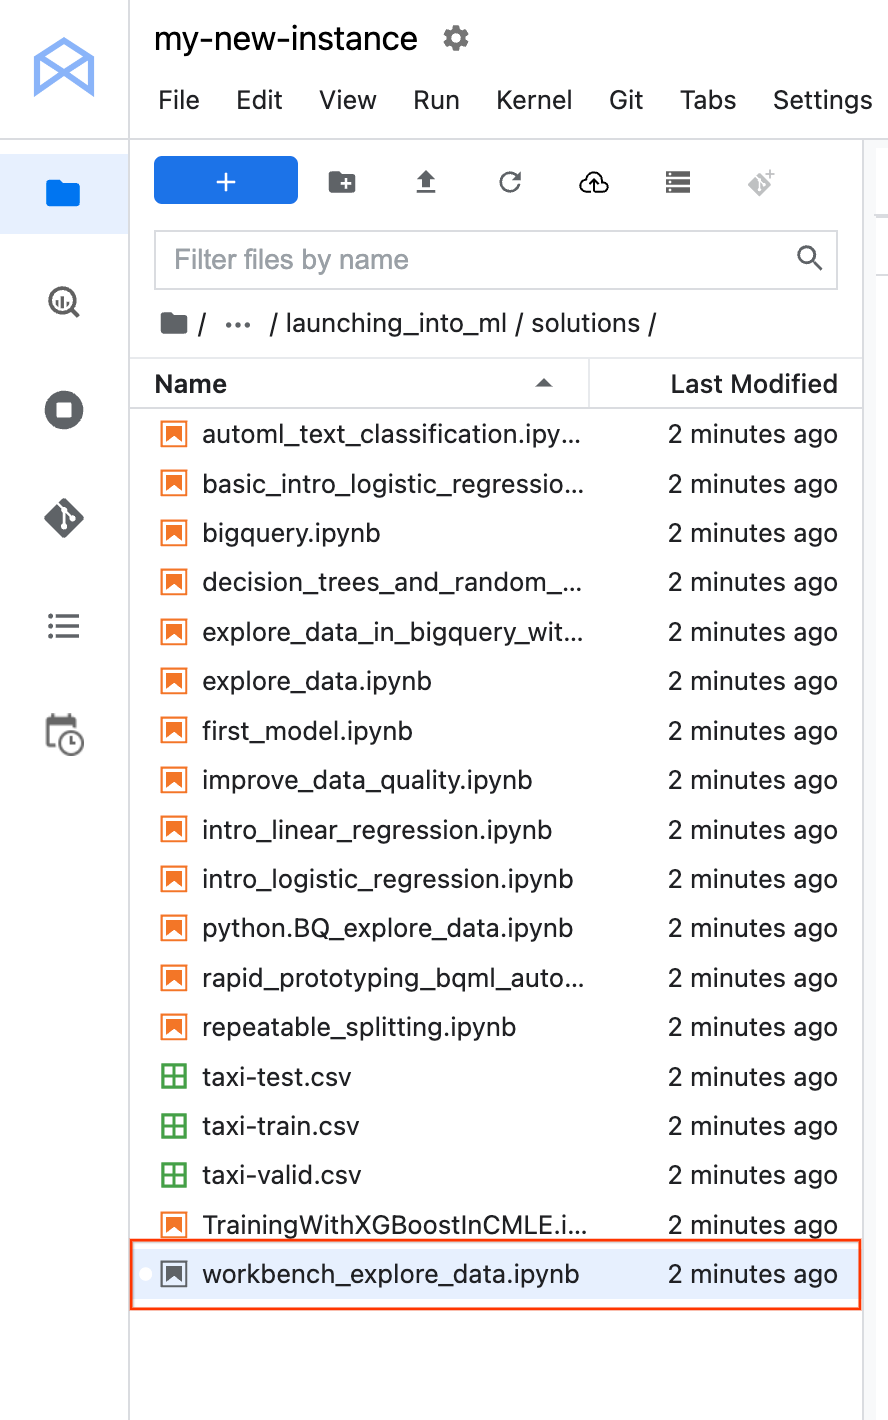
training-data-analyst repository.training-data-analyst directory and ensure that you can see its contents.In the Select Kernel dialog, choose Python 3 from the list of available kernels.
In the notebook interface, click on Edit > Clear Outputs of All Cells (click on Edit, then in the drop-down menu, select Clear All Outputs).
Carefully read through the notebook instructions.
In this lab, you learned how to:
When you have completed your lab, click End Lab. Google Skills removes the resources you’ve used and cleans the account for you.
You will be given an opportunity to rate the lab experience. Select the applicable number of stars, type a comment, and then click Submit.
The number of stars indicates the following:
You can close the dialog box if you don't want to provide feedback.
For feedback, suggestions, or corrections, please use the Support tab.
Manual Last Updated May 05, 2026
Lab Last Tested May 05, 2026
Copyright 2026 Google LLC All rights reserved. Google and the Google logo are trademarks of Google LLC. All other company and product names may be trademarks of the respective companies with which they are associated.


此内容目前不可用
一旦可用,我们会通过电子邮件告知您

太好了!
一旦可用,我们会通过电子邮件告知您

一次一个实验
确认结束所有现有实验并开始此实验
完成此快速步骤即可开始实验。