Vertex AI is now Gemini Enterprise Agent Platform! We are currently updating our content to reflect this change. Please bear with us if you encounter naming inconsistencies during this transition.
from google.api_core.client_options import ClientOptions
from google.cloud import documentai_v1 as documentai
PROJECT_ID = "YOUR_PROJECT_ID"
LOCATION = "YOUR_PROJECT_LOCATION" # Format is 'us' or 'eu'
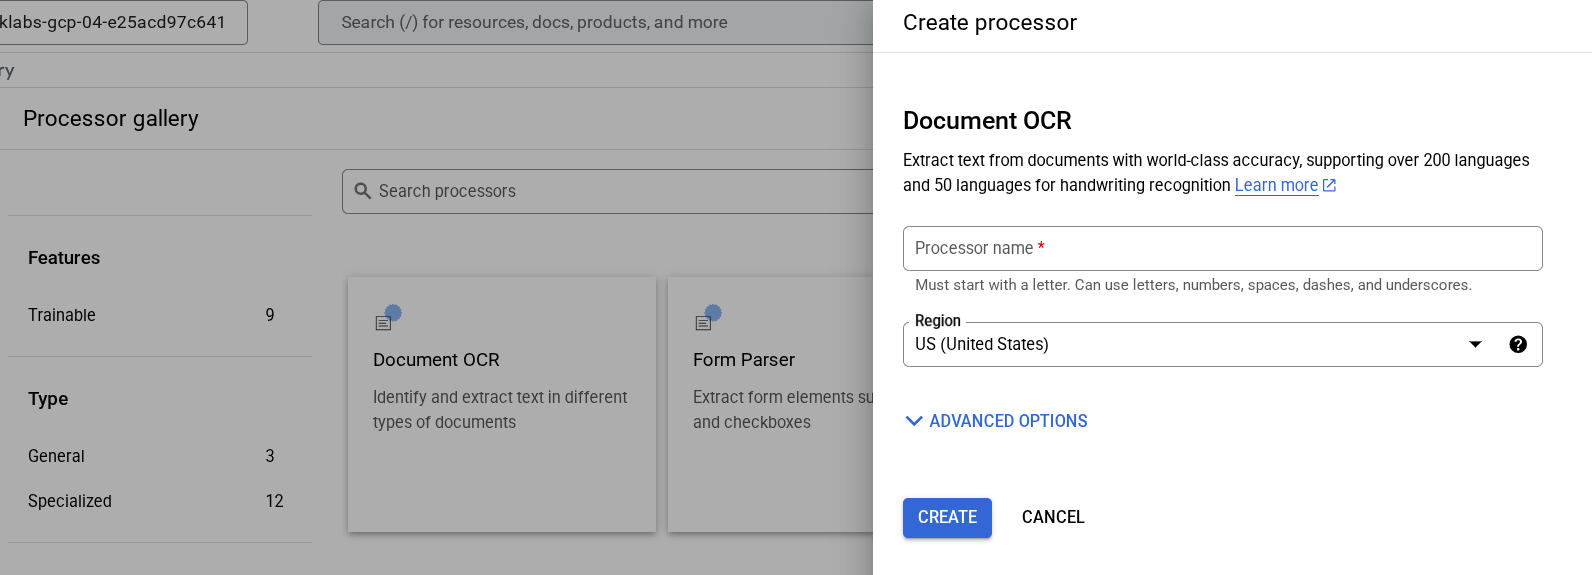
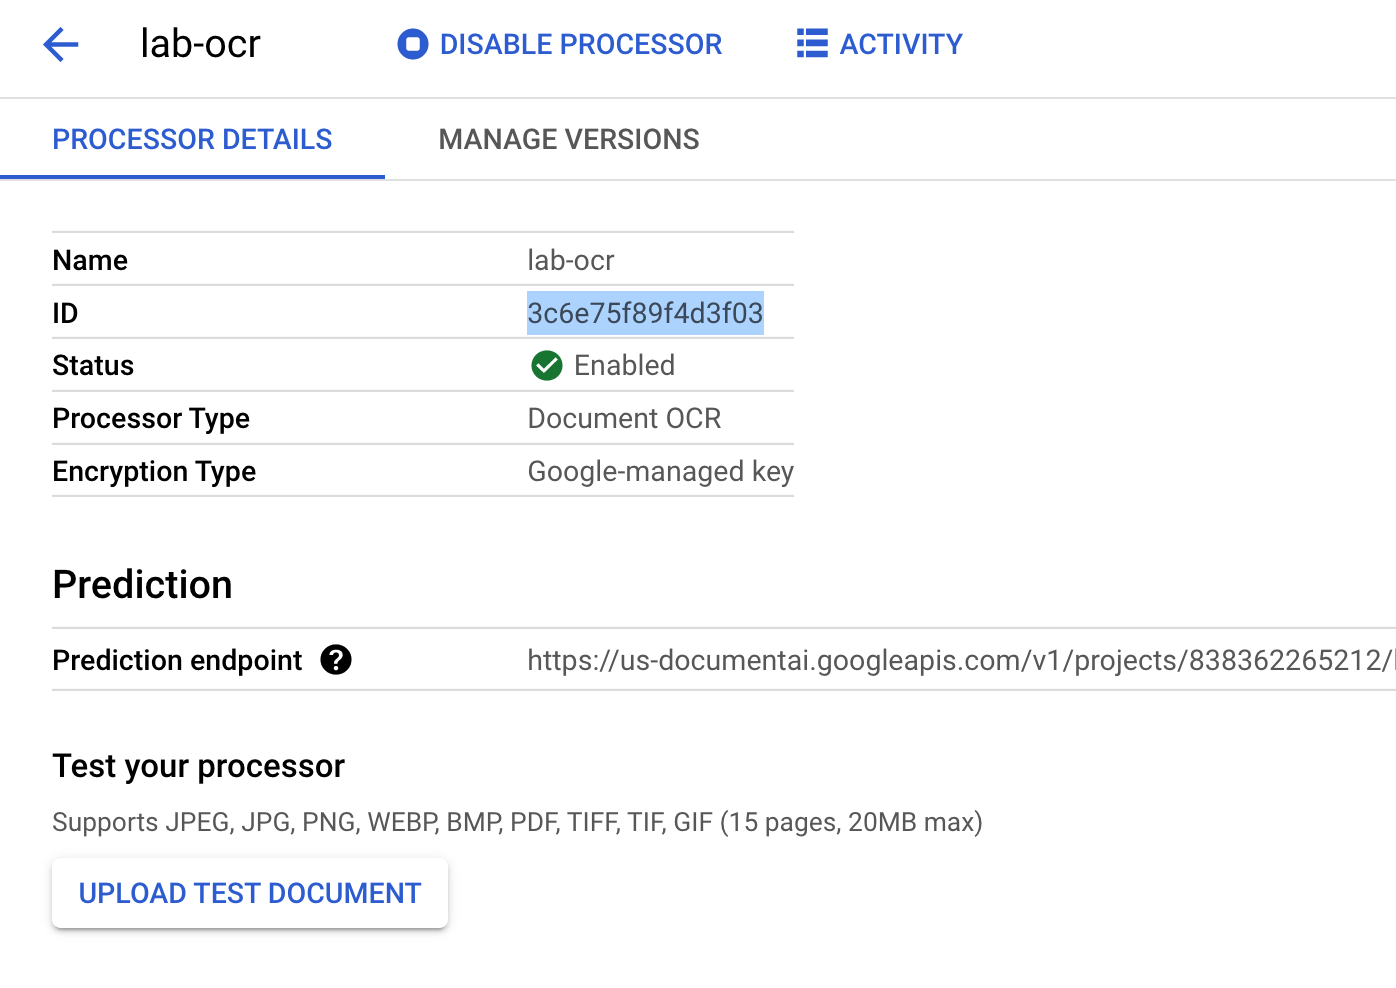
PROCESSOR_ID = "YOUR_PROCESSOR_ID" # Create processor in Cloud Console
# The local file in your current working directory
FILE_PATH = "Winnie_the_Pooh_3_Pages.pdf"
# Refer to https://cloud.google.com/document-ai/docs/file-types
# for supported file types
MIME_TYPE = "application/pdf"
# Instantiates a client
docai_client = documentai.DocumentProcessorServiceClient(
client_options=ClientOptions(api_endpoint=f"{LOCATION}-documentai.googleapis.com")
)
# The full resource name of the processor, e.g.:
# projects/project-id/locations/location/processor/processor-id
# You must create new processors in the Cloud Console first
RESOURCE_NAME = docai_client.processor_path(PROJECT_ID, LOCATION, PROCESSOR_ID)
# Read the file into memory
with open(FILE_PATH, "rb") as image:
image_content = image.read()
# Load Binary Data into Document AI RawDocument Object
raw_document = documentai.RawDocument(content=image_content, mime_type=MIME_TYPE)
# Configure the process request
request = documentai.ProcessRequest(name=RESOURCE_NAME, raw_document=raw_document)
# Use the Document AI client to process the sample form
result = docai_client.process_document(request=request)
document_object = result.document
print("Document processing complete.")
print(f"Text: {document_object.text}")
Document processing complete.
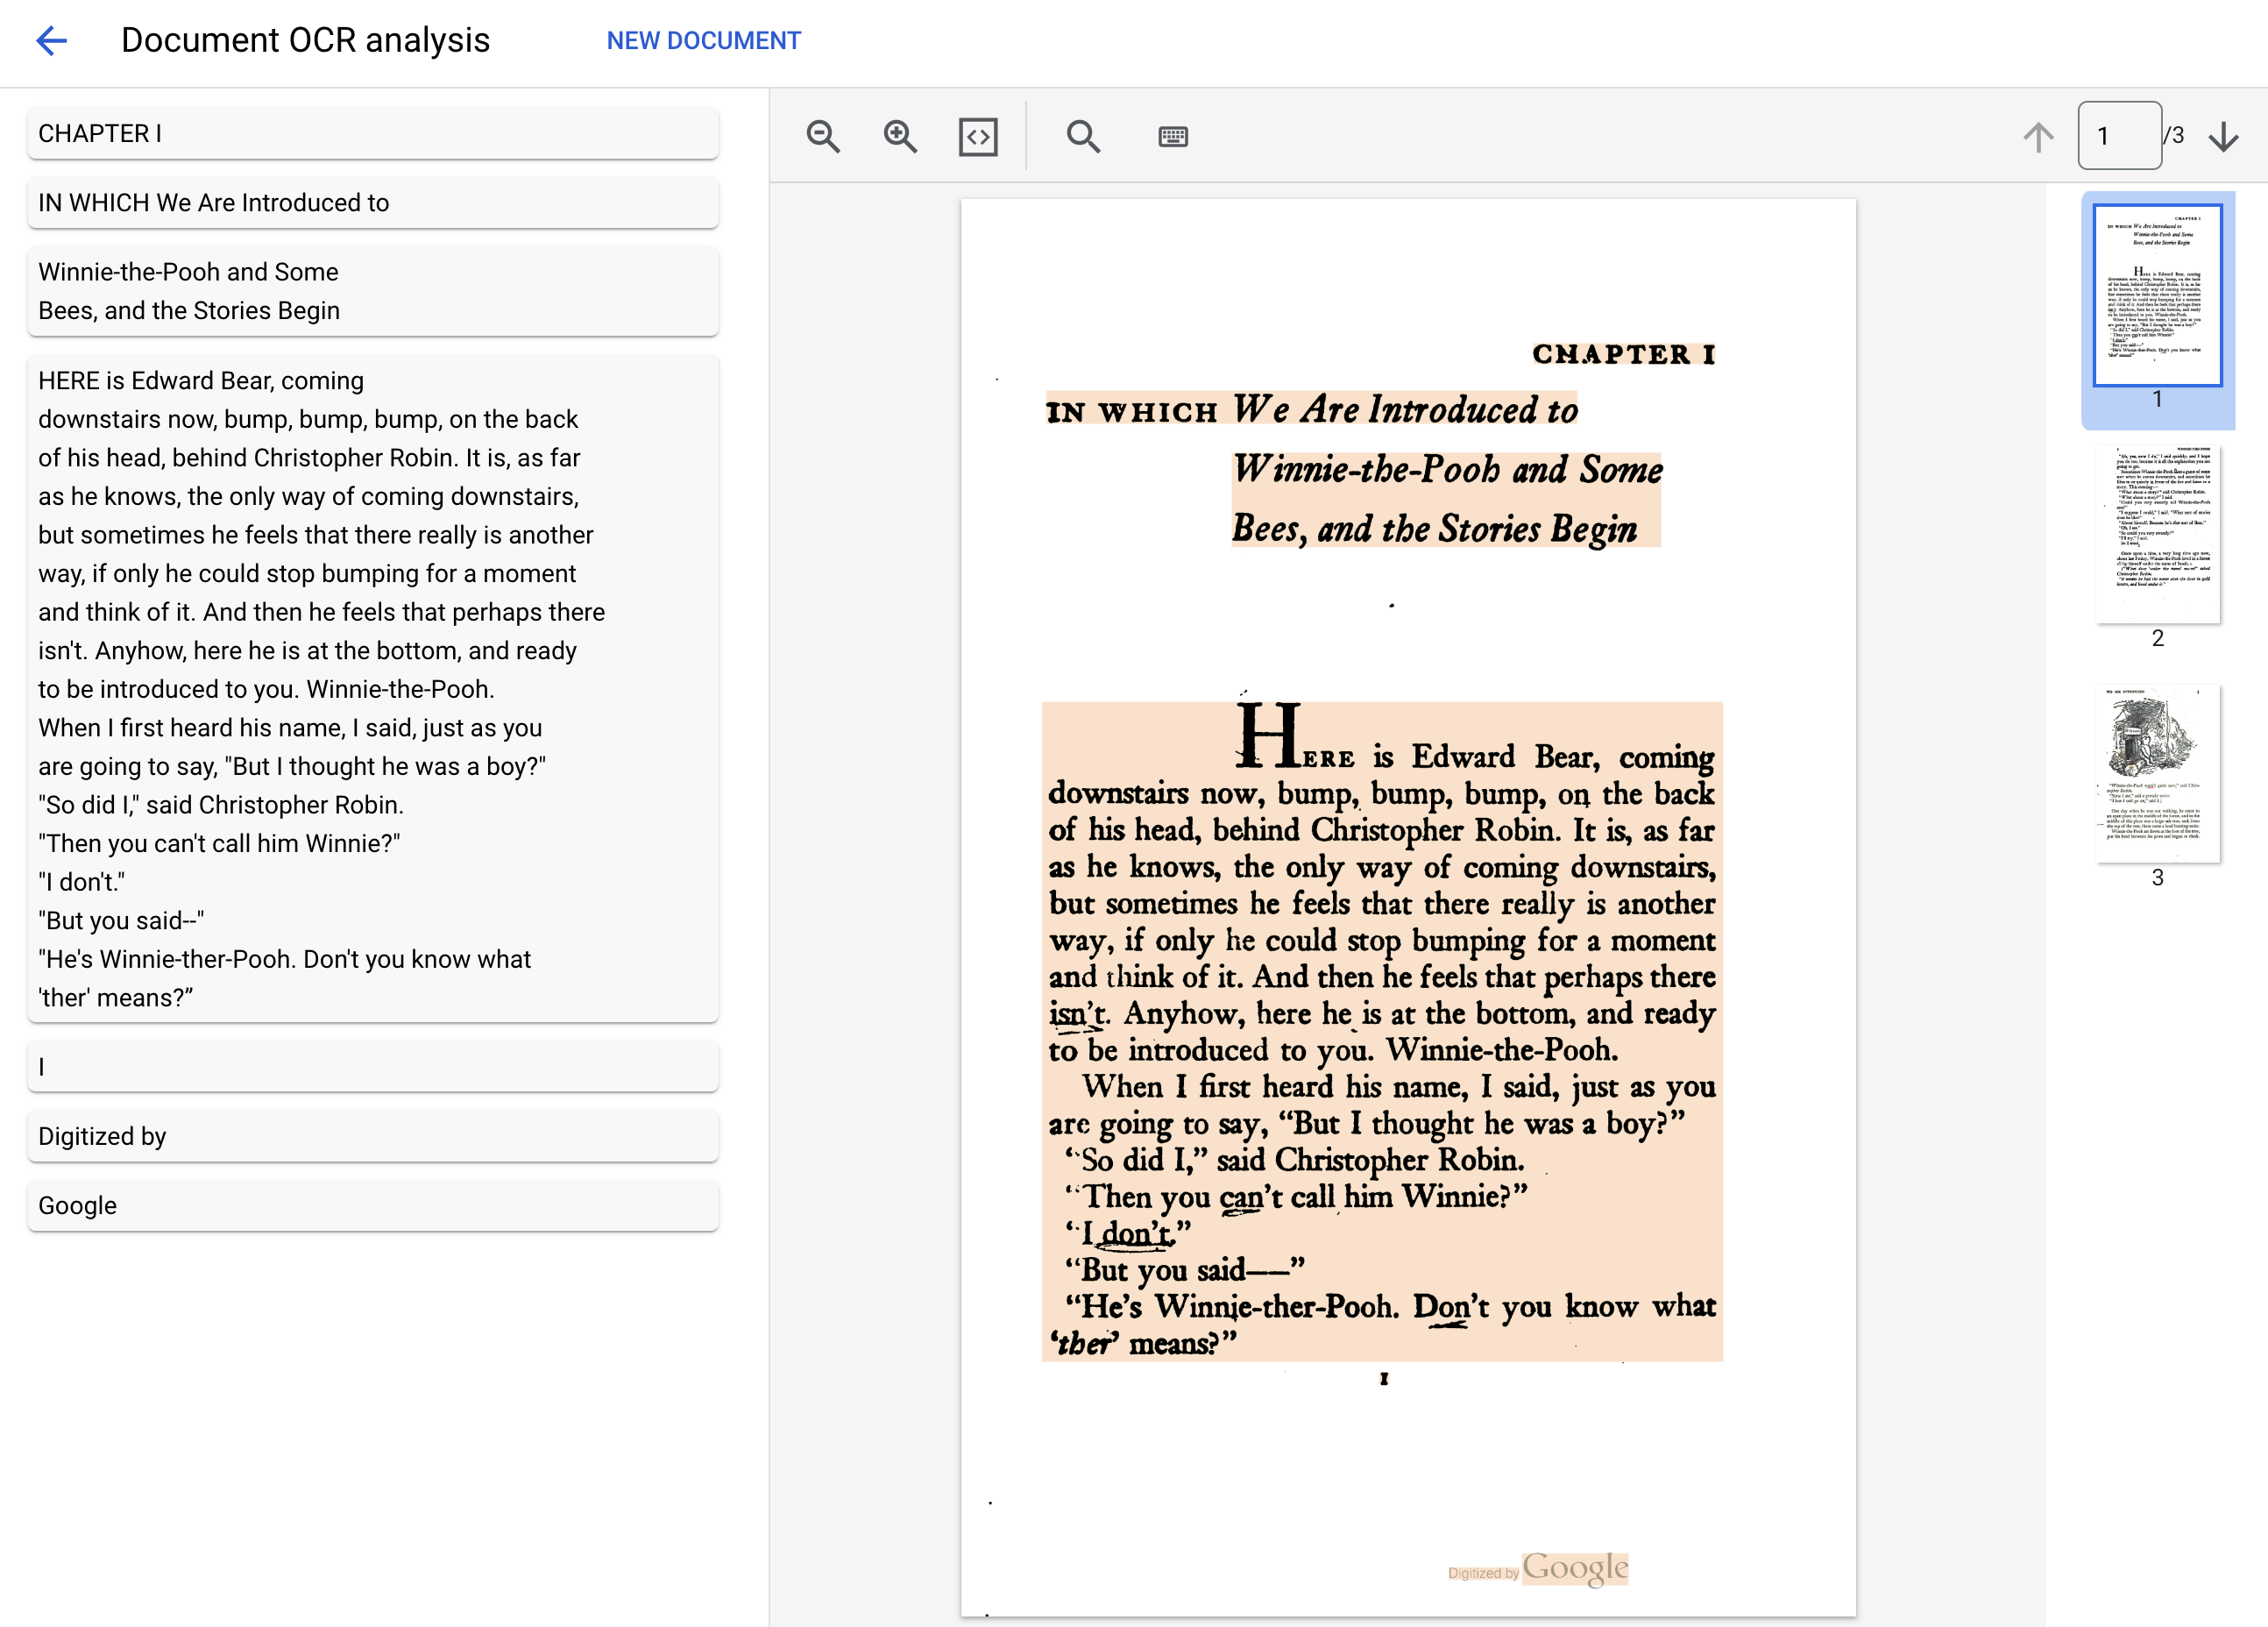
Text: IN WHICH We Are Introduced to
CHAPTER I
Winnie-the-Pooh and Some
Bees, and the Stories Begin
HERE is Edward Bear, coming
downstairs now, bump, bump, bump, on the back
of his head, behind Christopher Robin. It is, as far
as he knows, the only way of coming downstairs,
but sometimes he feels that there really is another
way, if only he could stop bumping for a moment
and think of it. And then he feels that perhaps there
isn't. Anyhow, here he is at the bottom, and ready
to be introduced to you. Winnie-the-Pooh.
When I first heard his name, I said, just as you
are going to say, "But I thought he was a boy?"
"So did I," said Christopher Robin.
"Then you can't call him Winnie?"
"I don't."
"But you said--"
...
任务 6. 发出批处理请求
现在,假设您想要读取上述整部小说中的文本。
在线处理功能对可以发送的页面数和文件大小有限制,并且每次 API 调用只能处理一个文档文件。
借助批处理功能,您可以通过异步方法处理较大/多个文件。
在本部分中,我们将使用 Document AI Batch Processing API 处理整部《小熊维尼》小说,并将文本输出到 Google Cloud Storage 存储桶。
import re
from typing import List
from google.api_core.client_options import ClientOptions
from google.cloud import documentai_v1 as documentai
from google.cloud import storage
PROJECT_ID = "YOUR_PROJECT_ID"
LOCATION = "YOUR_PROJECT_LOCATION" # Format is 'us' or 'eu'
PROCESSOR_ID = "YOUR_PROCESSOR_ID" # Create processor in Cloud Console
# Format 'gs://input_bucket/directory/file.pdf'
GCS_INPUT_URI = "gs://cloud-samples-data/documentai/codelabs/ocr/Winnie_the_Pooh.pdf"
INPUT_MIME_TYPE = "application/pdf"
# Format 'gs://output_bucket/directory'
GCS_OUTPUT_URI = "YOUR_OUTPUT_BUCKET_URI"
# Instantiates a client
docai_client = documentai.DocumentProcessorServiceClient(
client_options=ClientOptions(api_endpoint=f"{LOCATION}-documentai.googleapis.com")
)
# The full resource name of the processor, e.g.:
# projects/project-id/locations/location/processor/processor-id
# You must create new processors in the Cloud Console first
RESOURCE_NAME = docai_client.processor_path(PROJECT_ID, LOCATION, PROCESSOR_ID)
# Cloud Storage URI for the Input Document
input_document = documentai.GcsDocument(
gcs_uri=GCS_INPUT_URI, mime_type=INPUT_MIME_TYPE
)
# Load GCS Input URI into a List of document files
input_config = documentai.BatchDocumentsInputConfig(
gcs_documents=documentai.GcsDocuments(documents=[input_document])
)
# Cloud Storage URI for Output directory
gcs_output_config = documentai.DocumentOutputConfig.GcsOutputConfig(
gcs_uri=GCS_OUTPUT_URI
)
# Load GCS Output URI into OutputConfig object
output_config = documentai.DocumentOutputConfig(gcs_output_config=gcs_output_config)
# Configure Process Request
request = documentai.BatchProcessRequest(
name=RESOURCE_NAME,
input_documents=input_config,
document_output_config=output_config,
)
# Batch Process returns a Long Running Operation (LRO)
operation = docai_client.batch_process_documents(request)
# Continually polls the operation until it is complete.
# This could take some time for larger files
# Format: projects/PROJECT_NUMBER/locations/LOCATION/operations/OPERATION_ID
print(f"Waiting for operation {operation.operation.name} to complete...")
operation.result()
# NOTE: Can also use callbacks for asynchronous processing
#
# def my_callback(future):
# result = future.result()
#
# operation.add_done_callback(my_callback)
print("Document processing complete.")
# Once the operation is complete,
# get output document information from operation metadata
metadata = documentai.BatchProcessMetadata(operation.metadata)
if metadata.state != documentai.BatchProcessMetadata.State.SUCCEEDED:
raise ValueError(f"Batch Process Failed: {metadata.state_message}")
documents: List[documentai.Document] = []
# Storage Client to retrieve the output files from GCS
storage_client = storage.Client()
# One process per Input Document
for process in metadata.individual_process_statuses:
# output_gcs_destination format: gs://BUCKET/PREFIX/OPERATION_NUMBER/0
# The GCS API requires the bucket name and URI prefix separately
output_bucket, output_prefix = re.match(
r"gs://(.*?)/(.*)", process.output_gcs_destination
).groups()
# Get List of Document Objects from the Output Bucket
output_blobs = storage_client.list_blobs(output_bucket, prefix=output_prefix)
# DocAI may output multiple JSON files per source file
for blob in output_blobs:
# Document AI should only output JSON files to GCS
if ".json" not in blob.name:
print(f"Skipping non-supported file type {blob.name}")
continue
print(f"Fetching {blob.name}")
# Download JSON File and Convert to Document Object
document = documentai.Document.from_json(
blob.download_as_bytes(), ignore_unknown_fields=True
)
documents.append(document)
# Print Text from all documents
# Truncated at 100 characters for brevity
for document in documents:
print(document.text[:100])
Document processing complete.
Fetching 16218185426403815298/0/Winnie_the_Pooh-0.json
Fetching 16218185426403815298/0/Winnie_the_Pooh-1.json
Fetching 16218185426403815298/0/Winnie_the_Pooh-10.json
Fetching 16218185426403815298/0/Winnie_the_Pooh-11.json
Fetching 16218185426403815298/0/Winnie_the_Pooh-12.json
Fetching 16218185426403815298/0/Winnie_the_Pooh-13.json
Fetching 16218185426403815298/0/Winnie_the_Pooh-14.json
Fetching 16218185426403815298/0/Winnie_the_Pooh-15.json
..
This is a reproduction of a library book that was digitized
by Google as part of an ongoing effort t
0
TAM MTAA
Digitized by
Google
Introduction
(I₂
F YOU happen to have read another
book about Christo
84
Eeyore took down his right hoof from his right
ear, turned round, and with great difficulty put u
94
..
太棒了!现在,您已成功使用 Document AI Batch Processing API 从 PDF 文件中提取了文本。
import re
from typing import List
from google.api_core.client_options import ClientOptions
from google.cloud import documentai_v1 as documentai
from google.cloud import storage
PROJECT_ID = "YOUR_PROJECT_ID"
LOCATION = "YOUR_PROJECT_LOCATION" # Format is 'us' or 'eu'
PROCESSOR_ID = "YOUR_PROCESSOR_ID" # Create processor in Cloud Console
# Format 'gs://input_bucket/directory'
GCS_INPUT_PREFIX = "gs://cloud-samples-data/documentai/codelabs/ocr/multi-document"
# Format 'gs://output_bucket/directory'
GCS_OUTPUT_URI = "YOUR_OUTPUT_BUCKET_URI"
# Instantiates a client
docai_client = documentai.DocumentProcessorServiceClient(
client_options=ClientOptions(api_endpoint=f"{LOCATION}-documentai.googleapis.com")
)
# The full resource name of the processor, e.g.:
# projects/project-id/locations/location/processor/processor-id
# You must create new processors in the Cloud Console first
RESOURCE_NAME = docai_client.processor_path(PROJECT_ID, LOCATION, PROCESSOR_ID)
# Cloud Storage URI for the Input Directory
gcs_prefix = documentai.GcsPrefix(gcs_uri_prefix=GCS_INPUT_PREFIX)
# Load GCS Input URI into Batch Input Config
input_config = documentai.BatchDocumentsInputConfig(gcs_prefix=gcs_prefix)
# Cloud Storage URI for Output directory
gcs_output_config = documentai.DocumentOutputConfig.GcsOutputConfig(
gcs_uri=GCS_OUTPUT_URI
)
# Load GCS Output URI into OutputConfig object
output_config = documentai.DocumentOutputConfig(gcs_output_config=gcs_output_config)
# Configure Process Request
request = documentai.BatchProcessRequest(
name=RESOURCE_NAME,
input_documents=input_config,
document_output_config=output_config,
)
# Batch Process returns a Long Running Operation (LRO)
operation = docai_client.batch_process_documents(request)
# Continually polls the operation until it is complete.
# This could take some time for larger files
# Format: projects/PROJECT_NUMBER/locations/LOCATION/operations/OPERATION_ID
print(f"Waiting for operation {operation.operation.name} to complete...")
operation.result()
# NOTE: Can also use callbacks for asynchronous processing
#
# def my_callback(future):
# result = future.result()
#
# operation.add_done_callback(my_callback)
print("Document processing complete.")
# Once the operation is complete,
# get output document information from operation metadata
metadata = documentai.BatchProcessMetadata(operation.metadata)
if metadata.state != documentai.BatchProcessMetadata.State.SUCCEEDED:
raise ValueError(f"Batch Process Failed: {metadata.state_message}")
documents: List[documentai.Document] = []
# Storage Client to retrieve the output files from GCS
storage_client = storage.Client()
# One process per Input Document
for process in metadata.individual_process_statuses:
# output_gcs_destination format: gs://BUCKET/PREFIX/OPERATION_NUMBER/0
# The GCS API requires the bucket name and URI prefix separately
output_bucket, output_prefix = re.match(
r"gs://(.*?)/(.*)", process.output_gcs_destination
).groups()
# Get List of Document Objects from the Output Bucket
output_blobs = storage_client.list_blobs(output_bucket, prefix=output_prefix)
# DocAI may output multiple JSON files per source file
for blob in output_blobs:
# Document AI should only output JSON files to GCS
if ".json" not in blob.name:
print(f"Skipping non-supported file type {blob.name}")
continue
print(f"Fetching {blob.name}")
# Download JSON File and Convert to Document Object
document = documentai.Document.from_json(
blob.download_as_bytes(), ignore_unknown_fields=True
)
documents.append(document)
# Print Text from all documents
# Truncated at 100 characters for brevity
for document in documents:
print(document.text[:100])
Document processing complete.
Fetching 16354972755137859334/0/Winnie_the_Pooh_Page_0-0.json
Fetching 16354972755137859334/1/Winnie_the_Pooh_Page_1-0.json
Fetching 16354972755137859334/2/Winnie_the_Pooh_Page_10-0.json
..
Introduction
(I₂
F YOU happen to have read another
book about Christopher Robin, you may remember
th
IN WHICH We Are Introduced to
CHAPTER I
Winnie-the-Pooh and Some
Bees, and the Stories Begin
HERE is
..
太棒了!您已成功借助 Document AI Python 客户端库,通过 Document AI 处理器处理文档目录,并将结果输出到 Cloud Storage。
点击检查我的进度以验证是否完成了以下目标:
对目录发出批处理请求
恭喜!
恭喜!在本实验中,您学习了如何借助 Document AI Python 客户端库,通过 Document AI 处理器处理文档目录,并将结果输出到 Cloud Storage。您还了解了如何使用服务账号密钥文件对 API 请求进行身份验证、安装 Document AI Python 客户端库,以及使用在线处理(同步)和批处理(异步)API 来处理请求。
…可帮助您充分利用 Google Cloud 技术。我们的课程会讲解各项技能与最佳实践,可帮助您迅速上手使用并继续学习更深入的知识。我们提供从基础到高级的全方位培训,并有点播、直播和虚拟三种方式选择,让您可以按照自己的日程安排学习时间。各项认证可以帮助您核实并证明您在 Google Cloud 技术方面的技能与专业知识。
上次更新手册的时间:2024 年 6 月 13 日
上次测试实验的时间:2024 年 6 月 13 日
版权所有 2026 Google LLC 保留所有权利。Google 和 Google 徽标是 Google LLC 的商标。其他所有公司名和产品名可能是其各自相关公司的商标。