GSP123

Overview
Managed Service for Apache Spark is a managed Spark and Hadoop service that lets you take advantage of open source data tools for batch processing, querying, streaming, and machine learning. Managed Service for Apache Spark automation helps you create clusters quickly, manage them easily, and save money by turning clusters off when you don't need them. With less time and money spent on administration, you can focus on your jobs and your data.
This lab is adapted from the Create a Managed Service for Apache Spark cluster by using the Google Cloud console guide.
What you'll learn
Setup and requirements
Before you click the Start Lab button
Read these instructions. Labs are timed and you cannot pause them. The timer, which starts when you click Start Lab, shows how long Google Cloud resources are made available to you.
This hands-on lab lets you do the lab activities in a real cloud environment, not in a simulation or demo environment. It does so by giving you new, temporary credentials you use to sign in and access Google Cloud for the duration of the lab.
To complete this lab, you need:
- Access to a standard internet browser (Chrome browser recommended).
Note: Use an Incognito (recommended) or private browser window to run this lab. This prevents conflicts between your personal account and the student account, which may cause extra charges incurred to your personal account.
- Time to complete the lab—remember, once you start, you cannot pause a lab.
Note: Use only the student account for this lab. If you use a different Google Cloud account, you may incur charges to that account.
How to start your lab and sign in to the Google Cloud console
-
Click the Start Lab button. If you need to pay for the lab, a dialog opens for you to select your payment method.
On the left is the Lab Details pane with the following:
- The Open Google Cloud console button
- Time remaining
- The temporary credentials that you must use for this lab
- Other information, if needed, to step through this lab
-
Click Open Google Cloud console (or right-click and select Open Link in Incognito Window if you are running the Chrome browser).
The lab spins up resources, and then opens another tab that shows the Sign in page.
Tip: Arrange the tabs in separate windows, side-by-side.
Note: If you see the Choose an account dialog, click Use Another Account.
-
If necessary, copy the Username below and paste it into the Sign in dialog.
{{{user_0.username | "Username"}}}
You can also find the Username in the Lab Details pane.
-
Click Next.
-
Copy the Password below and paste it into the Welcome dialog.
{{{user_0.password | "Password"}}}
You can also find the Password in the Lab Details pane.
-
Click Next.
Important: You must use the credentials the lab provides you. Do not use your Google Cloud account credentials.
Note: Using your own Google Cloud account for this lab may incur extra charges.
-
Click through the subsequent pages:
- Accept the terms and conditions.
- Do not add recovery options or two-factor authentication (because this is a temporary account).
- Do not sign up for free trials.
After a few moments, the Google Cloud console opens in this tab.
Note: To access Google Cloud products and services, click the Navigation menu or type the service or product name in the Search field.

Grant a necessary IAM role to the Compute Engine service account
To assign storage permission to the service account, which is required for creating a cluster:
-
In the Google Cloud console, in the navigation menu ( ), select IAM & Admin > IAM.
-
Click Edit principal (pencil icon) for the Compute Engine default service account ([project-number]-compute@developer.gserviceaccount.com).
-
Click + Add another role.
-
For Select a role, search for Storage Admin, and select it from the results.
-
Click Save.
Task 1. Create a cluster
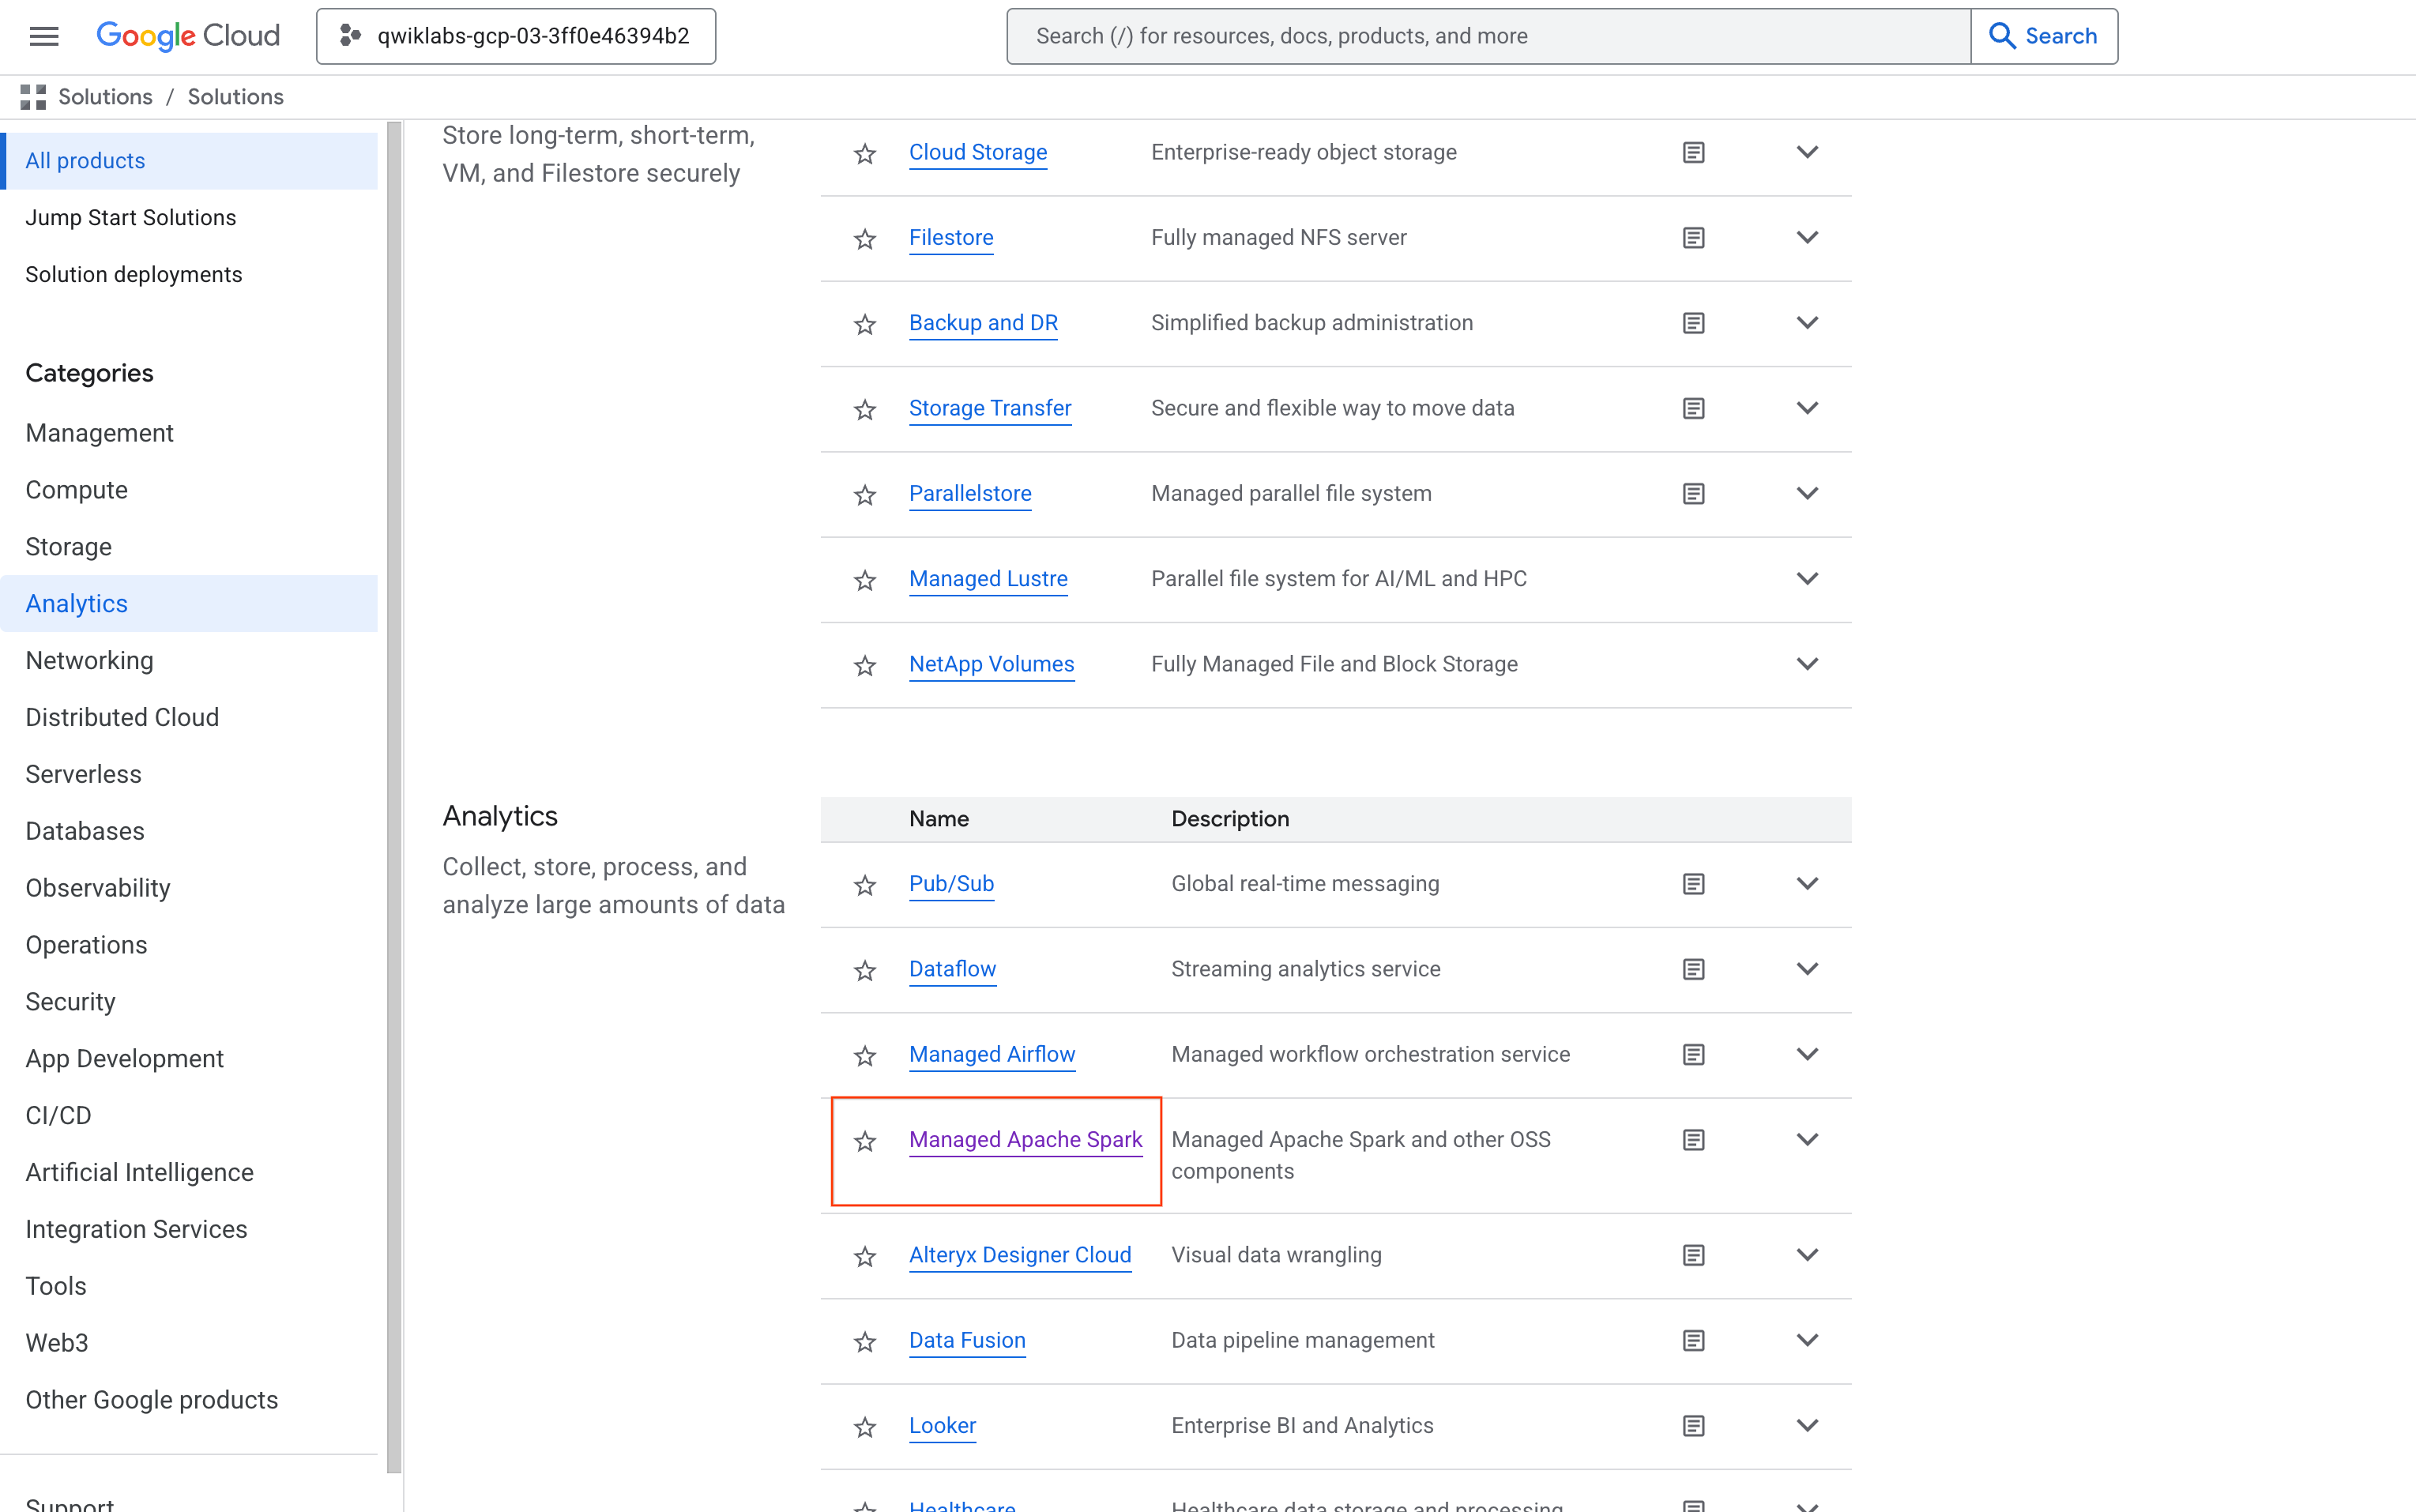
- In the Google Cloud console, in the navigation menu (), click View All Products. Under Analytics, click on Managed Apache Spark.
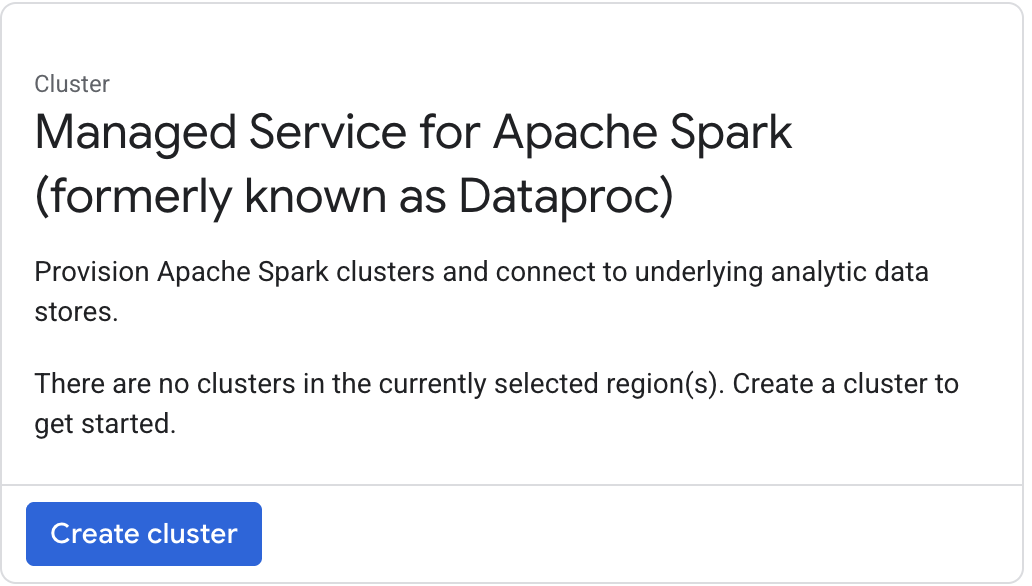
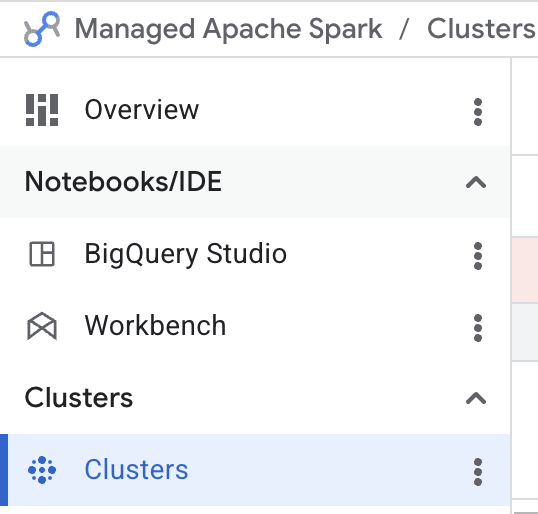
- To create a new cluster, click on Clusters > Create cluster.
- Set values for the parameters listed below, and leave the default settings for the other parameters:
| Parameter |
Value |
| Name |
|
| Region |
|
| Zone |
|
| Expand Advanced configurations > Infrastructure, for Manager node > Primary disk type
|
Standard Persistent Disk |
| Manager node - Series |
N2D |
| Manager node - Machine type |
|
| Manager node - Primary disk size |
30 GB |
| Number of Worker Nodes |
2 |
| Worker node - Primary disk type |
Standard Persistent Disk |
| Worker node - Series |
N2D |
| Worker node - Machine type |
|
| Worker node - Primary disk size |
30 GB |
| Expand Other > Internal IP only
|
Deselect Configure all instances to have only internal IP addresses
|
- Click on Create to create the new cluster. You will see the Status go from Provisioning to Succeeded and move on to the next step once your output resembles the following:
Note: You can safely ignore the warning Sorry, the server was not able to fulfill your request and proceed to the next task..

Test completed task
Click Check my progress to verify your performed task.
Create a cluster.
Task 2. Submit a job to your cluster
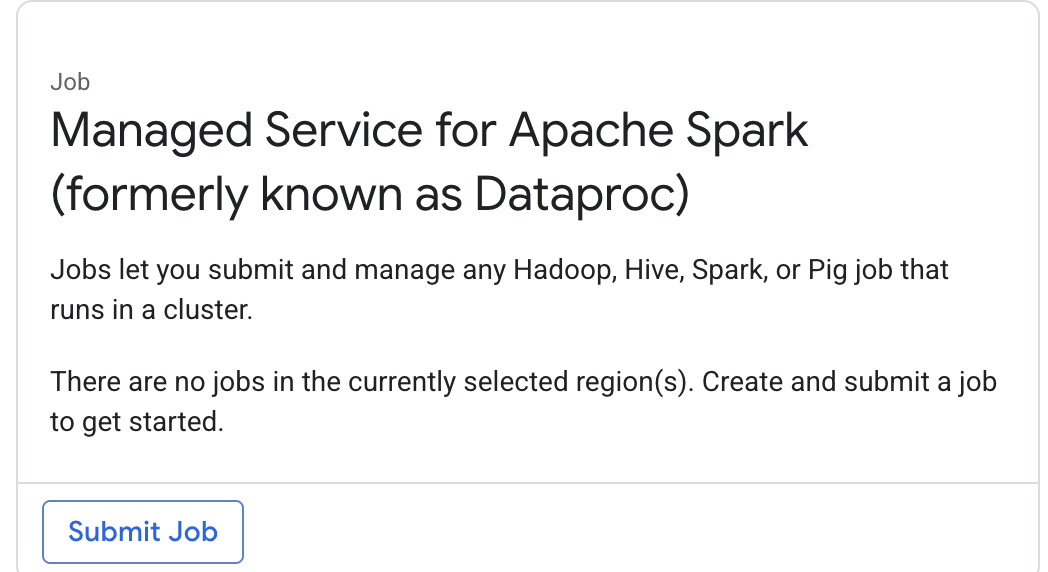
- Select Jobs to switch to Managed Service for Apache Spark jobs view:

- Click Submit job:
- Set values for the parameters listed below, leave the default settings for the other parameters:
| Parameter |
Value |
| Region |
|
| Cluster |
|
| Job type |
|
| Main class or jar |
|
| Jar files |
|
| Arguments |
|
- Click Submit.
Your job should appear in the Jobs list, which shows all your project's jobs with their cluster, type, and current status. The new job displays as "Running". When you see "Succeeded" as the status, you can proceed to the next steps.
Test completed task
Click Check my progress to verify your performed task.
Submit a job to your cluster.
- To see your completed job's output, click the job ID in the Jobs list:

- To avoid scrolling, select Line Wrap to ON:

You should see that your job has successfully calculated a rough value for pi!
Task 3. Shut down your cluster
- You can shut down a cluster on the Clusters page:
- Select the checkbox next to the qlab cluster and click Delete:

- Click CONFIRM to confirm deletion.
Task 4. Test your understanding
Below are multiple-choice questions to reinforce your understanding of this lab's concepts. Answer them to the best of your abilities.
Congratulations!
You learned how to create a Managed Service for Apache Spark cluster, submit a Spark job, and shut down your cluster.
Next steps / Learn more
Google Cloud training and certification
...helps you make the most of Google Cloud technologies. Our classes include technical skills and best practices to help you get up to speed quickly and continue your learning journey. We offer fundamental to advanced level training, with on-demand, live, and virtual options to suit your busy schedule. Certifications help you validate and prove your skill and expertise in Google Cloud technologies.
Manual Last Updated April 16, 2026
Lab Last Tested April 16, 2026
Copyright 2026 Google LLC. All rights reserved. Google and the Google logo are trademarks of Google LLC. All other company and product names may be trademarks of the respective companies with which they are associated.


