Dieser Inhalt ist noch nicht für Mobilgeräte optimiert.
Die Lernumgebung funktioniert am besten, wenn Sie auf einem Computer über einen per E‑Mail gesendeten Link darauf zugreifen.
Overview
In this lab, you learn how to create and run ML pipelines with Vertex Pipelines.
Objectives
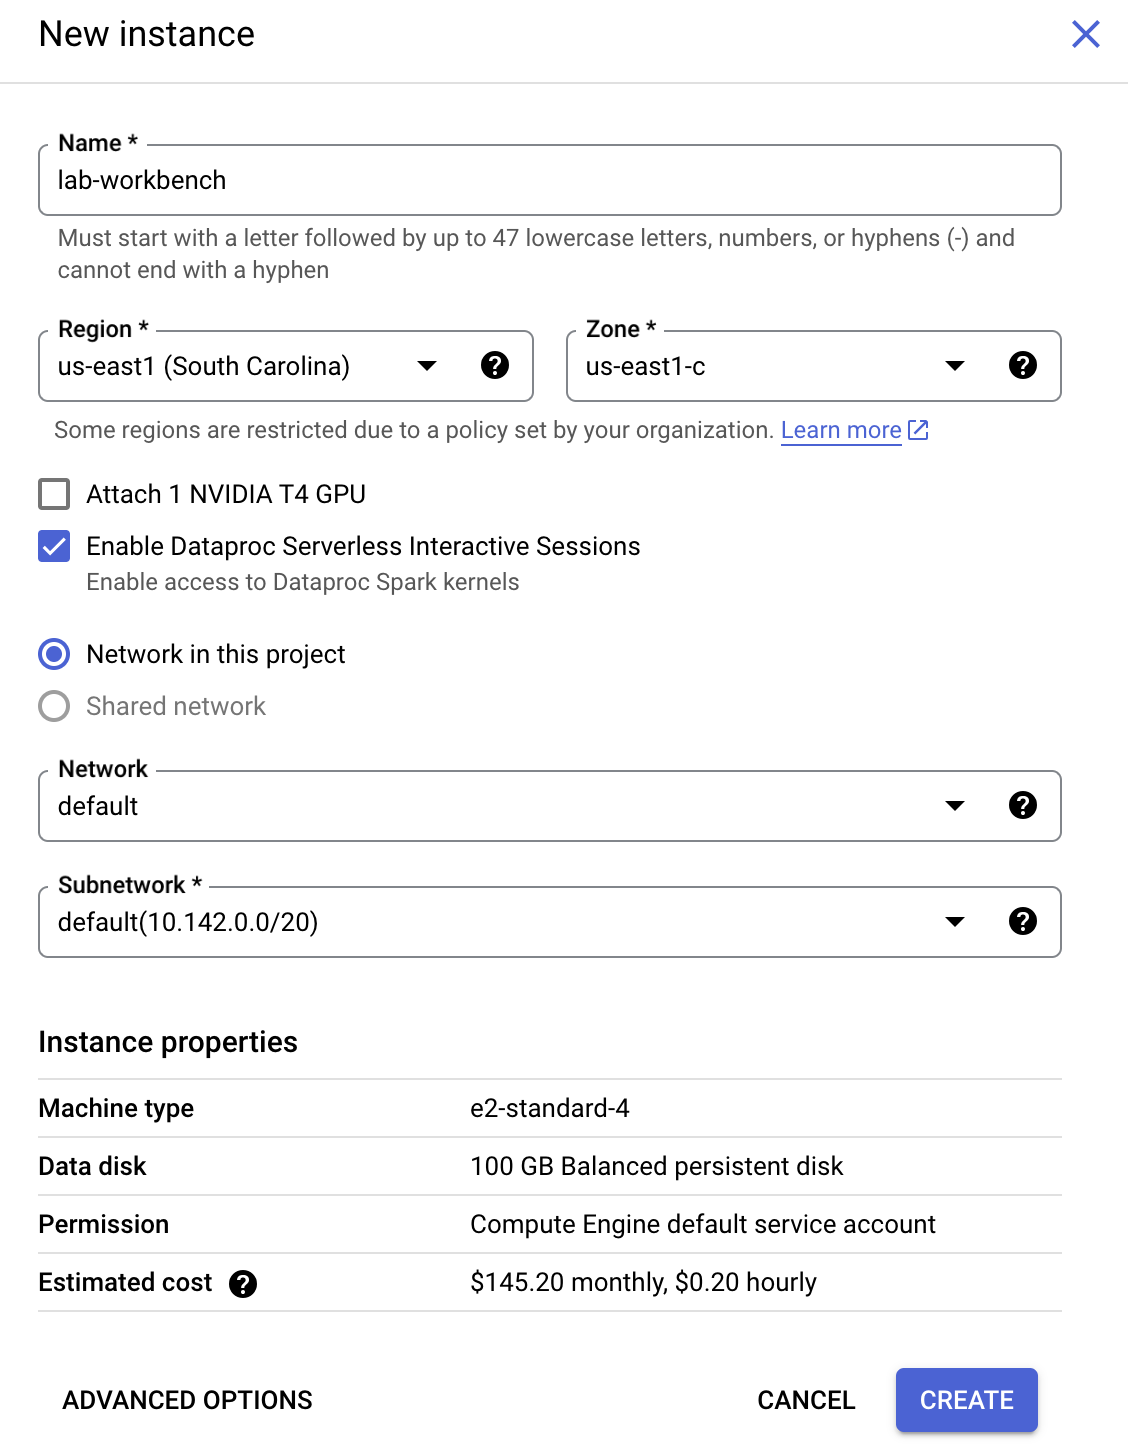
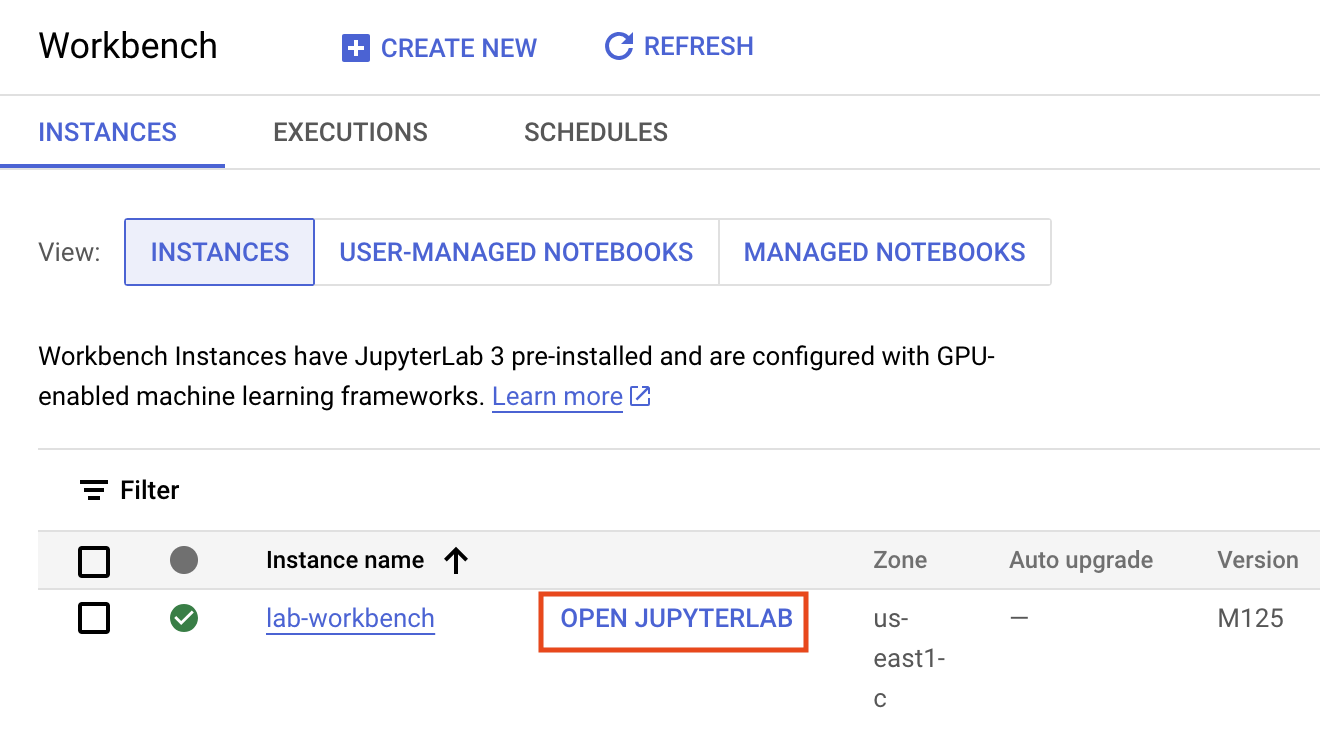
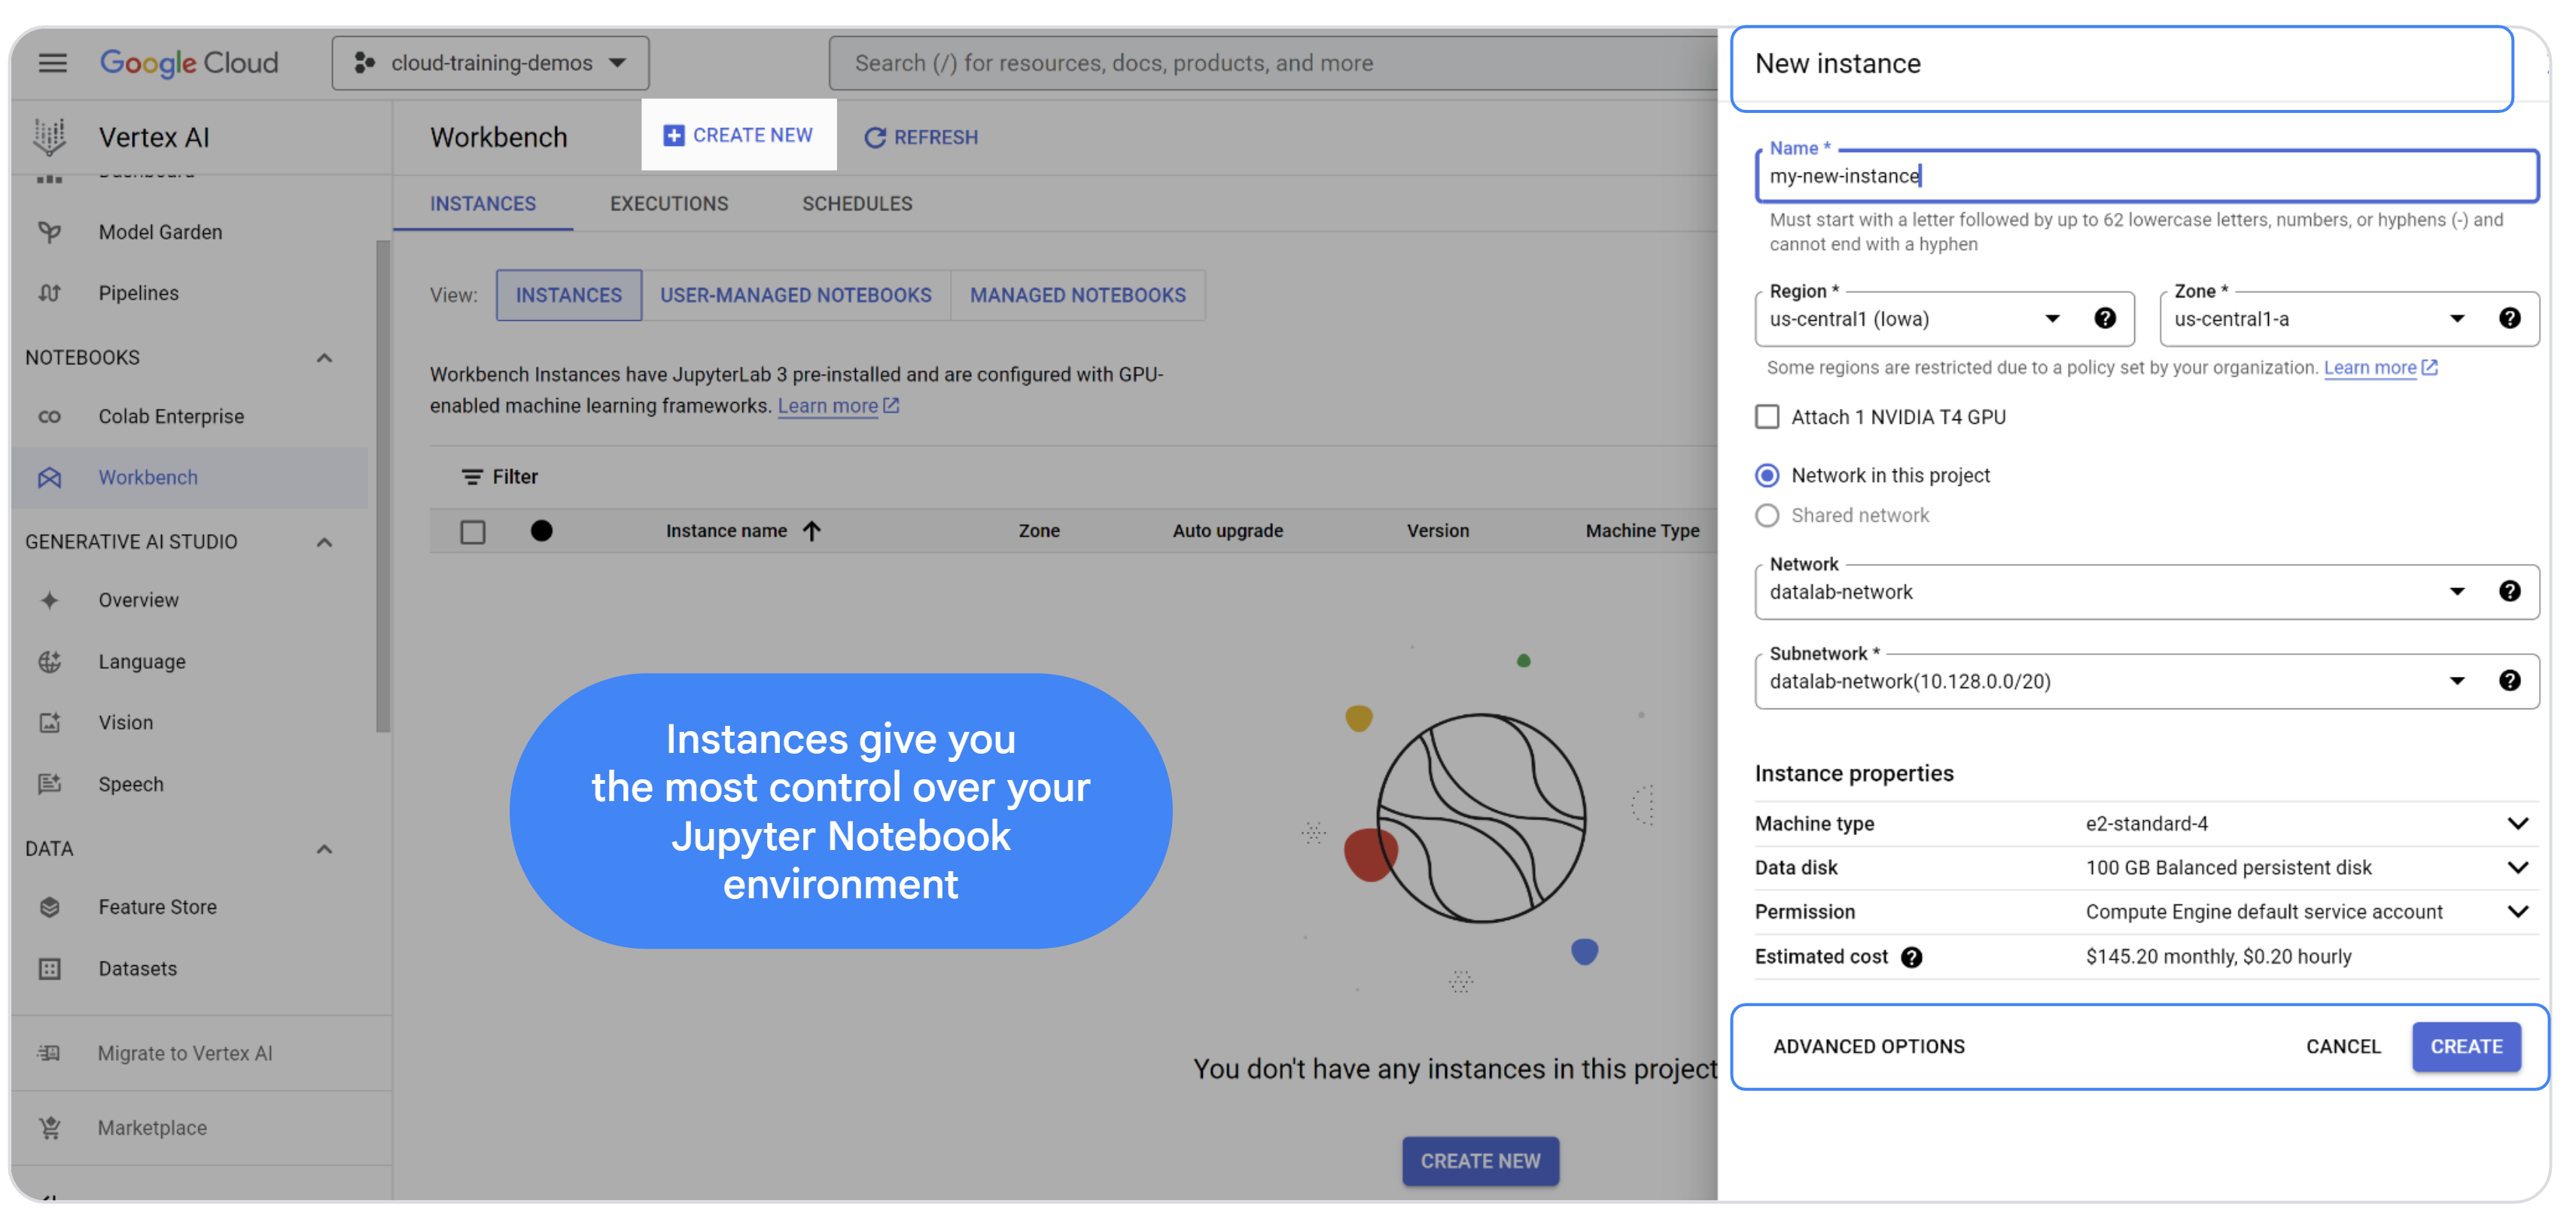
Create a Workbench Instance Notebook.
Use the Kubeflow Pipelines SDK to build scalable ML pipelines.
Create and run a 3-step intro pipeline that takes text input.
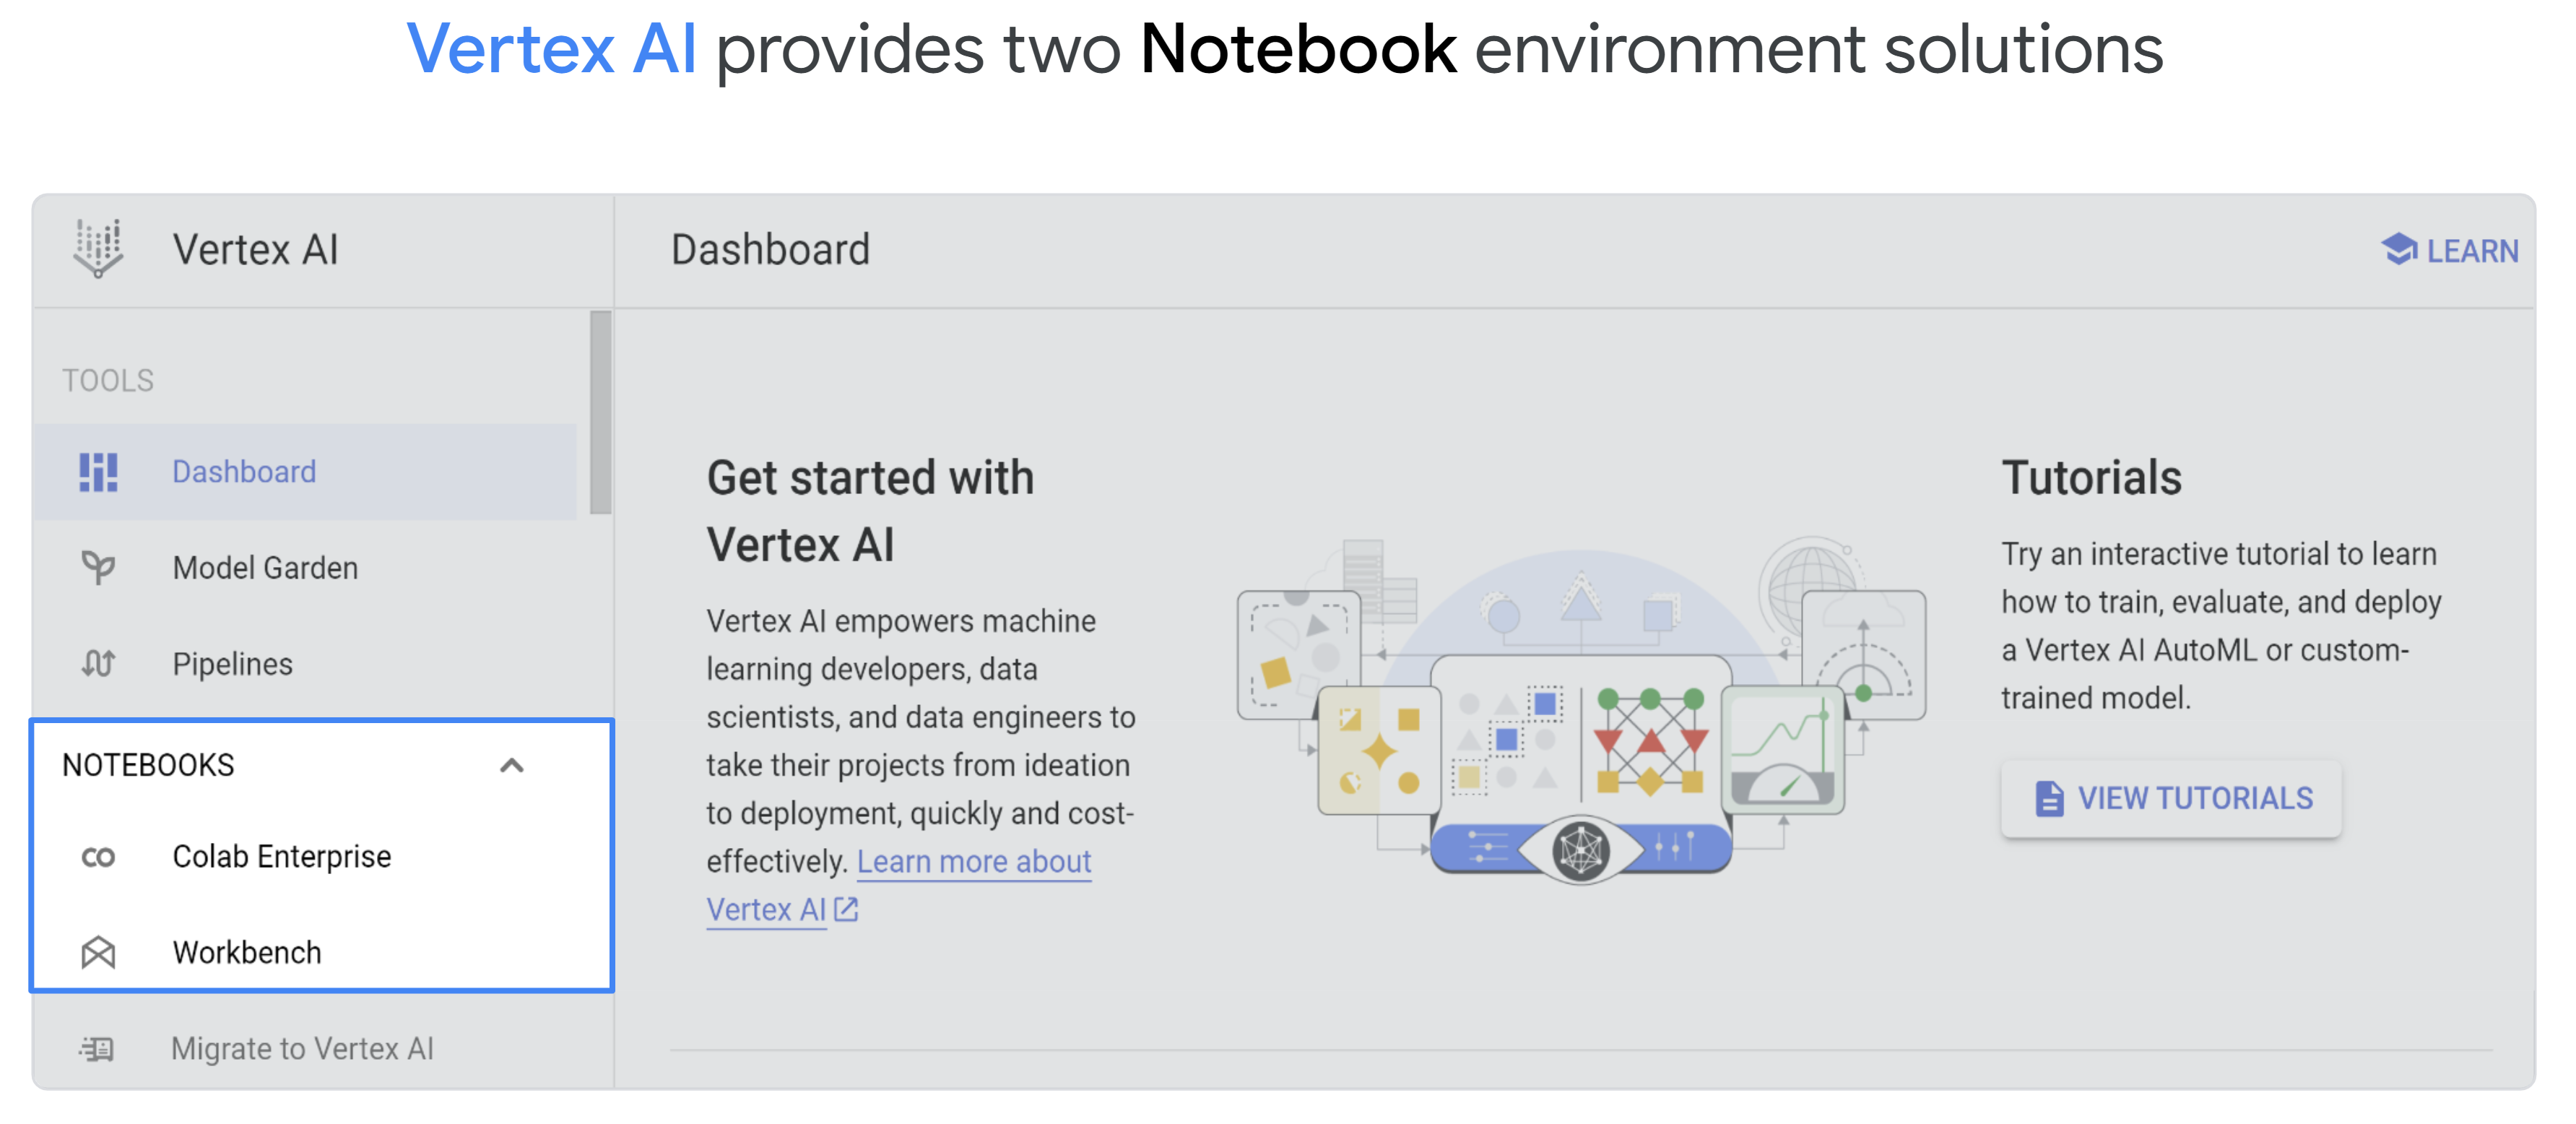
Vertex AI offers two Notebook Solutions, Workbench and Colab Enterprise.
Workbench
Vertex AI Workbench is a good option for projects that prioritize control and customizability. It’s great for complex projects spanning multiple files, with complex dependencies. It’s also a good choice for a data scientist who is transitioning to the cloud from a workstation or laptop.
Vertex AI Workbench Instances comes with a preinstalled suite of deep learning packages, including support for the TensorFlow and PyTorch frameworks.
Setup and requirements
For each lab, you get a new Google Cloud project and set of resources for a fixed time at no cost.
Sign in to Google Skills using an incognito window.
Note the lab's access time (for example, 1:15:00), and make sure you can finish within that time.
There is no pause feature. You can restart if needed, but you have to start at the beginning.
When ready, click Start lab.
Note your lab credentials (Username and Password). You will use them to sign in to the Google Cloud Console.
Click Open Google Console.
Click Use another account and copy/paste credentials for this lab into the prompts.
If you use other credentials, you'll receive errors or incur charges.
Accept the terms and skip the recovery resource page.
Start Cloud Shell
In this lab, you're going to work in a Cloud Shell session, which is a command interpreter hosted by a virtual machine running in Google's cloud. You could just as easily run this section locally on your own computer, but using Cloud Shell gives everyone access to a reproducible experience in a consistent environment. After the lab, you're welcome to retry this section on your own computer.
The first time you make a request in Cloud Shell requiring authorization, you will see an "Authorize Cloud Shell" dialog. You may safely click the Authorize button.
Activate Cloud Shell
Cloud Shell is a virtual machine that contains development tools. It offers a persistent 5-GB home directory and runs on Google Cloud. Cloud Shell provides command-line access to your Google Cloud resources. gcloud is the command-line tool for Google Cloud. It comes pre-installed on Cloud Shell and supports tab completion.
Click the Activate Cloud Shell button () at the top right of the console.
Click Continue.
It takes a few moments to provision and connect to the environment. When you are connected, you are also authenticated, and the project is set to your PROJECT_ID.
[core]
project = qwiklabs-gcp-44776a13dea667a6
Note: Full documentation of gcloud is available in the gcloud CLI overview guide.
Cloud Shell has a few environment variables, including GOOGLE_CLOUD_PROJECT which contains the name of our current Cloud project. We use this in various places throughout this lab. You can see it by running:
echo $GOOGLE_CLOUD_PROJECT
Enable APIs
In later steps, you see where these services are needed (and why), but for now, run this command to give your project access to the Compute Engine, Container Registry, and Vertex AI services:
This lab uses Vertex AI integrates the ML offerings across Google Cloud into a seamless development experience. Previously, models trained with AutoML and custom models were accessible via separate services. The new offering combines both into a single API, along with other new products. You can also migrate existing projects to Vertex AI.
In addition to model training and deployment services, Vertex AI also includes a variety of MLOps products, including Vertex Pipelines (the focus of this lab), Model Monitoring, Feature Store, and more. You can see all Vertex AI product offerings in the diagram below.
Why are ML pipelines useful?
Before we dive in, let's first understand why you would want to use a pipeline. Imagine you're building out a ML workflow that includes processing data, training a model, hyperparameter tuning, evaluation, and model deployment. Each of these steps may have different dependencies, which may become unwieldy if you treat the entire workflow as a monolith.
As you begin to scale your ML process, you might want to share your ML workflow with others on your team so they can run it and contribute code. Without a reliable, reproducible process, this can become difficult. With pipelines, each step in your ML process is its own container. This lets you develop steps independently and track the input and output from each step in a reproducible way. You can also schedule or trigger runs of your pipeline based on other events in your Cloud environment, like kicking off a pipeline run when new training data is available.
Task 1. Create a Cloud Storage bucket
To run a training job on Vertex AI, we need a storage bucket in which to store our saved model assets. The bucket needs to be regional. We're using region here, but you are welcome to use another region (just replace it throughout this lab).
If you already have a bucket you can skip this step.
Run the following commands in your Cloud Shell terminal to create a bucket:
Next we give our compute service account access to this bucket. This ensures that Vertex Pipelines has the necessary IAM role to write files to this bucket.
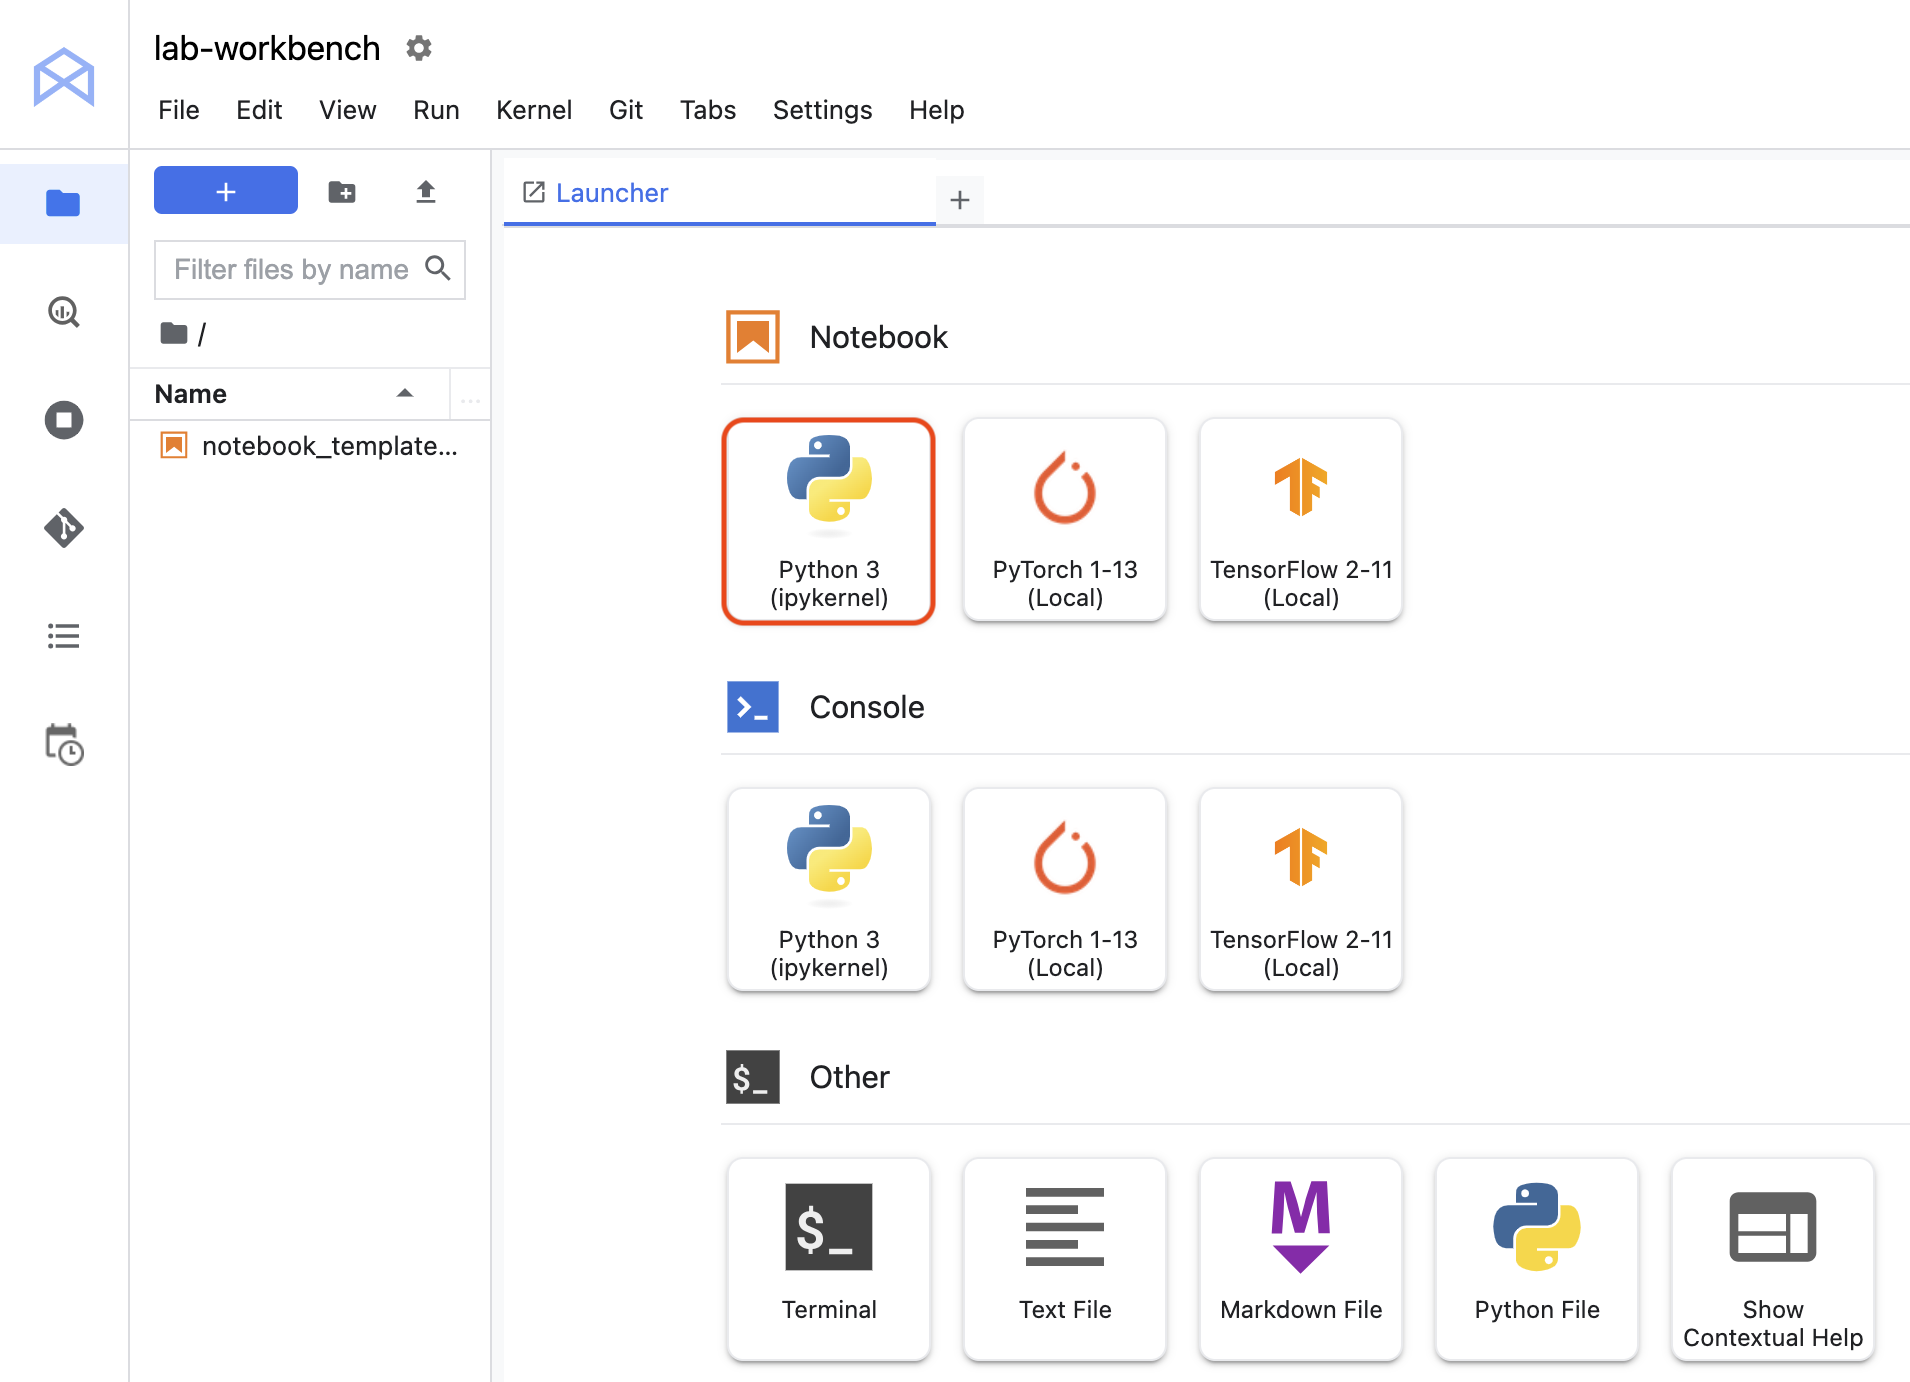
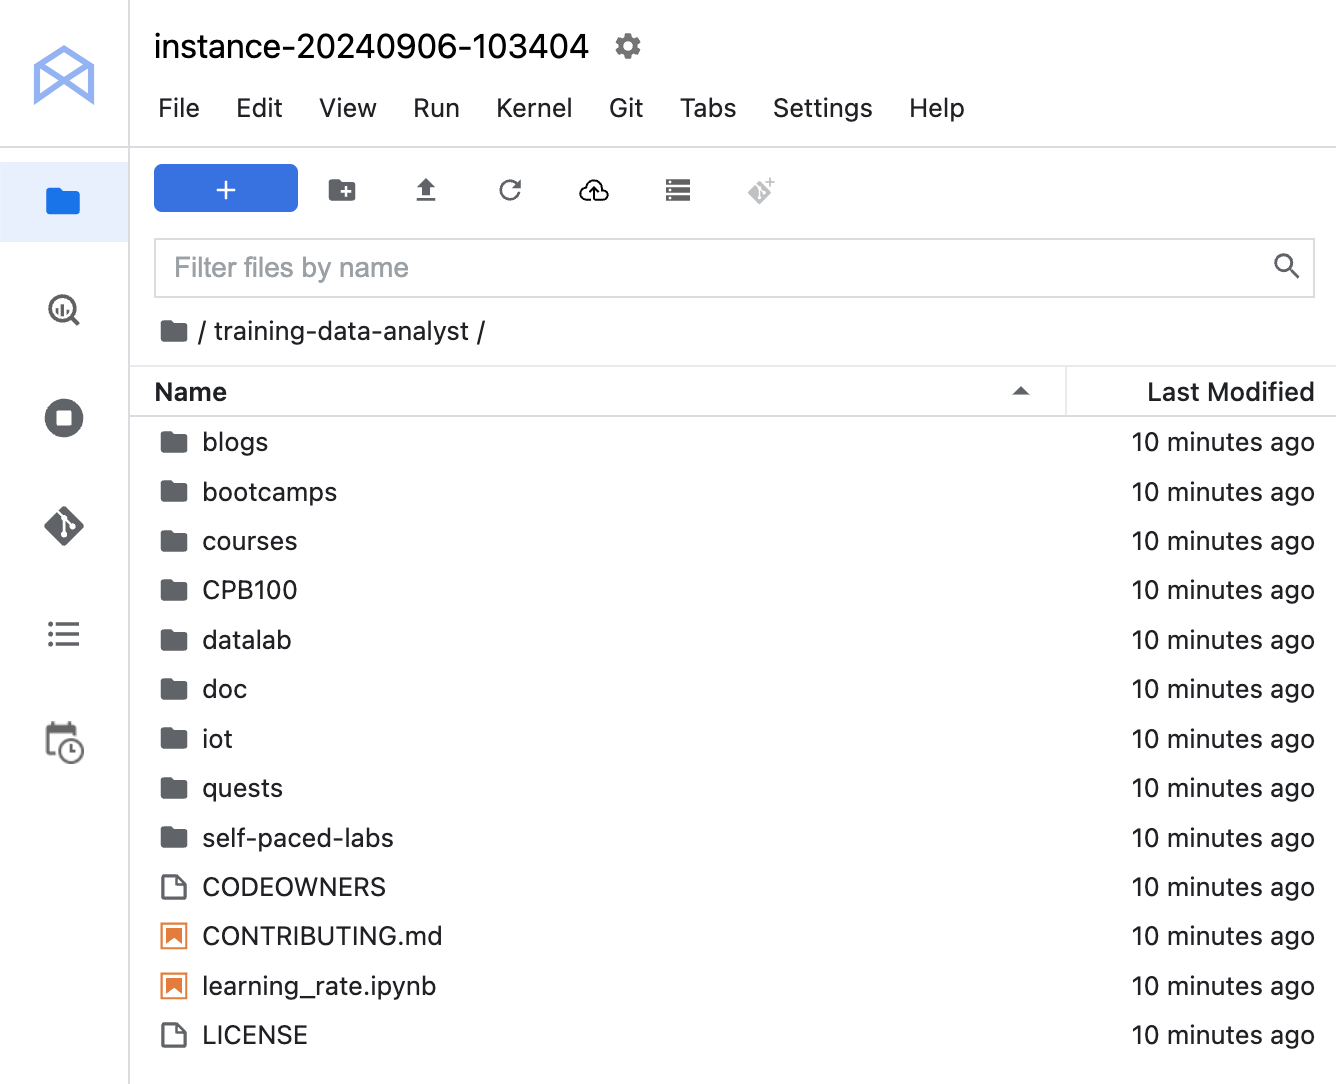
Confirm that you have cloned the repository. Double-click on the training-data-analyst directory and ensure that you can see its contents.
Click Check my progress to verify the objective.
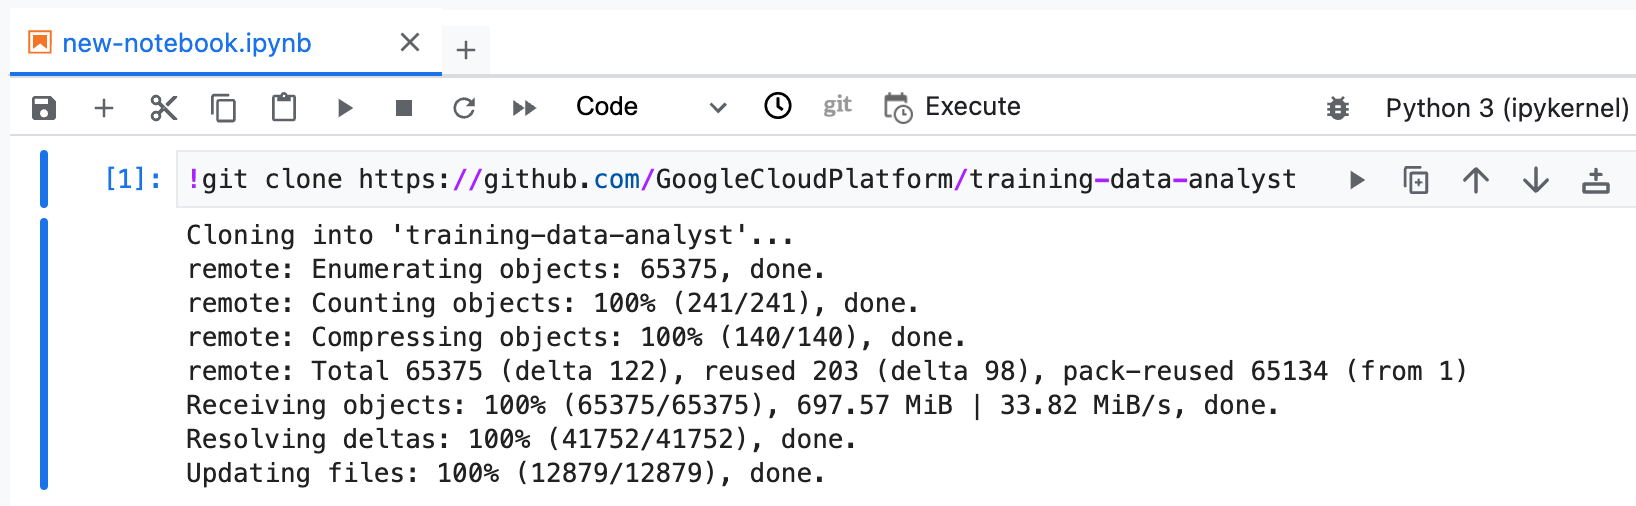
Clone a course repo within your JupyterLab interface.
Task 4. Introduction to Vertex pipelines
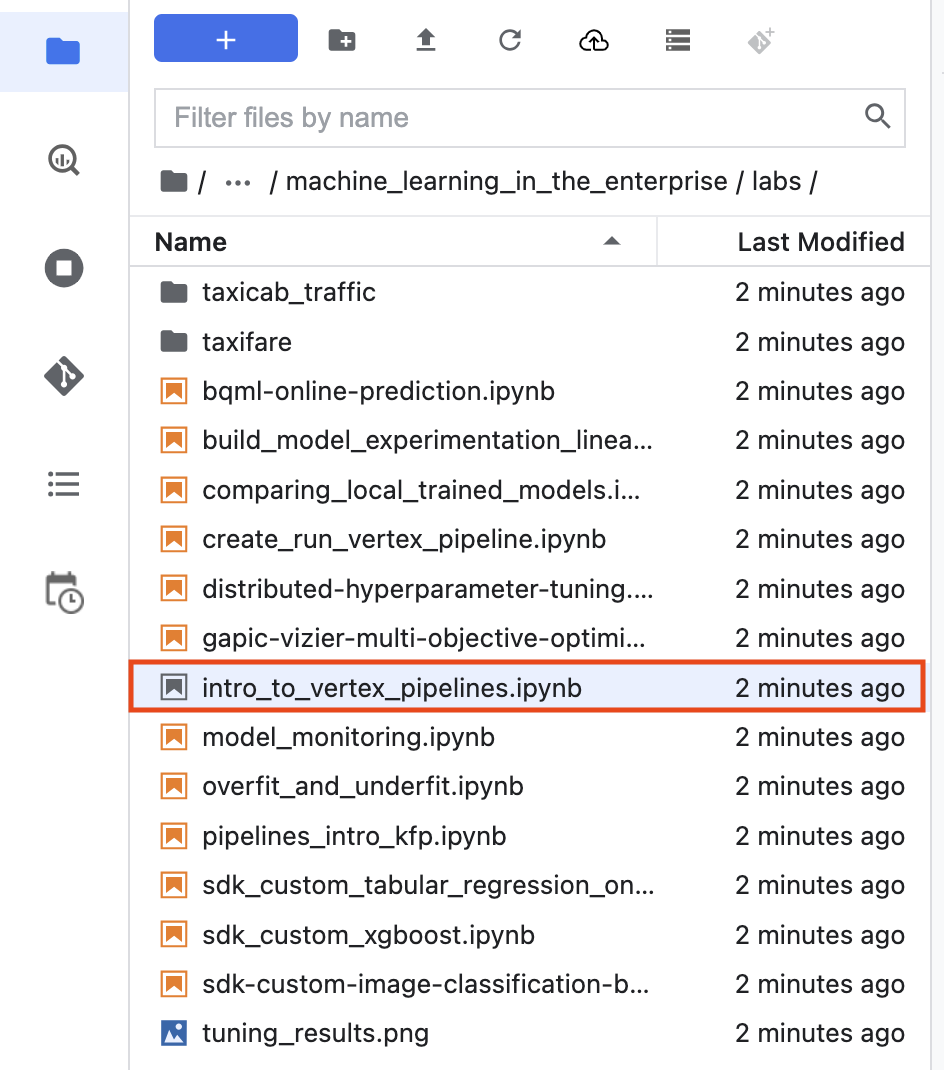
In the notebook interface, navigate to training-data-analyst > courses > machine_learning > deepdive2 > machine_learning_in_the_enterprise > labs, and open intro_to_vertex_pipelines.ipynb.
Choose Python 3 (ipykernel) (Local) for Select Kernel.
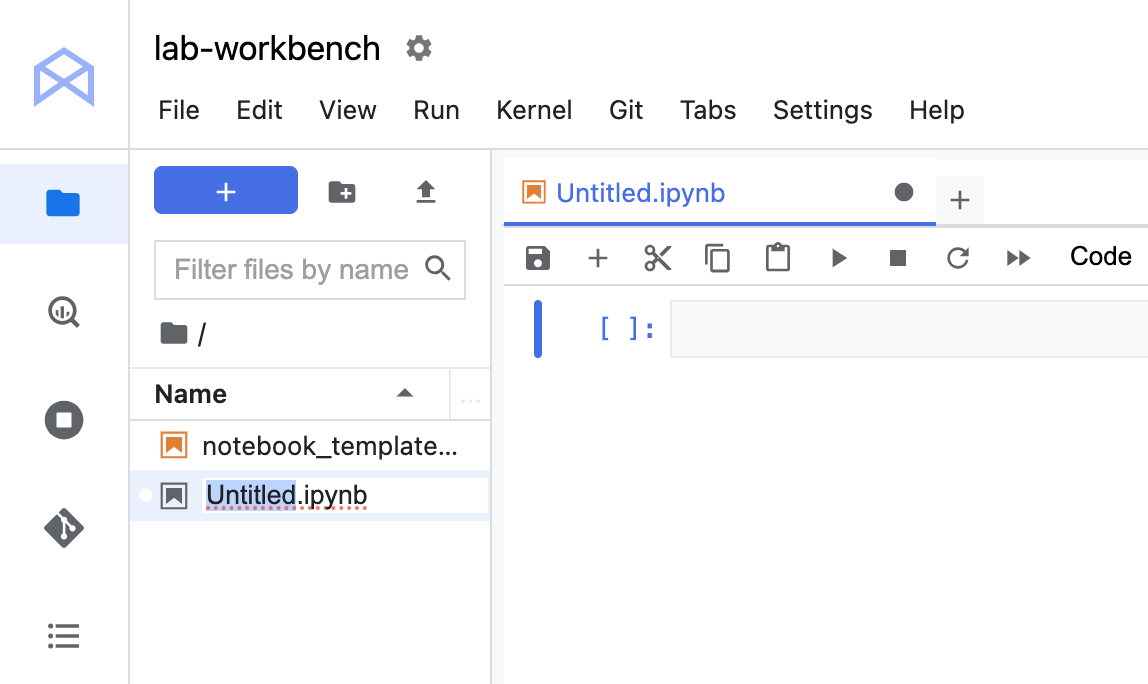
In the notebook interface, click Edit > Clear All Outputs.
Carefully read through the notebook instructions, and fill in lines marked with #TODO where you need to complete the code. Run each cell to observe the outputs.
Click Check my progress to verify the objective.
Introduction to Vertex pipelines.
End your lab
When you have completed your lab, click End Lab. Google Skills removes the resources you’ve used and cleans the account for you.
You will be given an opportunity to rate the lab experience. Select the applicable number of stars, type a comment, and then click Submit.
The number of stars indicates the following:
1 star = Very dissatisfied
2 stars = Dissatisfied
3 stars = Neutral
4 stars = Satisfied
5 stars = Very satisfied
You can close the dialog box if you don't want to provide feedback.
For feedback, suggestions, or corrections, please use the Support tab.
Copyright 2026 Google LLC All rights reserved. Google and the Google logo are trademarks of Google LLC. All other company and product names may be trademarks of the respective companies with which they are associated.
Labs erstellen ein Google Cloud-Projekt und Ressourcen für einen bestimmten Zeitraum
Labs haben ein Zeitlimit und keine Pausenfunktion. Wenn Sie das Lab beenden, müssen Sie von vorne beginnen.
Klicken Sie links oben auf dem Bildschirm auf Lab starten, um zu beginnen
Privates Surfen verwenden
Kopieren Sie den bereitgestellten Nutzernamen und das Passwort für das Lab
Klicken Sie im privaten Modus auf Konsole öffnen
In der Konsole anmelden
Melden Sie sich mit Ihren Lab-Anmeldedaten an. Wenn Sie andere Anmeldedaten verwenden, kann dies zu Fehlern führen oder es fallen Kosten an.
Akzeptieren Sie die Nutzungsbedingungen und überspringen Sie die Seite zur Wiederherstellung der Ressourcen
Klicken Sie erst auf Lab beenden, wenn Sie das Lab abgeschlossen haben oder es neu starten möchten. Andernfalls werden Ihre bisherige Arbeit und das Projekt gelöscht.
Diese Inhalte sind derzeit nicht verfügbar
Bei Verfügbarkeit des Labs benachrichtigen wir Sie per E-Mail
Sehr gut!
Bei Verfügbarkeit kontaktieren wir Sie per E-Mail
Es ist immer nur ein Lab möglich
Bestätigen Sie, dass Sie alle vorhandenen Labs beenden und dieses Lab starten möchten
Privates Surfen für das Lab verwenden
Am besten führen Sie dieses Lab in einem Inkognito- oder privaten Browserfenster aus. So vermeiden Sie Konflikte zwischen Ihrem privaten Konto und dem Teilnehmerkonto, die zusätzliche Kosten für Ihr privates Konto verursachen könnten.
In this lab, you will learn how to create and run ML pipelines with Vertex Pipelines.

 ) at the top right of the console.
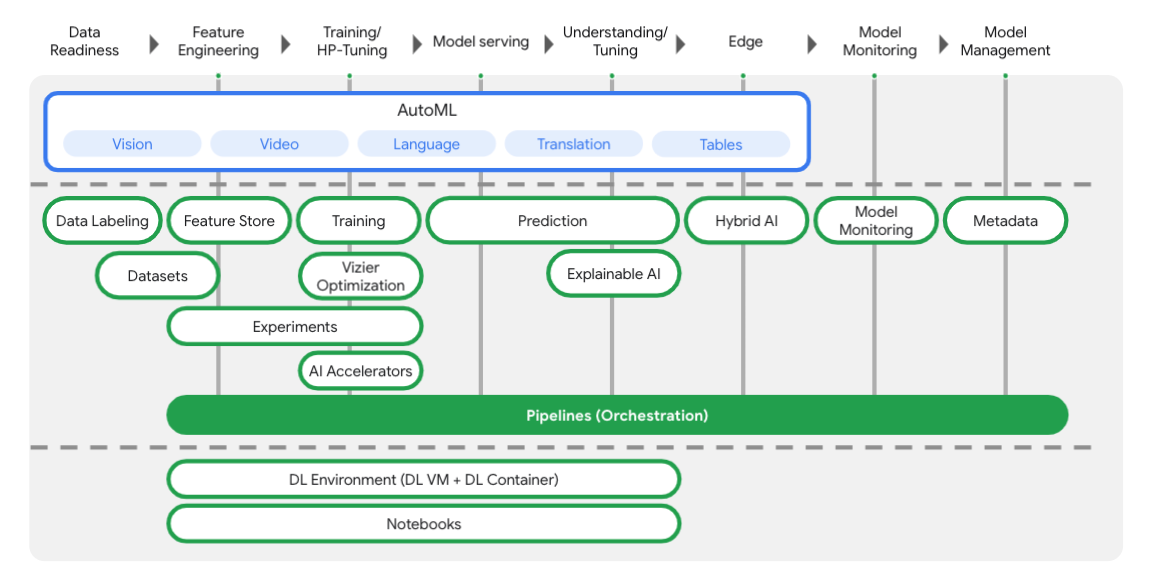
 ), select Vertex AI.
 Create New.