GSP1350

Overview
This lab focuses on the implementation and deployment of a client agent service using the Agent Development Kit (ADK) to build an AI agent that uses remote tools such as a Model Context Protocol (MCP) server. The key architectural principle demonstrated in this lab is the separation of concerns, with a distinct reasoning layer (the agent) communicating with a distinct tooling layer (the MCP server) via a secure API.
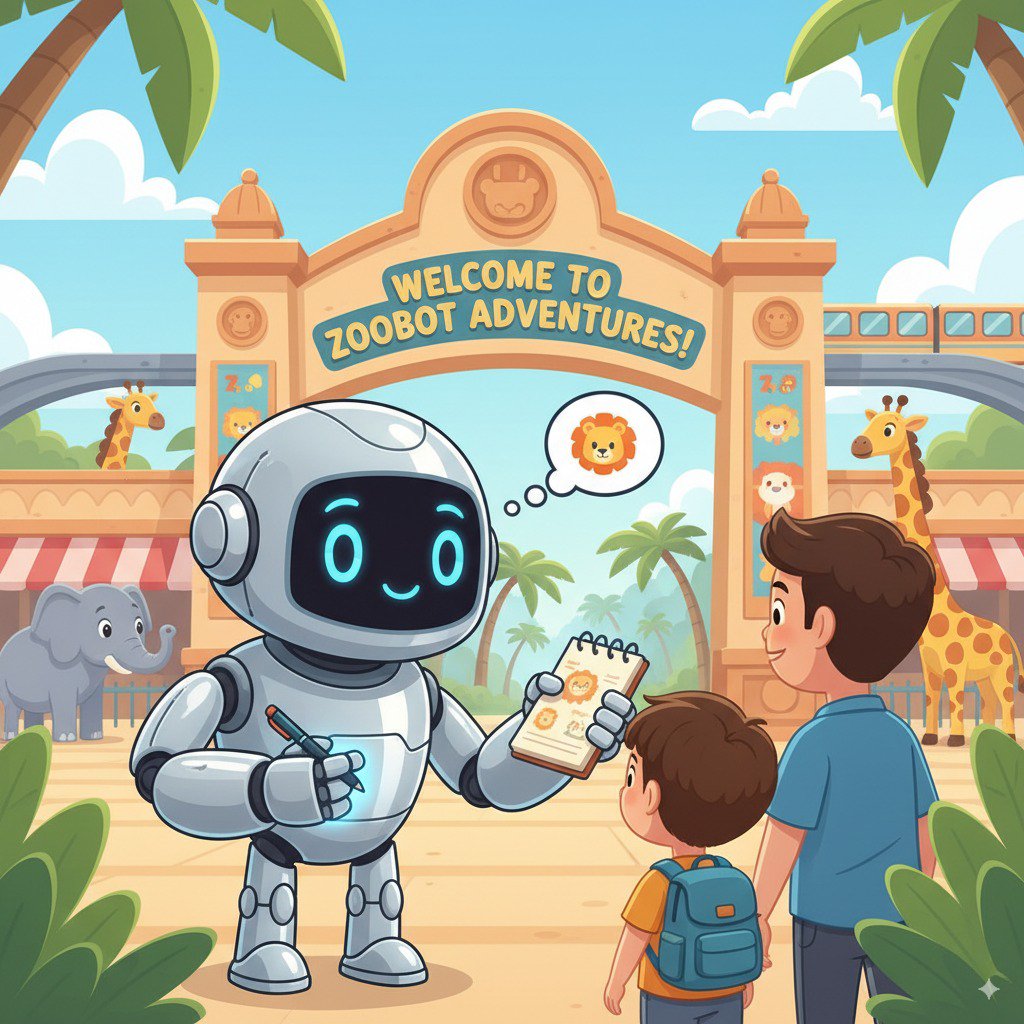
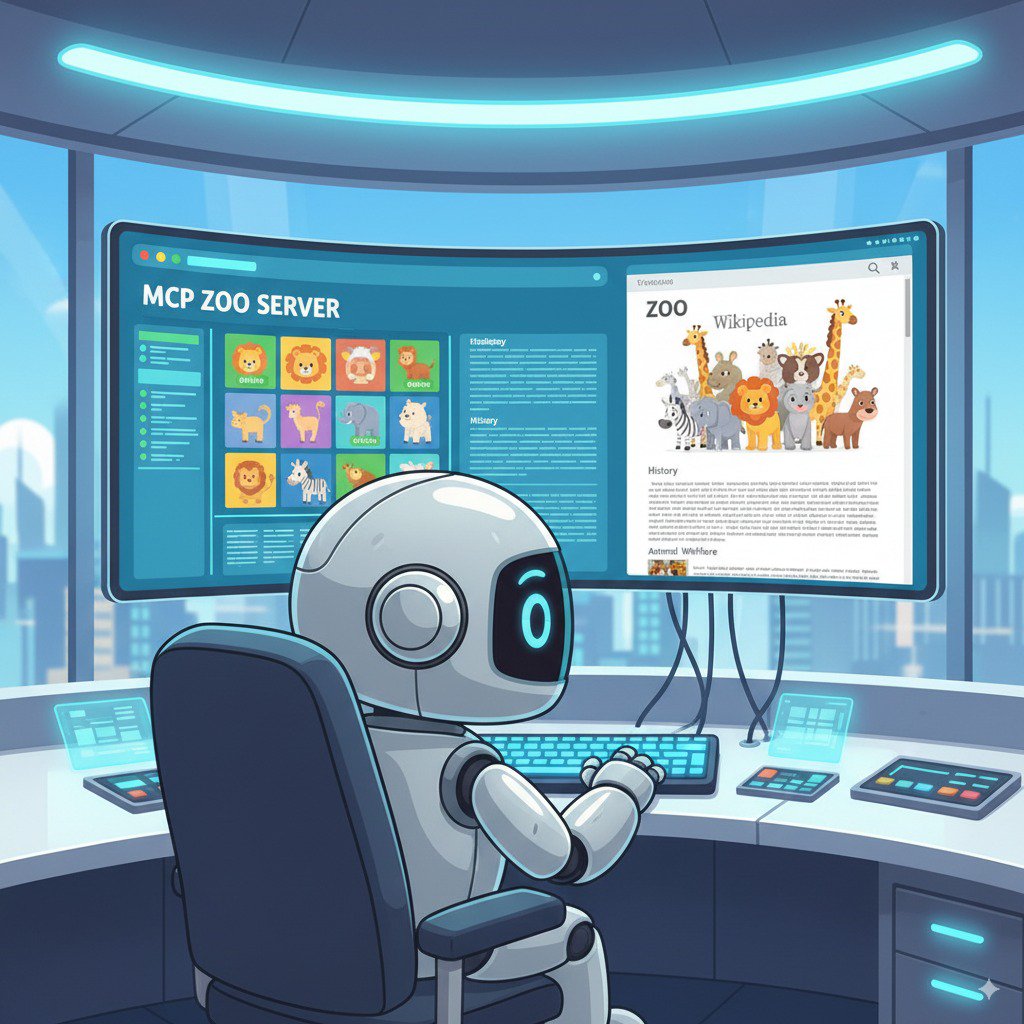
An MCP server is predeployed for you in this lab that provides data about the animals in a fictional zoo to LLMs. In this lab, you then build a tour guide agent, which consists of a Python application, for the fictional zoo. The agent uses the MCP server to access details about the zoo animals, and also uses Wikipedia to create the best tour guide experience.
Finally, you deploy the tour guide agent to Google Cloud Run, so it can be accessed by all zoo visitors rather than just running locally.
What you'll learn
In this lab, you learn how to perform the following tasks:
- Structure a Python project for ADK deployment.
- Implement a tool-using agent with google-adk.
- Connect an agent to a remote MCP server for its toolset.
- Deploy a Python application as a serverless container to Cloud Run.
- Configure secure, service-to-service authentication using IAM roles.
- Delete Cloud resources to avoid incurring future costs.
Why deploy to Cloud Run?
Cloud Run is a great choice for hosting ADK agents because it's a serverless platform, which means you can focus on your code and not on managing the underlying infrastructure. Cloud Run handles the operational work for you.
Think of it like a pop-up shop: it only opens and uses resources when customers (requests) arrive. When there are no customers, it closes down completely, and you don't pay for an empty store.
Key features of Cloud Run
Runs containers anywhere
- You bring a container (Docker image) that has your app inside.
- Cloud Run runs it on Google's infrastructure.
- No OS patching, VM setup, or scaling headaches.
Automatic scaling
- If 0 people are using your app → 0 instances run (you pay $0 when idle).
- If 1,000 requests hit it → it spins up as many copies as needed.
Stateless by default
- Each request can go to a different instance.
- If you need to store state, use an external service like Cloud SQL, Firestore, or Redis.
Supports any language or framework
- As long as it runs in a Linux container, Cloud Run doesn't care if it's Python, Go, Node.js, Java, or .Net.
Pay for what you use
- Billed per request + compute time (down to 100 ms).
- You're not paying for idle resources like with a traditional VM.
Setup and requirements
Before you click the Start Lab button
Read these instructions. Labs are timed and you cannot pause them. The timer, which starts when you click Start Lab, shows how long Google Cloud resources are made available to you.
This hands-on lab lets you do the lab activities in a real cloud environment, not in a simulation or demo environment. It does so by giving you new, temporary credentials you use to sign in and access Google Cloud for the duration of the lab.
To complete this lab, you need:
- Access to a standard internet browser (Chrome browser recommended).
Note: Use an Incognito (recommended) or private browser window to run this lab. This prevents conflicts between your personal account and the student account, which may cause extra charges incurred to your personal account.
- Time to complete the lab—remember, once you start, you cannot pause a lab.
Note: Use only the student account for this lab. If you use a different Google Cloud account, you may incur charges to that account.
Activate Cloud Shell
Cloud Shell is a virtual machine that is loaded with development tools. It offers a persistent 5GB home directory and runs on the Google Cloud. Cloud Shell provides command-line access to your Google Cloud resources.
-
Click Activate Cloud Shell  at the top of the Google Cloud console.
-
Click through the following windows:
- Continue through the Cloud Shell information window.
- Authorize Cloud Shell to use your credentials to make Google Cloud API calls.
When you are connected, you are already authenticated, and the project is set to your Project_ID, . The output contains a line that declares the Project_ID for this session:
Your Cloud Platform project in this session is set to {{{project_0.project_id | "PROJECT_ID"}}}
gcloud is the command-line tool for Google Cloud. It comes pre-installed on Cloud Shell and supports tab-completion.
- (Optional) You can list the active account name with this command:
gcloud auth list
- Click Authorize.
Output:
ACTIVE: *
ACCOUNT: {{{user_0.username | "ACCOUNT"}}}
To set the active account, run:
$ gcloud config set account `ACCOUNT`
- (Optional) You can list the project ID with this command:
gcloud config list project
Output:
[core]
project = {{{project_0.project_id | "PROJECT_ID"}}}
Note: For full documentation of gcloud, in Google Cloud, refer to the gcloud CLI overview guide.
Task 1. Download and install the ADK and create a project folder
In this task, you enable the relevant APIs and create a project folder to store the source code for your Python project's deployment.
Enable the APIs and set the environment variables
- In Cloud Shell, click Open Editor to open the Cloud Shell Editor to your home directory.
- On the Cloud Shell Editor action bar, click View > Terminal.
Note: You may have to lengthen your browser window to see the View menu option.
Use this window as your IDE, with both the Cloud Shell Editor (top) and the Cloud Shell terminal (bottom), for the remainder of this lab.
Close any additional tutorial or Gemini panels that appear on the right side of the screen to save more of your window for your code editor.
-
In the terminal, enter the following command to set up your project:
gcloud config set project {{{project_0.project_id | filled in at lab start}}}
Expected output:
You should get an output message confirming the updated property.
Note: In the event of a Cloud Shell timeout or restart, you need to set the project up again.
-
Run the following command to enable all the necessary services:
gcloud services enable \
run.googleapis.com \
artifactregistry.googleapis.com \
cloudbuild.googleapis.com \
aiplatform.googleapis.com \
compute.googleapis.com
Expected output:
You should get an output message confirming that the operation was successful.
Click Check my progress to verify the objective.
Enable the APIs
Create the project directories
-
Execute the following command, which creates a main folder in the lab for the agent's source code:
mkdir zoo_guide_agent && cd zoo_guide_agent
Now you're ready to create the requirements.txt file. This file lists the Python libraries that your zoo agent needs.
-
Run the following command to create the file within the zoo_guide_agent directory and launch it in Cloud Shell Editor so you can edit the file:
cloudshell edit requirements.txt
-
Add the following to the requirements.txt file and press CTRL+S to save your changes:
google-adk==1.28.0
langchain==1.2.14
langchain-community==0.4.1
wikipedia
-
Run the command that follows in the terminal to install your Python packages and update your PATH:
export PATH=$PATH:~/.local/bin
pip3 install -r requirements.txt --user
-
Set variables for your current project, region, and user with these commands:
export PROJECT_ID=$(gcloud config get-value project)
export REGION=$(gcloud compute project-info describe \
--format="value(commonInstanceMetadata.items[google-compute-default-region])")
export PROJECT_NUMBER=$(gcloud projects describe $PROJECT_ID --format="value(projectNumber)")
export SERVICE_ACCOUNT="${PROJECT_NUMBER}-compute@developer.gserviceaccount.com"
Note: In the event of a Cloud Shell timeout or restart, you need to re-initialize the above variables.
-
Create and open an .env file to authenticate the agent in the zoo_guide_agent directory with the following command:
cloudshell edit .env
The directory containing the .env file opens in the Cloud Shell Editor.
-
Add the following to the .env file and save your changes:
MODEL="{{{ project_0.startup_script.gemini_flash_model_id | filled in at lab start }}}"
SERVICE_ACCOUNT="${PROJECT_NUMBER}-compute@developer.gserviceaccount.com"
GOOGLE_GENAI_USE_ENTERPRISE=true
GOOGLE_CLOUD_LOCATION=global
Connect to the secure MCP server endpoint
In this section, you establish a connection to your remote MCP server.
-
Return to the Cloud Shell terminal and run the following command to give the Cloud Run service identity permission to call the remote MCP server:
gcloud projects add-iam-policy-binding $PROJECT_ID \
--member="serviceAccount:$SERVICE_ACCOUNT" \
--role="roles/run.invoker"
-
Run the following command to save the MCP server URL to an environment variable:
echo -e "\nMCP_SERVER_URL=https://zoo-mcp-server-${PROJECT_NUMBER}.${REGION}.run.app/mcp/" >> .env
-
Next, you run the following command to create the __init__.py file. This file tells Python that the zoo_guide_agent directory is a package:
cloudshell edit __init__.py
-
In the Cloud Shell Editor that opens, add the following code to __init__.py and save your changes:
from . import agent
Task 2. Create the agent workflow
In this task, you configure the zoo tour guide agent's workflow. First, you import the relevant libraries for the initial setup. Then, you define the zoo agent's capabilities (which tools it uses) and you define the specialist agents. Thereafter, you define the workflow agent, and finally, you assemble the main workflow.
Create the main agent.py file
Import libraries and perform initial setup
This first block brings in all the necessary libraries from the ADK and Google Cloud. It also sets up logging and loads the environment variables from your .env file, which is crucial for accessing your model and server URL.
Define tools
An agent is only as good as the tools it can use. In this section, you define all the capabilities of your agent, including a custom function to save data, an MCP tool that connects to your secure MCP server, along with a Wikipedia tool.
The three tools explained
-
add_prompt_to_state: 📝 This tool remembers what a zoo visitor asks. When a visitor asks, "Where are the lions?", this tool saves that specific question into the agent's memory so the other agents in the workflow know what to research.
How: It's a Python function that writes the visitor's prompt into the shared tool_context.state dictionary. This tool context represents the agent's short-term memory for a single conversation. Data saved to the state by one agent can be read by the next agent in the workflow.
-
MCPToolset: 🦁 This is used to connect the tour guide agent to the zoo MCP server predeployed in this lab. This server has special tools for looking up specific information about zoo animals, like their name, age, and enclosure.
How: It securely connects to the zoo's private server URL. It uses get_id_token to automatically get a secure "keycard" (a service account ID token) to prove its identity and gain access.
-
LangchainTool: 🌍 This gives the tour guide agent general world knowledge. When a visitor asks a question that isn't in the zoo's database, like "What do lions eat in the wild?", this tool lets the agent look up the answer on Wikipedia.
How: It acts as an adapter, allowing your agent to use the pre-built WikipediaQueryRun tool from the LangChain library.
Resources:
Define specialist agents
In this section, you define two specialist agents—the researcher agent and response formatter agent. The researcher agent is the "brain" of your operation. This agent takes the user's prompt from the shared State, examines its powerful tools (the Zoo's MCP Server Tool and the Wikipedia Tool), and decides which ones to use to find the answer.
The response formatter agent's role is presentation. It doesn't use any tools to find new information. Instead, it takes the raw data gathered by the Researcher agent (passed via the State) and uses the LLM's language skills to transform it into a friendly, conversational response.
Define workflow agent
The workflow agent acts as the 'back-office' manager for the zoo tour. It takes a research request and ensures that the two agents you defined in step 3 perform their jobs in the correct order: first research, then formatting. This creates a predictable and reliable process for answering a zoo visitor's question(s).
How: It's a SequentialAgent, a special type of agent that doesn't think for itself. Its only job is to run a list of sub_agents (the researcher and formatter) in a fixed sequence, automatically passing the shared memory from one to the next.
Assemble main workflow
The main workflow is designated via the root_agent, which is what the ADK framework uses as the starting point for all new conversations. This agent's primary role is to orchestrate the overall process. It acts as the initial controller, managing the first turn of the conversation.
Your agent.py file is now complete!
By building it this way, you can see how each component—tools, worker agents, and manager agents—has a specific role in creating the final, intelligent system. Next up, deployment!
Task 3. Prepare the application for deployment
With your local environment ready, the next step is to prepare your Google Cloud project for the zoo tour guide agent's deployment.
This involves a final check of your agent's file structure to ensure it's compatible with the deployment command. More importantly, you configure a critical IAM permission that allows your deployed Cloud Run service to act on your behalf and call the Agent Platform models. Completing this step ensures the cloud environment is ready to run your agent successfully.
-
Return to the Cloud Shell terminal and run the following command to load the variables into your shell session:
source .env
-
Run the following command to grant the service account the Agent Platform User role, which gives it permission to make predictions and call Google's models:
# Grant the "Agent Platform User" role to your service account
gcloud projects add-iam-policy-binding $PROJECT_ID \
--member="serviceAccount:$SERVICE_ACCOUNT" \
--role="roles/aiplatform.user"
Task 4. Deploy the agent using the ADK CLI
With your local code ready and your Google Cloud project prepared, it's time to deploy the agent.
In this task, you use the adk deploy cloud_run command, which is a convenient tool that automates the entire deployment workflow. This single command packages your code, builds a container image, pushes it to Artifact Registry, and launches the service on Cloud Run to make it accessible on the web.
Deploy the agent
-
Run the following command to deploy your agent:
# Run the deployment command
adk deploy cloud_run \
--project=$PROJECT_ID \
--region=$REGION \
--service_name=zoo-tour-guide \
--with_ui \
.
-
If you're prompted whether you'd like to continue and/or to allow unauthenticated invocations to [zoo-tour-guide], type Y in each case, and press ENTER.
Note: This deploy command may take 5–10 minutes to finish running.
-
Run the following command to modify the configuration settings of the existing Cloud Run service:
gcloud run services update zoo-tour-guide \
--region=$REGION \
--update-labels=dev-tutorial=codelab-adk \
--set-env-vars="MODEL=$MODEL,MCP_SERVER_URL=$MCP_SERVER_URL,GOOGLE_CLOUD_LOCATION=global"
Get the deployment link
-
Once the agent has successfully been deployed to Cloud Run, it outputs the Service URL, which you can use to open it in a new browser tab.
It should resemble the following format.
Service URL output:
https://zoo-tour-guide-{{{project_0.startup_script.project_number | filled in at lab start}}}.{{{project_0.default_region | filled in at lab start}}}.run.app
Because you used the --with_ui flag while deploying to Cloud Run, you should see the ADK developer UI.
Note: Anyone with the URL can access this agent, so this approach is best used exclusively for testing purposes.
Note: It might take a few minutes for the Activity Tracking check to pass after a successful deployment.
Click Check my progress to verify the objective.
Deploy the Agent
Task 5. Test the deployed agent
With your agent now live on Cloud Run, in this task you perform a test to confirm that the deployment was successful and the agent is working as expected. You need to use the public Service URL to access the ADK's web interface and interact with the agent.
-
Open the public Cloud Run service URL that was output in the previous task in your web browser or CTRL+click on the URL in the output (it should open in a new browser tab). This opens the ADK Developer UI.
If you get a notification, asking whether you'd like Cloud Shell to open the external website, click Open to confirm.
-
Toggle Token Streaming to On in the upper right of the ADK toolbar.
You can now interact with the Zoo agent.
- Type the following prompt in the prompt box and press ENTER to begin a new conversation:
Hello
Observe the result. The agent should respond quickly with its standard greeting:
"Hello! I'm your Zoo Tour Guide. I can help you learn about the amazing animals we have here. What would you like to know or explore today?"
- Now, interact with the zoo guide agent. Enter the prompt that follows to resume the conversation:
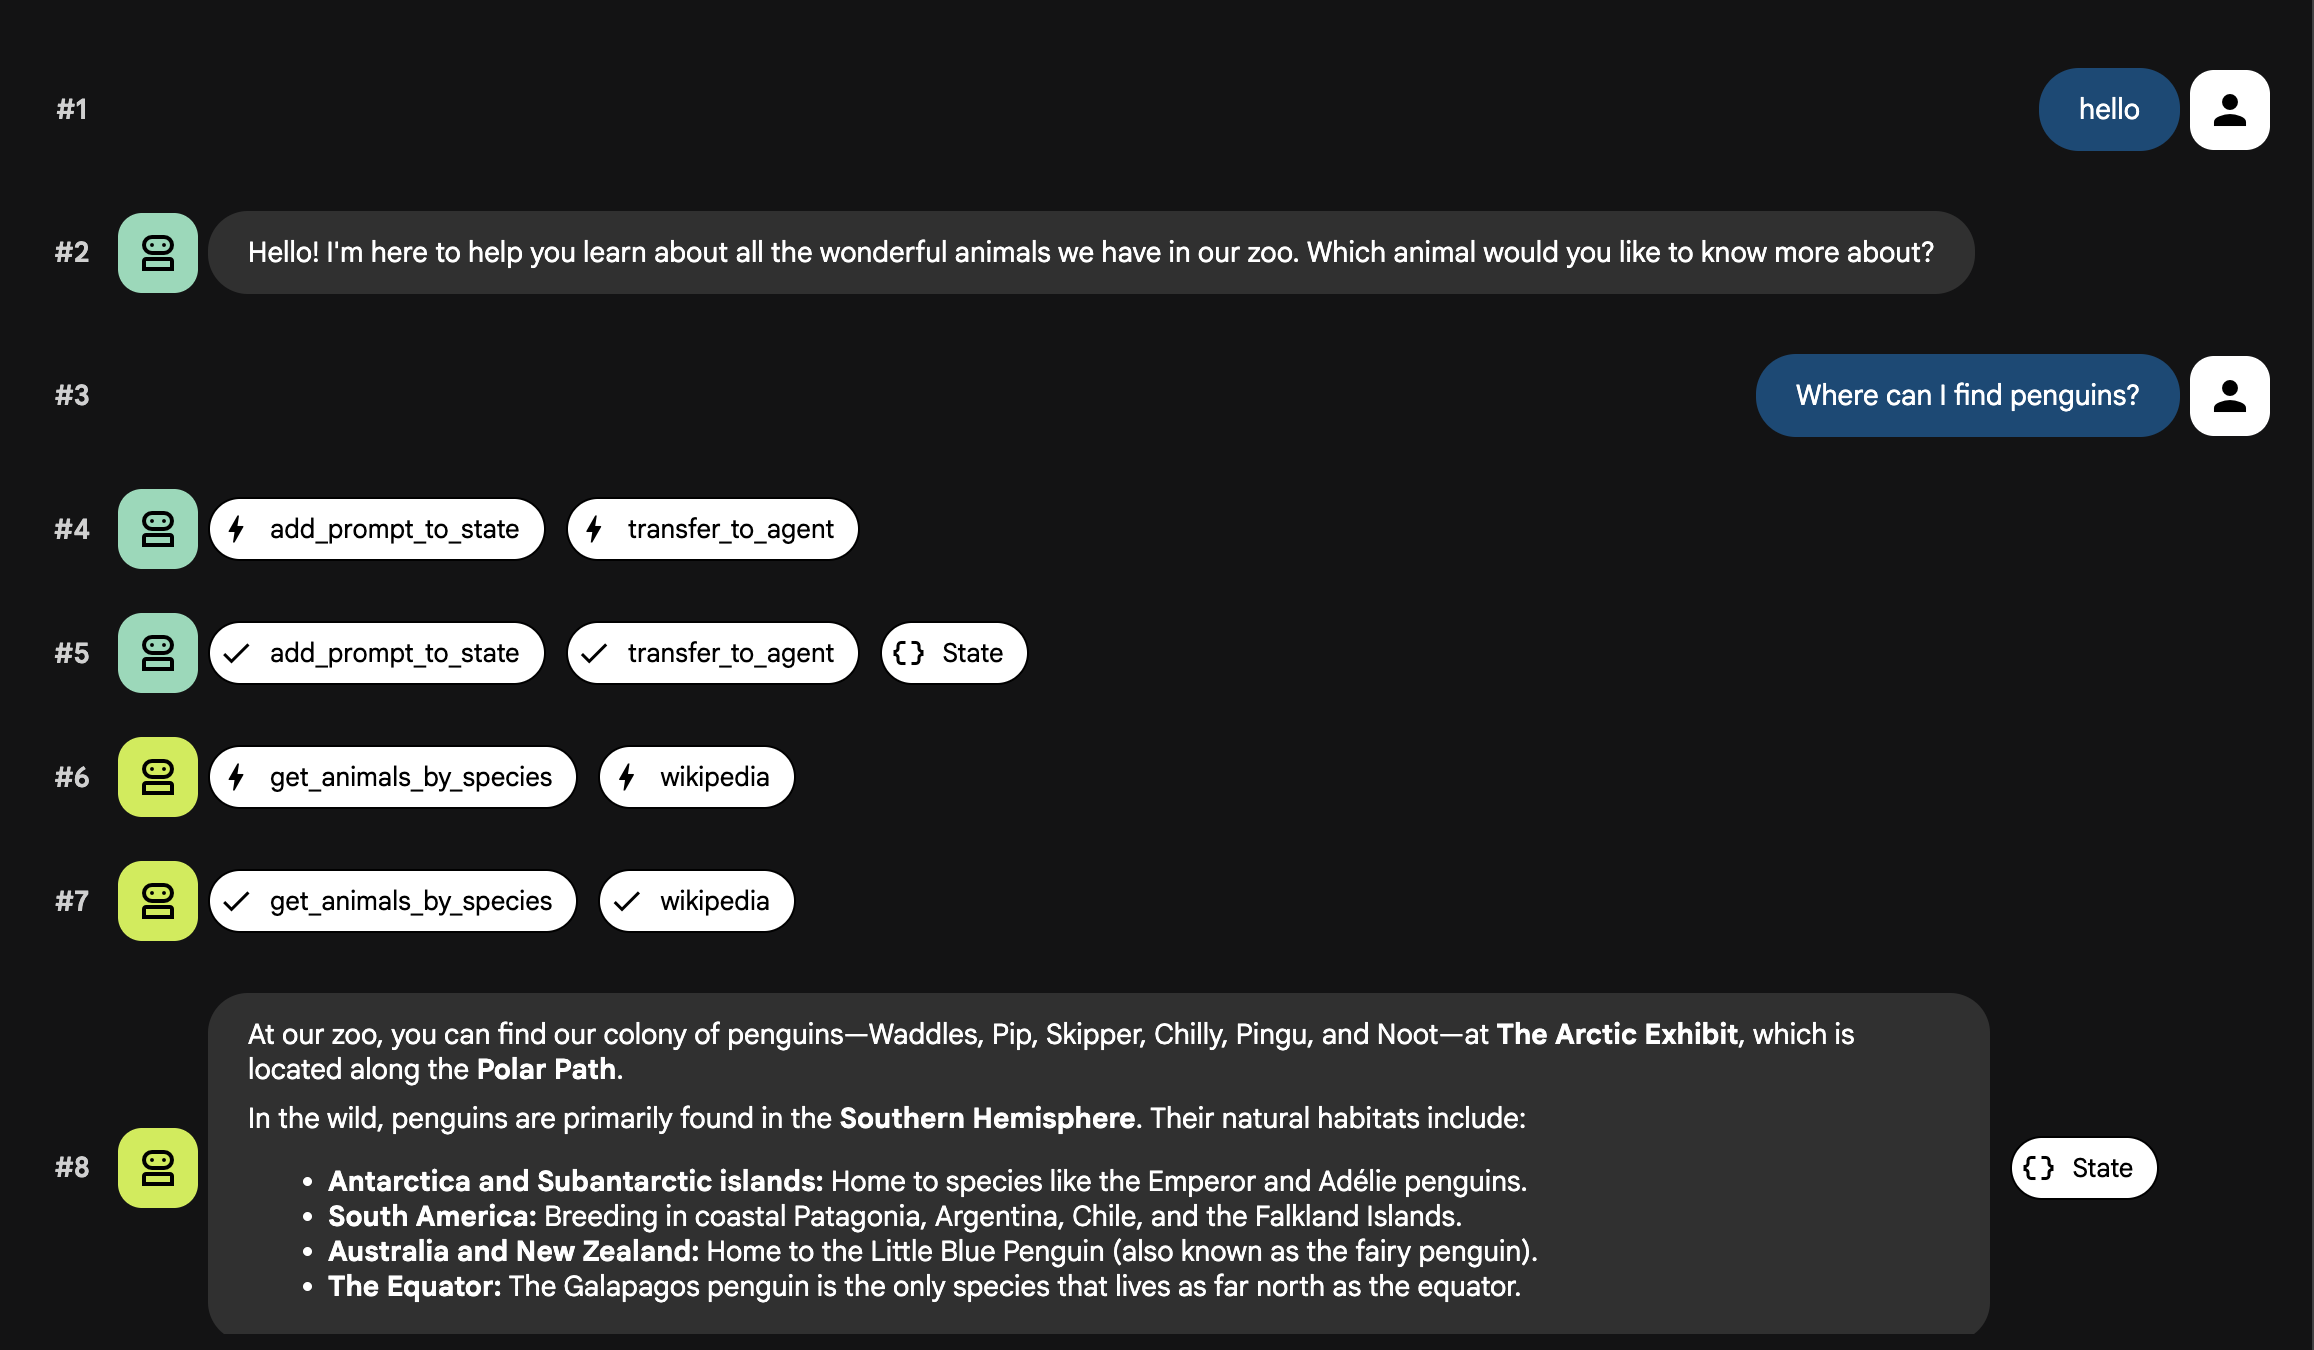
Where are the penguins located?
You should get a response similar to the following:
- Try these additional prompts to see how the agent uses different tools (MCP vs Wikipedia) and combines information:
To test general knowledge (Wikipedia only):
What is the average lifespan of a penguin in the wild?
To test combining internal and external data:
What species are the penguins in our zoo, and what do they typically eat in the wild?
About lions (testing both tools again):
Where are the lions and what do they eat in the wild?
About polar bears (testing for animals that might not be in the zoo):
Do we have polar bears in this zoo?
The agent flow explained
Your system operates as an intelligent, multi-agent team. The process is managed by a clear sequence to ensure a smooth and efficient flow from a user's question to the final, detailed answer.
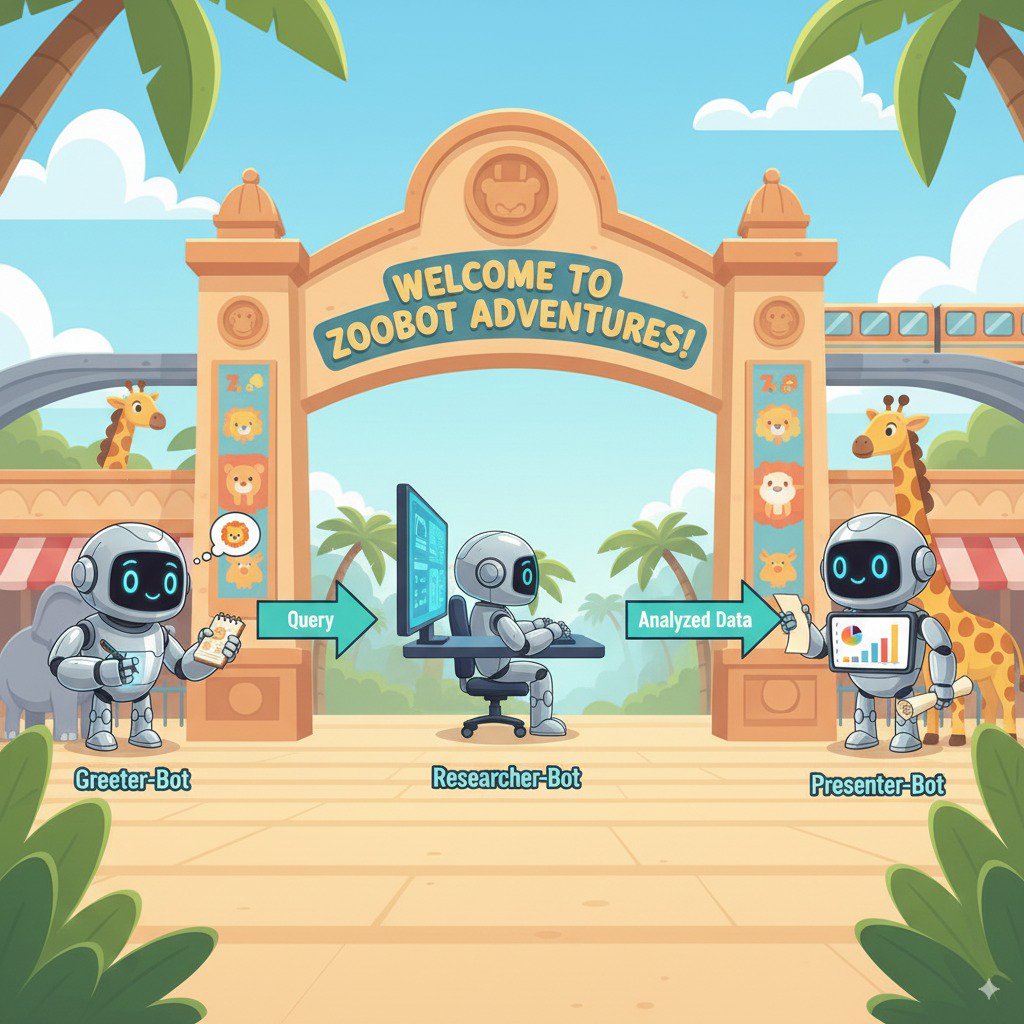
1. The Zoo Greeter (The Welcome Desk)
The entire process begins with the greeter agent.
Its Job: To start the conversation. Its instruction is to greet the user and ask what animal they would like to learn about.
Its Tool: When the user replies, the Greeter uses its add_prompt_to_state tool to capture their exact words (e.g., "tell me about the lions") and save them in the system's memory.
The Handoff: After saving the prompt, it immediately passes control to its sub-agent, the tour_guide_workflow.
2. The Comprehensive Researcher (The Super-Researcher)
This is the first step in the main workflow and the "brain" of the operation. Instead of a large team, you now have a single, highly-skilled agent that can access all the available information.
Its Job: To analyze the user's question and form an intelligent plan. It uses the language model's powerful tool use capability to decide if it needs:
- Internal data from the zoo's records (via the MCP Server).
- General knowledge from the web (via the Wikipedia API).
- Or, for complex questions, both.
Its Action: It executes the necessary tool(s) to gather all the required raw data. For example, if asked "How old are our lions and what do they eat in the wild?", it will call the MCP server for the ages and the Wikipedia tool for the diet information.
3. The Response Formatter (The Presenter)
Once the Comprehensive Researcher has gathered all the facts, this is the final agent to run.
Its Job: To act as the friendly voice of the Zoo Tour Guide. It takes the raw data (which could be from one or both sources) and polishes it.
Its Action: It synthesizes all the information into a single, cohesive, and engaging answer. Following its instructions, it first presents the specific zoo information and then adds the interesting general facts.
The Final Result: The text generated by this agent is the complete, detailed answer that the user sees in the chat window.
Task 6. Clean up the environment
In this task, you delete the Cloud resources you created in this lab to avoid incurring future costs.
Next steps / Learn more
If you are interested in learning more about building Agents, check out the following resources:
Congratulations!
In this lab, you explored how to structure a Python project for deployment with the ADK command-line interface, implemented a multi-agent workflow, connected to a remote MCP server to consume its tools, augmented internal data by integrating external tools like the Wikipedia API, and deployed the agent as a serverless container to Cloud Run.
Manual Last Updated May 18, 2026
Lab Last Tested April 20, 2026
Copyright 2026 Google LLC. All rights reserved. Google and the Google logo are trademarks of Google LLC. All other company and product names may be trademarks of the respective companies with which they are associated.


