Introduction
In Windows, files and folders are managed using an interface program called File Explorer. File Explorer presents files and folders in a hierarchical tree-like structure, and makes it easy to perform tasks like creating, copying, moving and deleting files.
You'll have 60 minutes to complete this lab.
What you'll do
In this lab, you'll create and modify folders using the File Explorer tool. By the end of this lab, you'll complete the following:
-
Create a folder and file using the File Explorer tool.
-
Modify and rename files and folders using the File Explorer tool.
-
Copy and move files using the File Explorer tool.
-
Remove and delete files and folders using the File Explorer tool.
-
Search for specific files and folders using the "Search" menu in the File Explorer tool.
Disclaimer: For optimal performance and compatibility, it is recommended to use either Google Chrome or Mozilla Firefox browsers while accessing the labs.
Start the lab
You'll need to start the lab before you can access the materials. To do this, click the green "Start Lab" button at the top of the screen. If you use a screen reader, please see the instructions below, in the section "Virtual Machine instructions for screen reader users". Otherwise, proceed to the next steps to open the Windows VM.

After you click the "Start Lab" button, you will see a panel appear below where the start lab button was that has an Open Windows VM button.
Click the Open Windows VM button and a new tab will open with a visual interface for Windows OS, where you will be performing further steps in the lab.
Note: As the virtual machine loads, a pop up will appear in the top left corner of the VM requesting permission to access the clipboard. Please select “Allow” to enable you to copy and paste the commands.
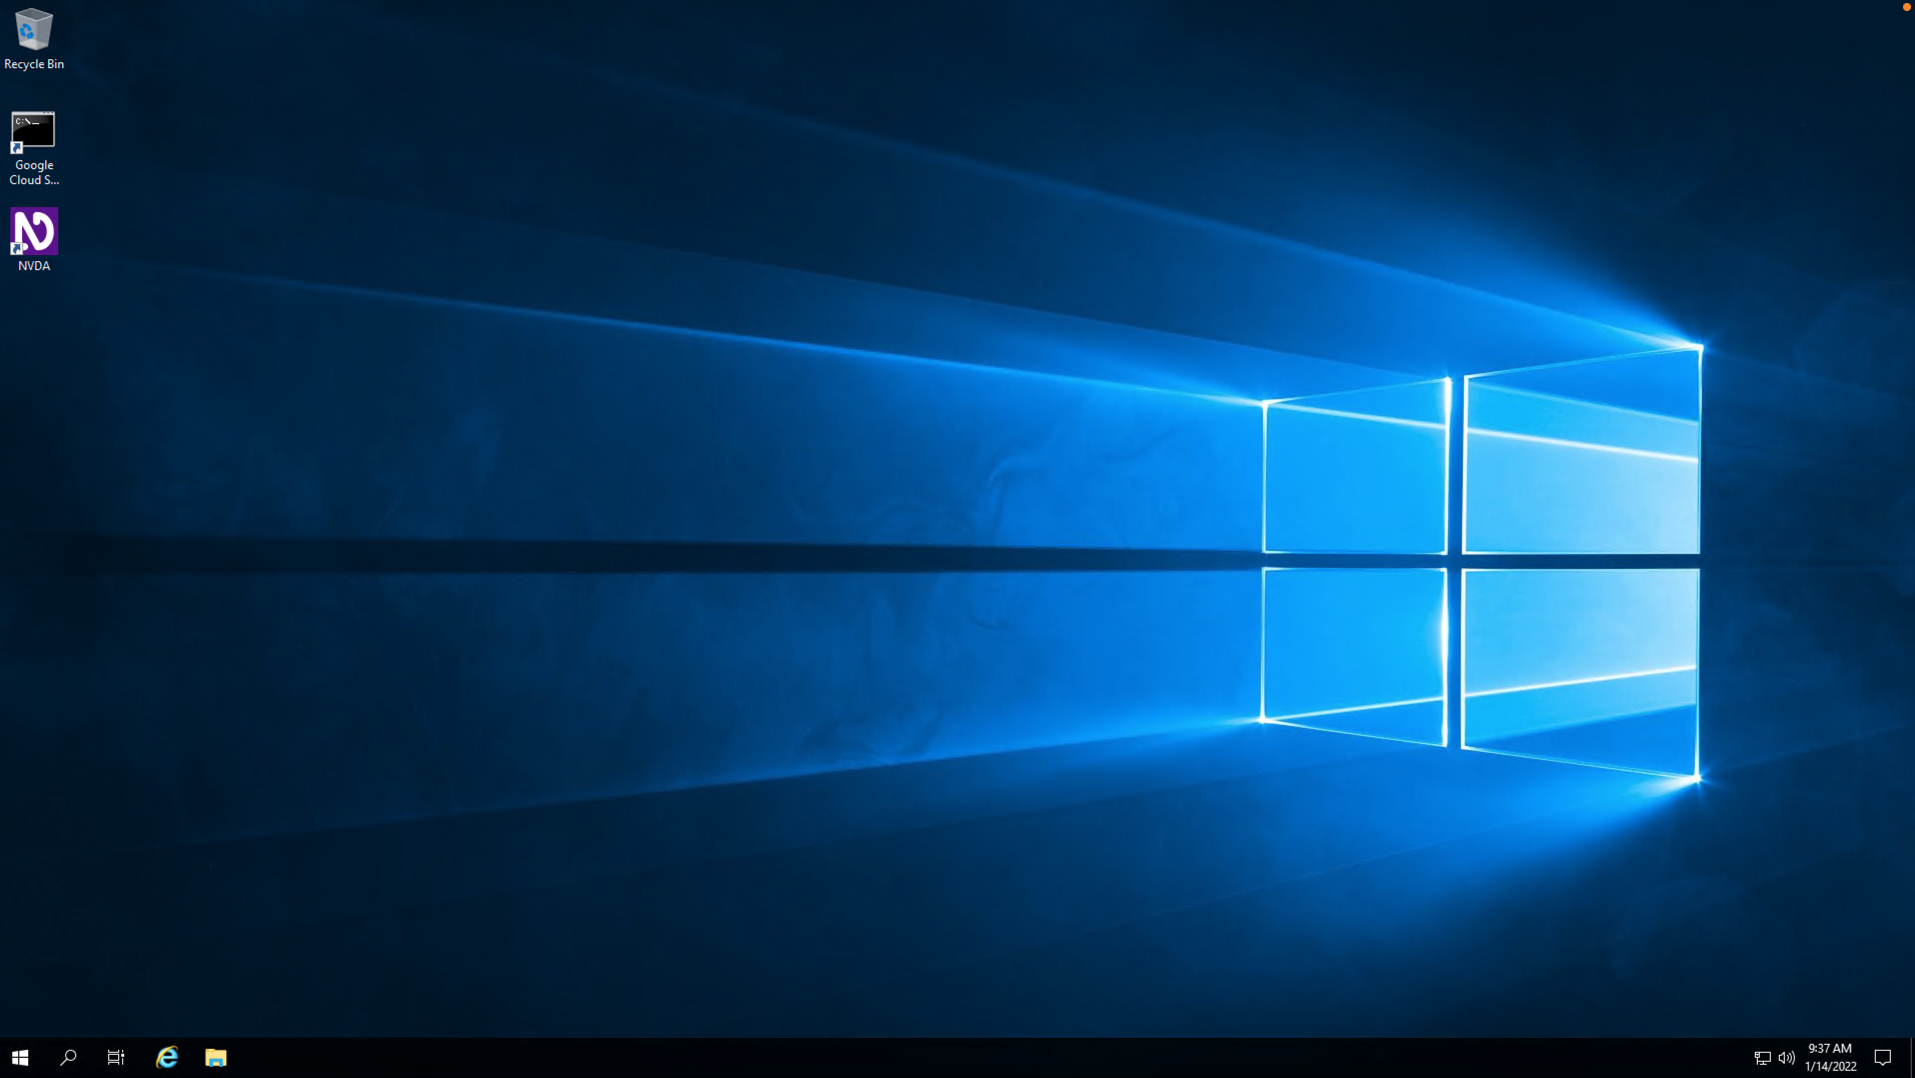
You should have a visual interface for Windows that looks like this:
Note: If the Windows VM becomes stuck and disconnects automatically, you can reconnect in the following ways:
- Return to the lab page, and click Open Windows VM again. This will reconnect you to the same Windows VM.
- On the login page, use the credentials provided in the "Virtual Machine instructions for screen reader users" section. Enter "localhost" as the server, along with the username and password, and leave the other fields unchanged.
If you require the use of a screen reader to complete a lab activity, you can spin up a Windows Virtual Machine that is pre-loaded with NVDA. Follow the instructions below to access your Virtual Machine.
Connection Details
After you click the "Start Lab" button, you will see all the connection details generated below. Note that generating the connection details may take a few minutes. Use these connection details and follow the instructions in the "Accessing the virtual machine" section based on your operating system.
External IP Address:
Username: qwiklabs
Password:
Note: Working with Qwiklabs may be similar to the work you'd perform as an IT Support Specialist; you'll be interfacing with a cutting-edge technology that requires multiple steps to access, and perhaps healthy doses of patience and persistence(!). You'll also be using RDP to enter the labs -- a critical skill in IT Support that you’ll be able to practice through the labs.
Accessing the virtual machine
Please find one of the four relevant options below based on your device's operating system.
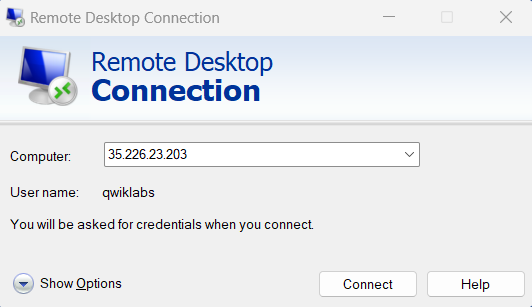
Option 1: Windows Users: Connecting to your VM via RDP
In this section, you will use Remote Desktop Connection to connect to your windows instance using its external IP address.
- Open Remote Desktop Connection by selecting the Start button. In the search box, type Remote Desktop Connection, and then, in the list of results, click Remote Desktop Connection.
- Enter the external IP address of the instance you want to connect to in the Computer field. Find the external IP address for your instance from the Connection Details included in the section above, titled “Virtual Machine instructions for screen reader users”. Select connect.
- Change the username to qwiklabs. And use the password mentioned in the Connection Details. Select OK.
- Select Yes to accept the certificate.
You should now have access to a virtual machine running Windows 10 OS!
If you encounter an error message, close the window and wait a minute or so. Sometimes the VM-creation process takes a few minutes, and you won't be able to access the VM until it's finished. This also applies to any errors that say your credentials (username and password) are incorrect.
Option 2: OS X users: Connecting to your VM via RDP
In this section, you will use Microsoft Remote Desktop 10 to connect to your windows instance using its external IP address. OSX users can download Microsoft Remote Desktop from the Mac App Store. If you are using Microsoft Remote Desktop 8, note that the interface will vary slightly than what’s listed below.
- Open Microsoft Remote Desktop 10 application.
- Select the + sign above, followed by Add PC.
- Enter the external IP address of the instance you want to connect to in the PC name field. Find the external IP address for your instance from the Connection Details section in the instructions section above. Select the Add button.
- You should now be able to access your desktop represented by the external IP address of your VM instance under PCs. Select your VM's external IP address.
- The application will now prompt you for username to qwiklabs. And use the password mentioned in the Connection Details section of the instructions. Once you have entered the details select Continue.
- For any prompt regarding ‘Certificate verification’, select continue.
You should now have access to a virtual machine running Windows 10 OS!
If you encounter an error message, close the window and wait a minute or so. Sometimes the VM-creation process takes a few minutes, and you won't be able to access the VM until it's finished. This also applies to any errors that say your credentials (username and password) are incorrect.
Option 3: Chrome OS users: Connecting to your VM via RDP
In this section, you will use Chrome RDP to connect to your windows instance using its external IP address.
Chrome OS users can download Chrome RDP from Chrome Web Store. Once you navigate to the download page, select the Add to Chrome button. Select Add app in case of any pop-ups. Then, select Launch app to start the application.
- Open the Chrome RDP application.
- Enter the external IP address of the instance you want to connect to in the Enter the computer name or address to connect to field. Find the external IP address for your instance from the Connection Details in the instructions above. Select connect.
- Leave the domain field blank. Change the username to qwiklabs. And use the password mentioned in the Connection Details. Select OK.
- Select Continue for any window related to certificate verification.
You should now have access to a virtual machine running Windows 10 OS!
If you encounter an error message, close RDP and wait a minute or so. Sometimes the VM-creation process takes a few minutes, and you won't be able to access the VM until it's finished. This also applies to any errors that say your credentials (username and password) are incorrect.
Option 4: Linux users: Connecting to your VM via RDP
In this section, you will use Remmina to connect to your windows instance using its external IP address. Open Remmina in your Linux machine. Linux users can install Remmina if it is not pre-installed.
- Open Remmina.
- Enter the external IP address of the instance you want to connect to. Find the external IP address for your instance from the Connection Details section. Select Connect. Make sure the connection protocol is set to RDP.
- A window appears asking you accept the certificate, select Ok to continue.
- Leave the domain field blank. Change the username to qwiklabs. And use the password mentioned in the Connection Details section for the Password field. Select Ok to continue.
You should now have access to a virtual machine running Windows 10 OS!
If you encounter an error message, close the window and wait a minute or so. Sometimes the VM-creation process takes a few minutes, and you won't be able to access the VM until it's finished. This also applies to any errors that say your credentials (username and password) are incorrect.
Using the Windows instance
Now you have access to the Windows instance, you're ready to start using it!
Once your virtual machine has launched, you can turn on the NVDA screen reader using the shortcut Control + Alt + N, after which, NVDA should begin reading immediately. If you have successfully set up NVDA and can hear the sound output on your personal machine, please return to the lab instructions to complete the lab.
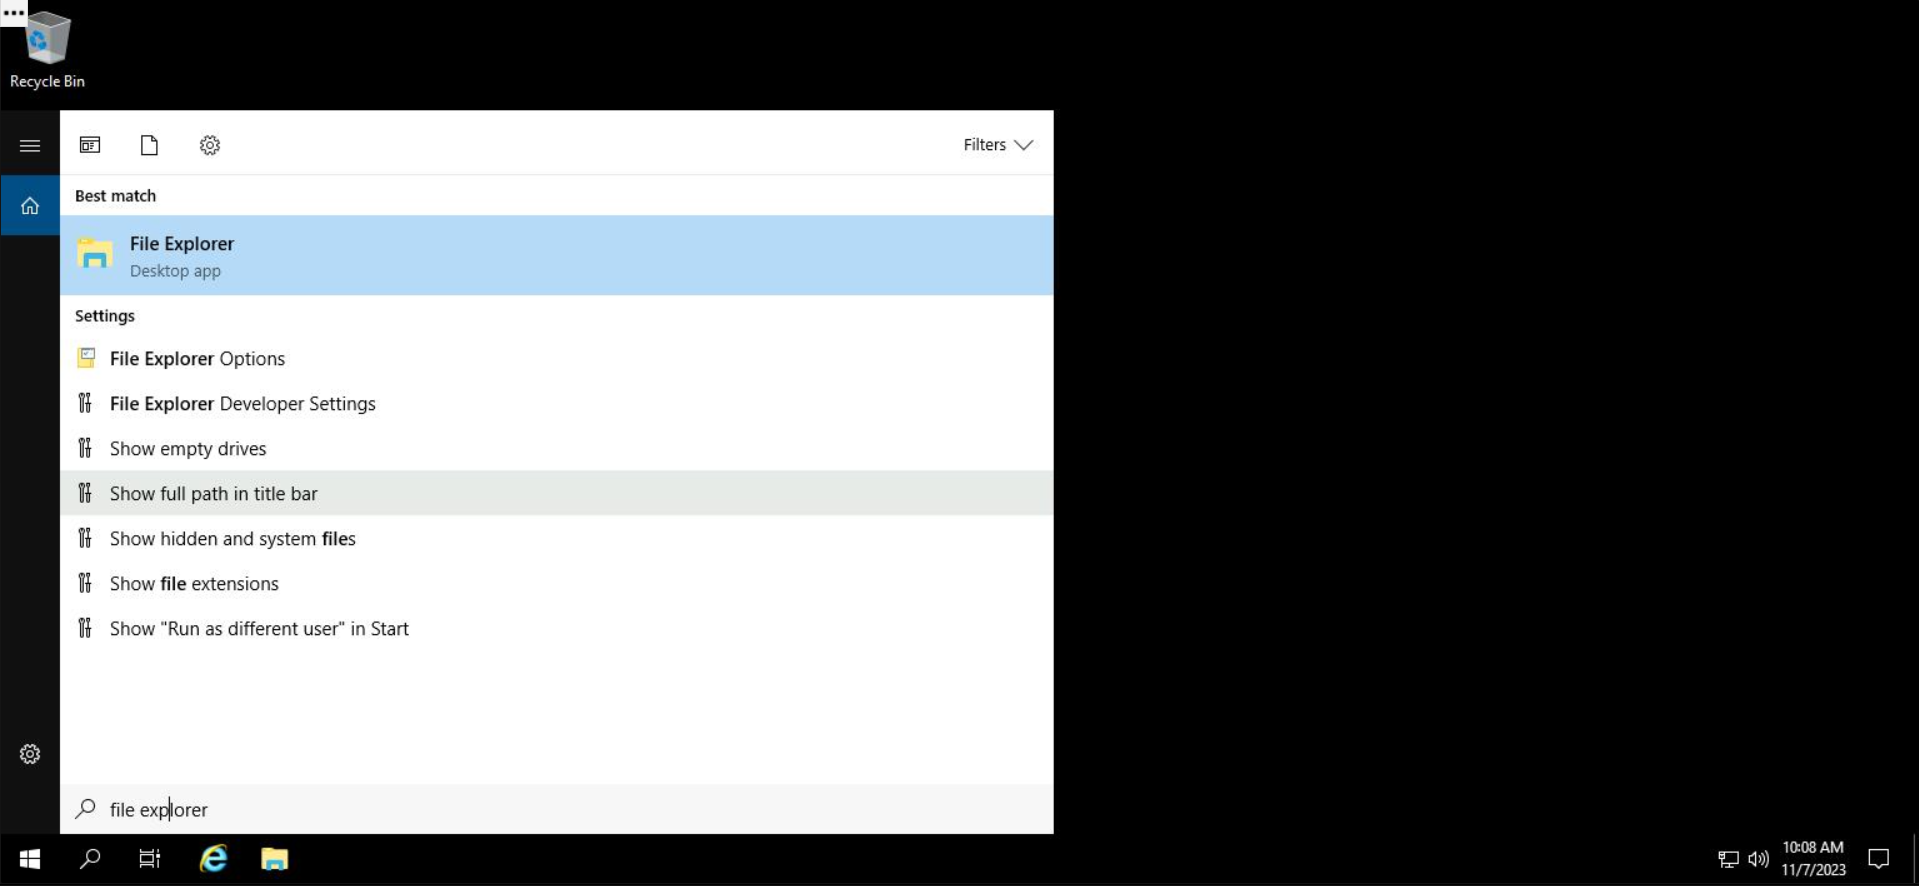
You can open File Explorer using either of these two ways:
- Click on the File Explorer icon, which can be found on the Windows taskbar.

- Or search for the app "File Explorer" in the search bar, and press "Enter" on your keyboard.
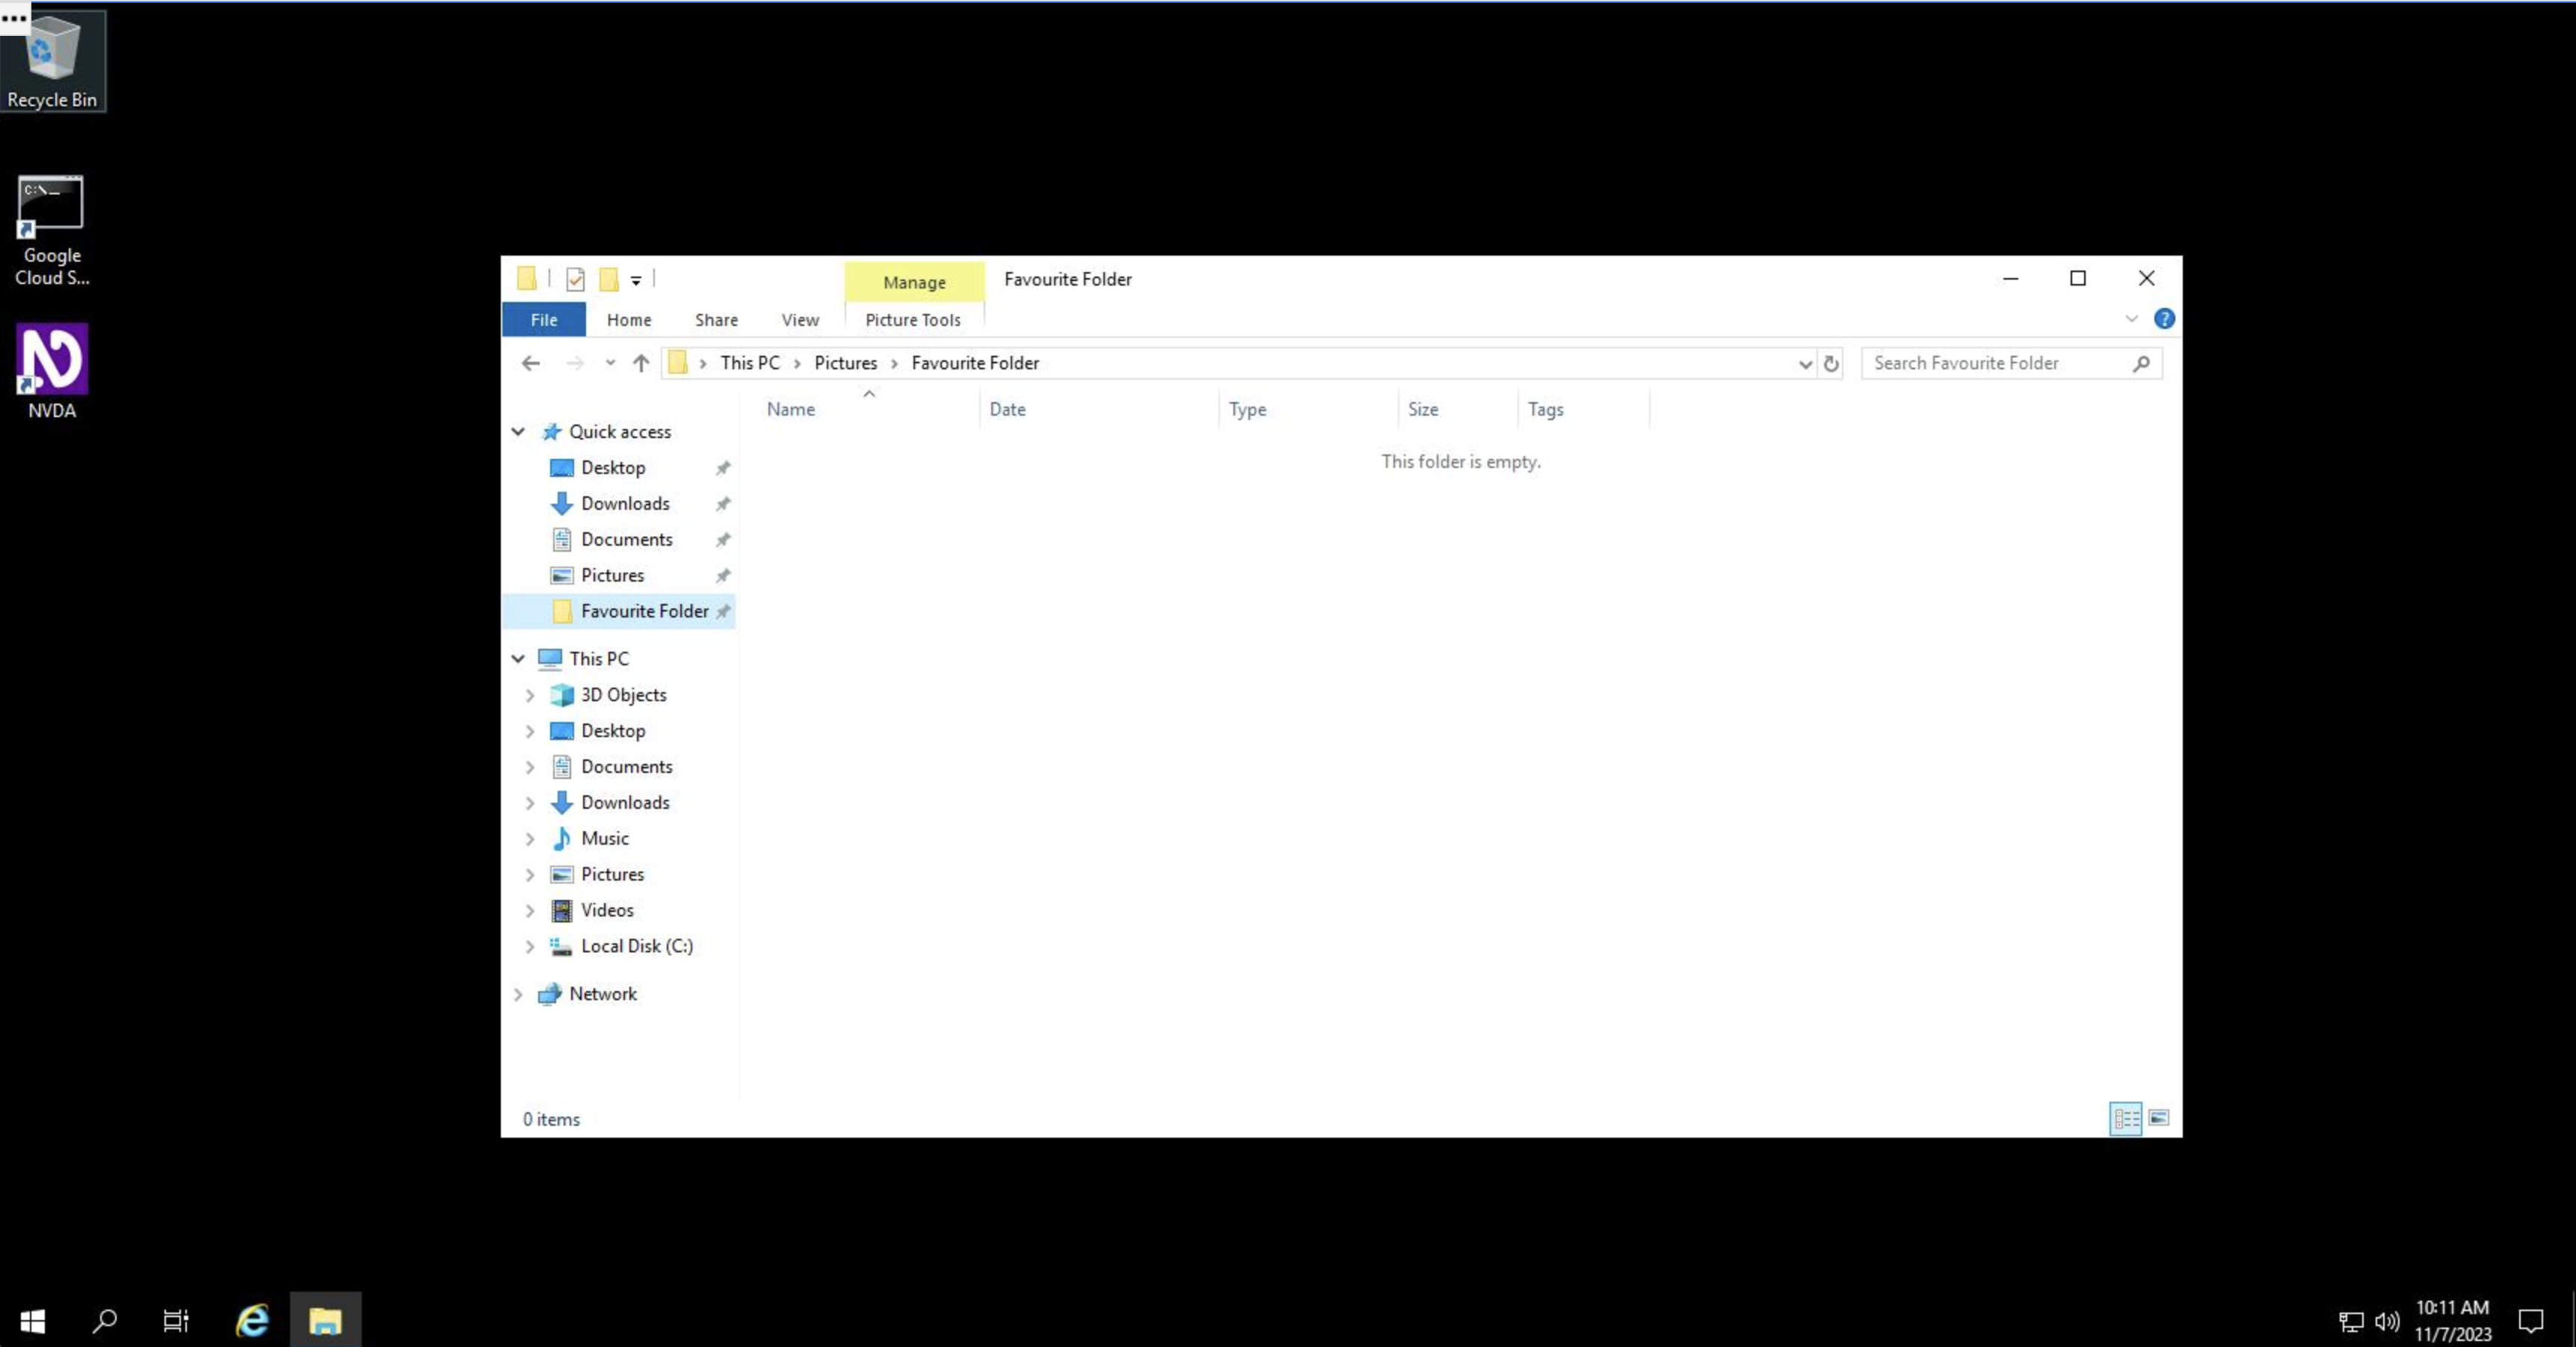
On the left-hand-side panel of File Explorer, a "Quick access" list of folders is shown. You can add folders to Quick access by dragging them there.
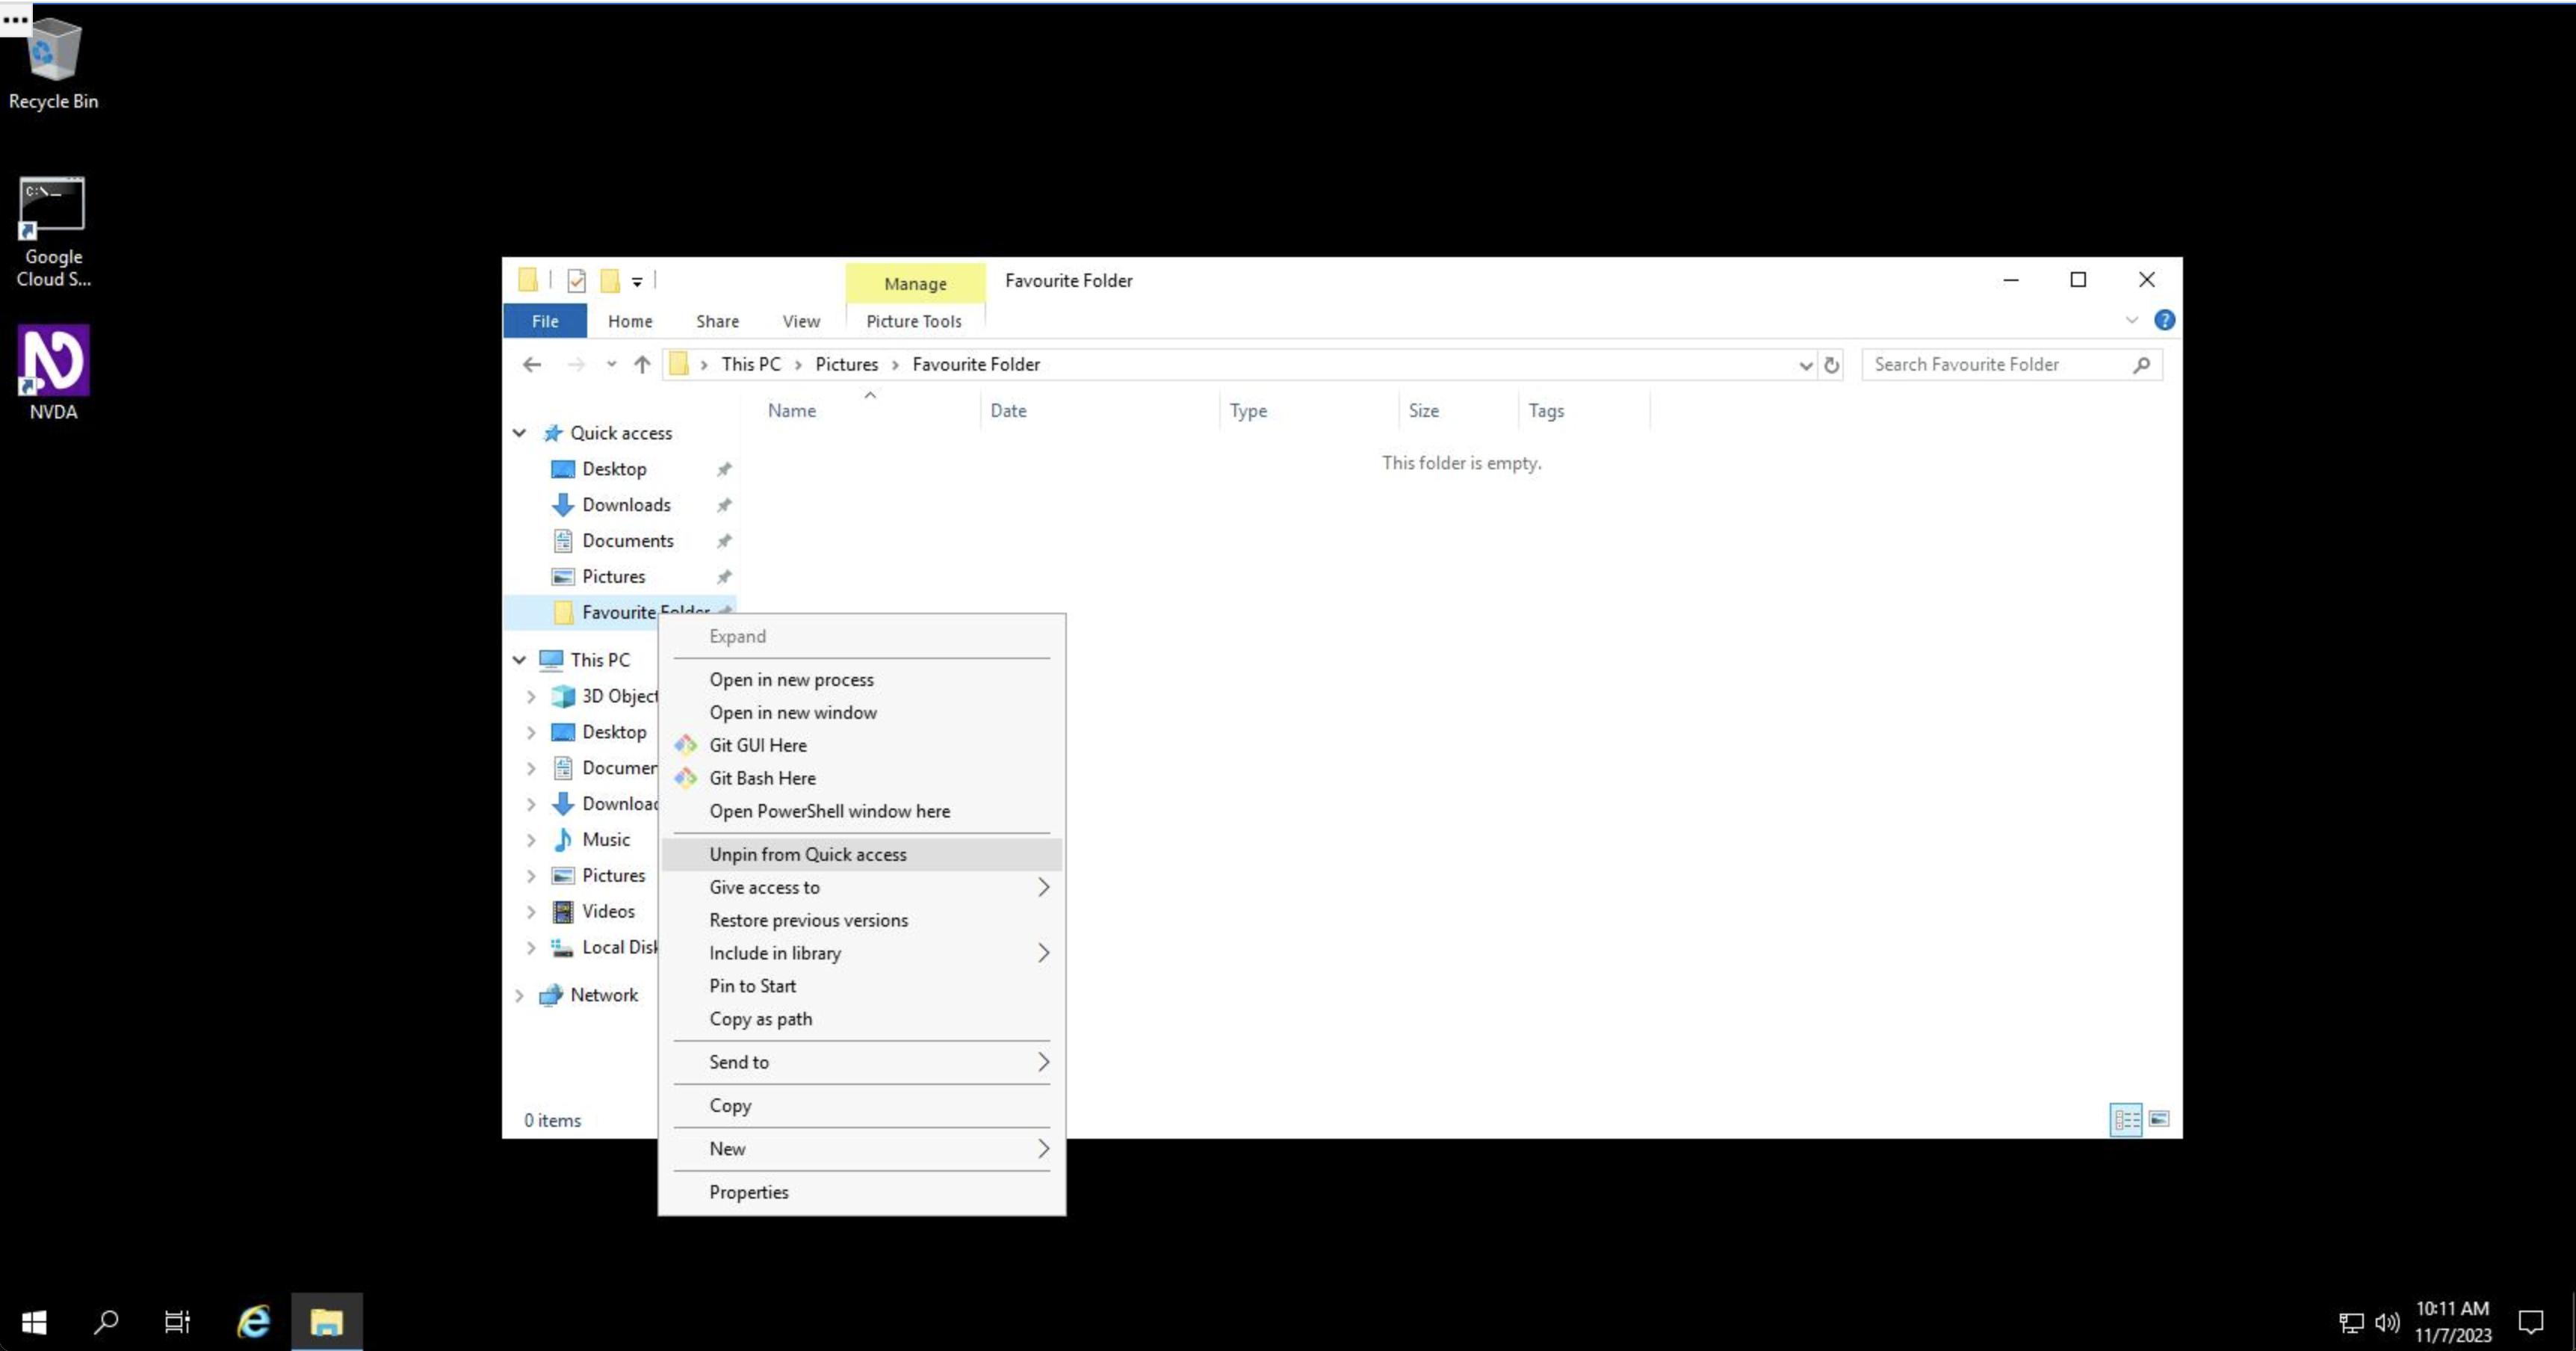
You can remove folders from Quick access by right clicking and selecting "Unpin from Quick Access."
In Windows, storage volumes are referenced by a single letter. Usually, Windows is installed on the C:\ drive, but storage volumes can be designed by any letter between A-Z. On the Windows virtual machine, all files and folders in a Windows system are rooted at C:\
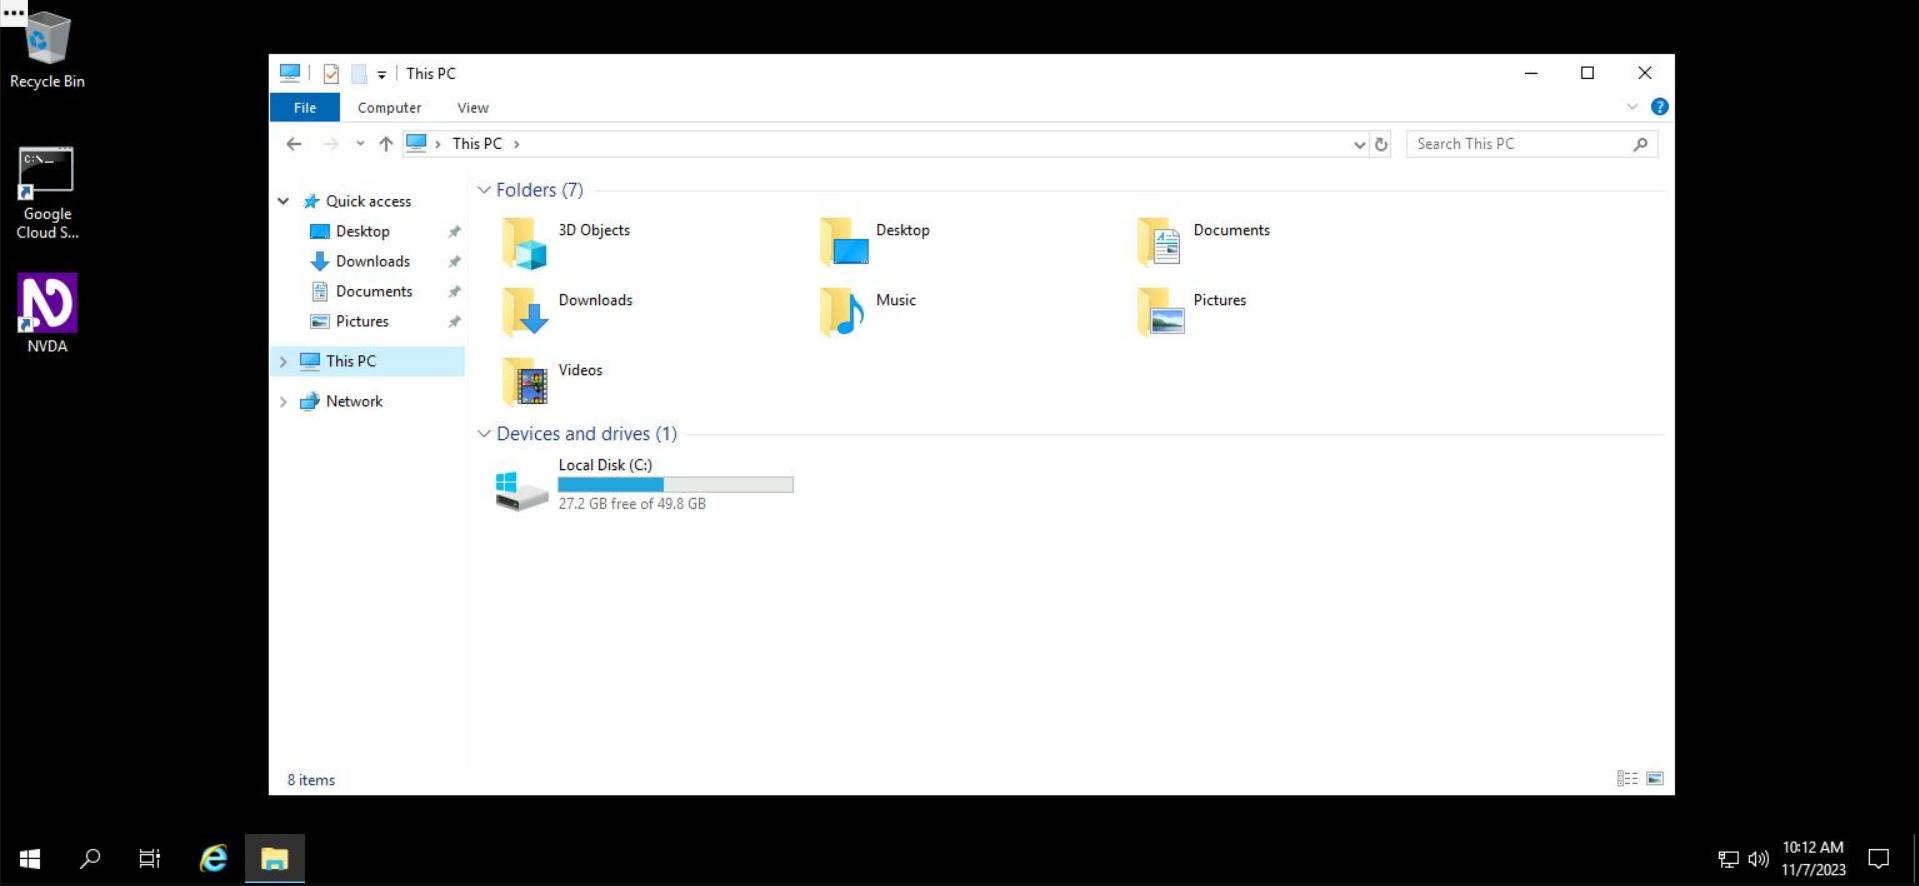
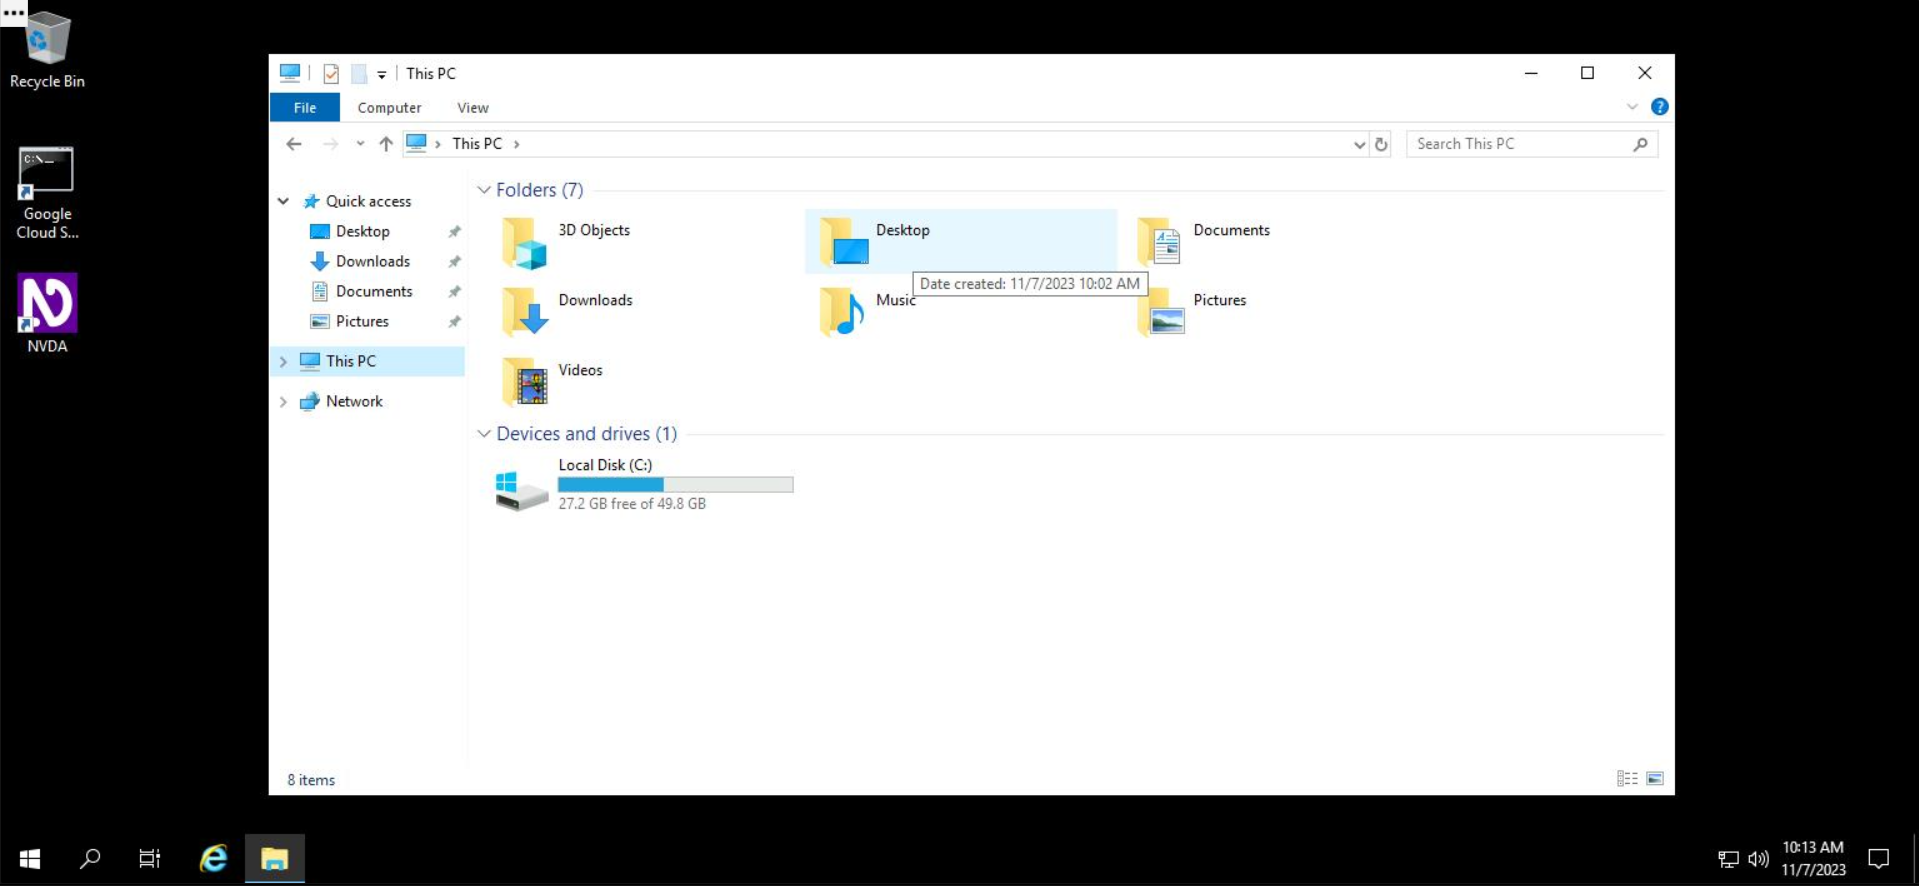
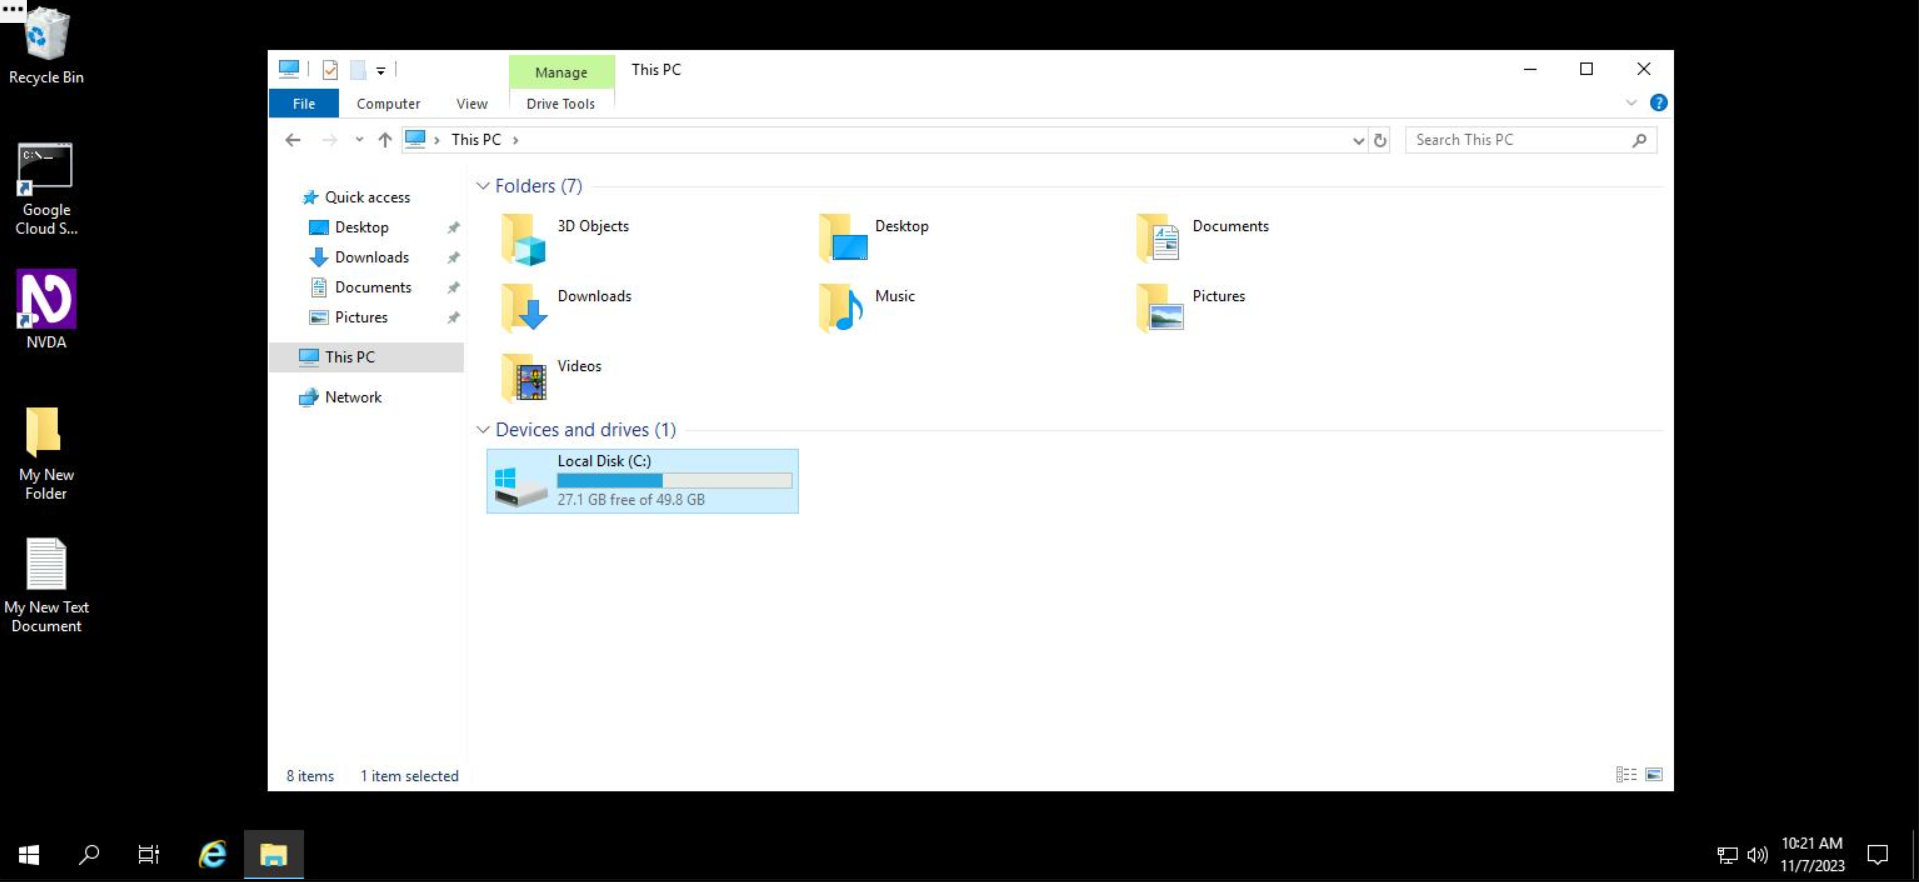
By clicking on "This PC" on the left of File Explorer, a list of disks mounted on the Windows system is shown. In the example below, only one disk, mounted at the default location C:\, is shown. You can access files inside that disk by double clicking on it.
In the rest of this lab, you'll create, modify, copy, and remove files and directories in a Windows environment using File Explorer.
Creating files and folders
To create a file or folder, you'll first navigate to the location where you want to create the file or folder. Navigate to the Desktop folder by double clicking on it from File Explorer.
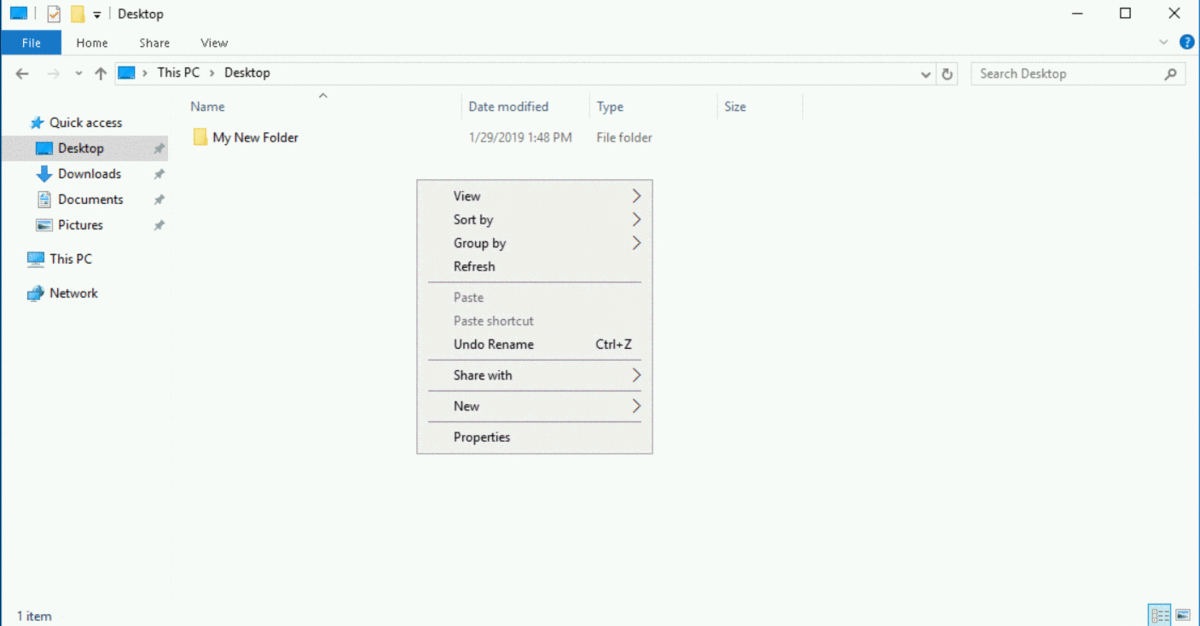
Inside the desktop folder, which is initially empty, right click anywhere in the white space, select New, and then select Folder.
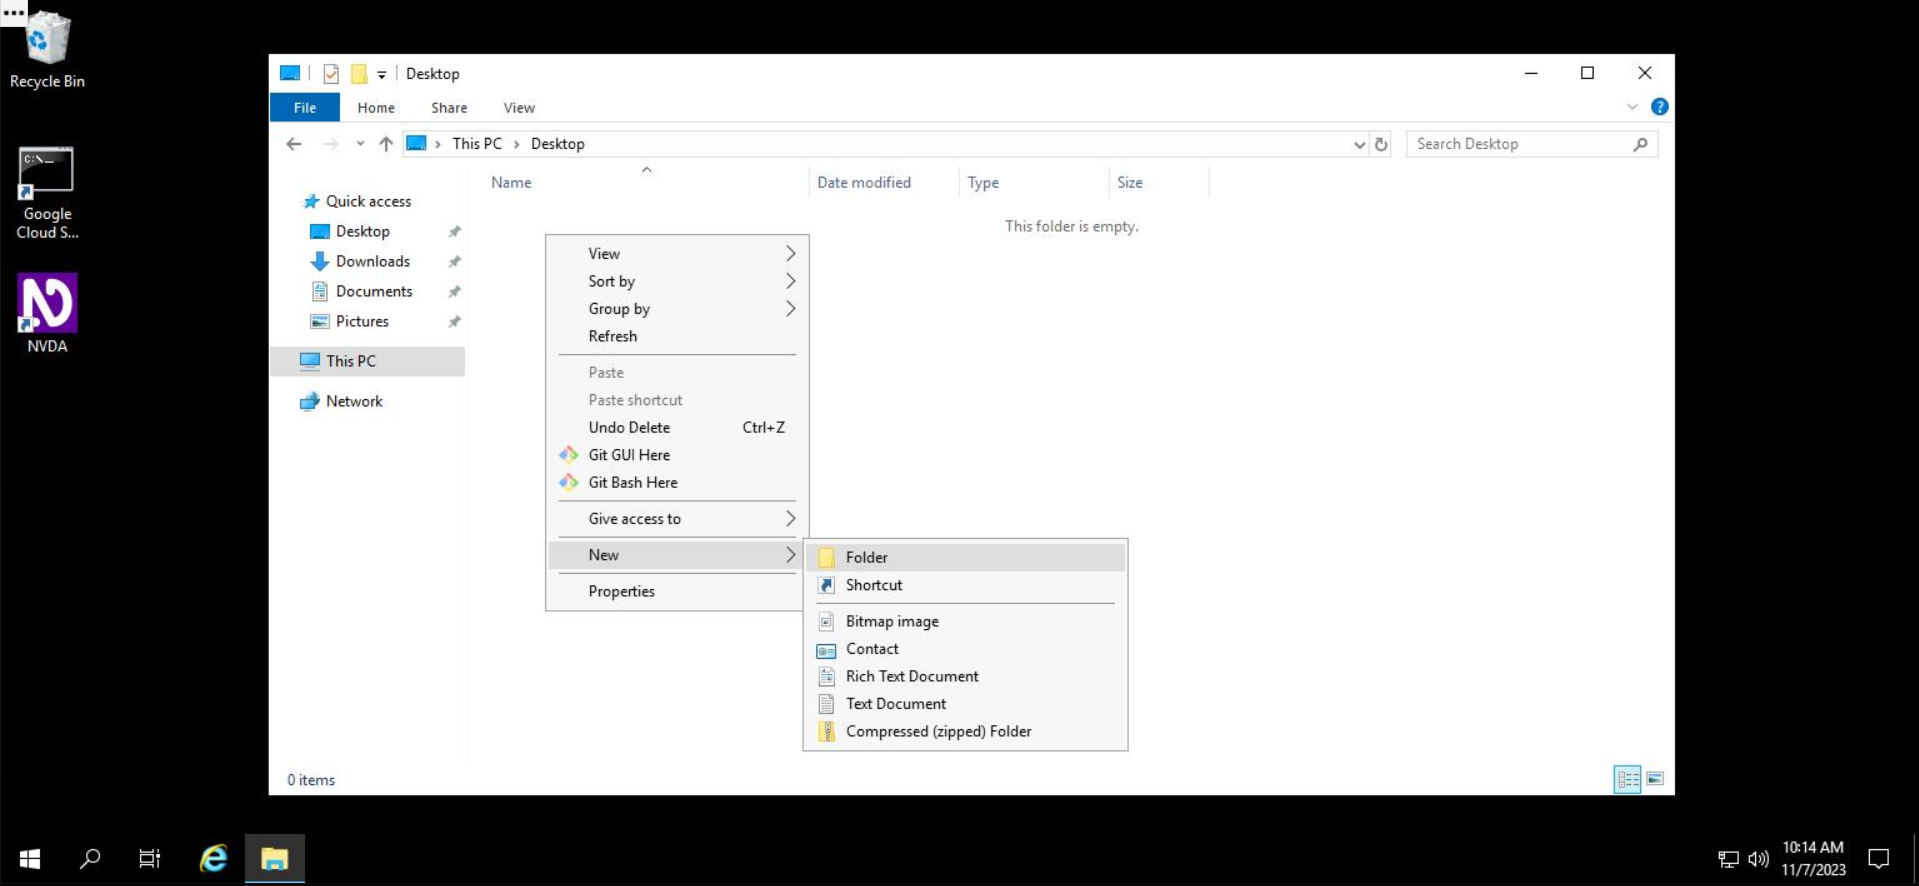
File Explorer will provide you with an editable text field, which you can use to name your new folder.
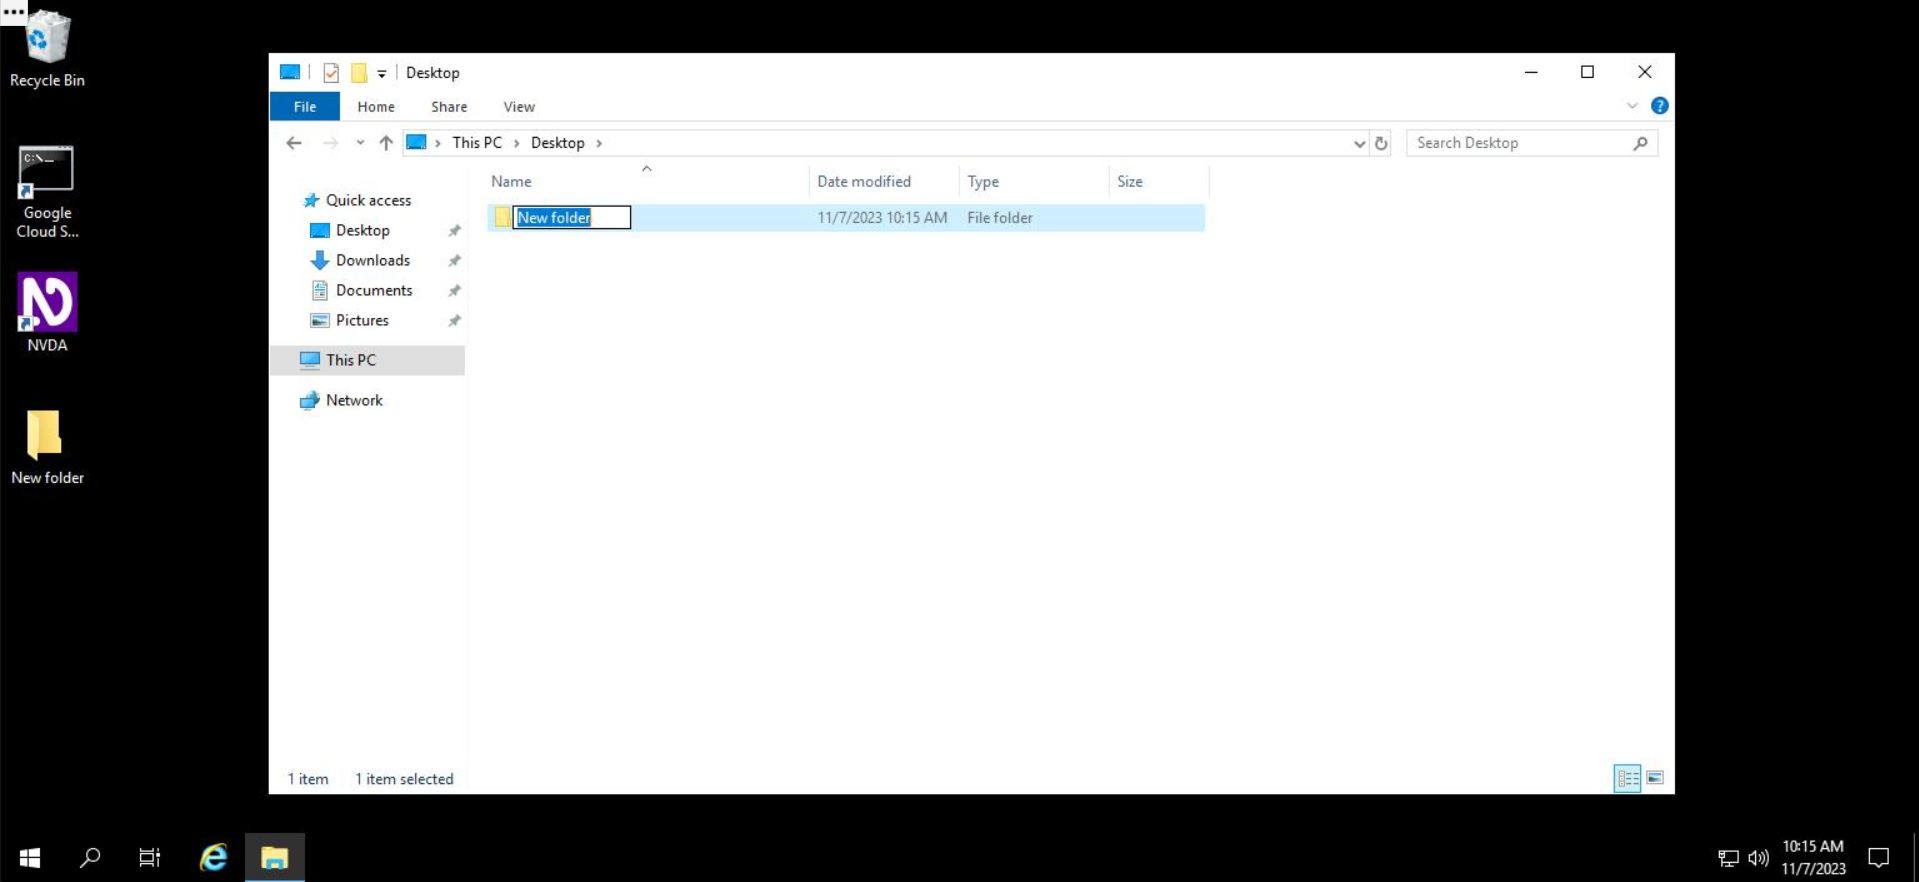
In this example, let's call our folder, "My New Folder". Type this name into the editable field.

After typing in the name, press Enter.
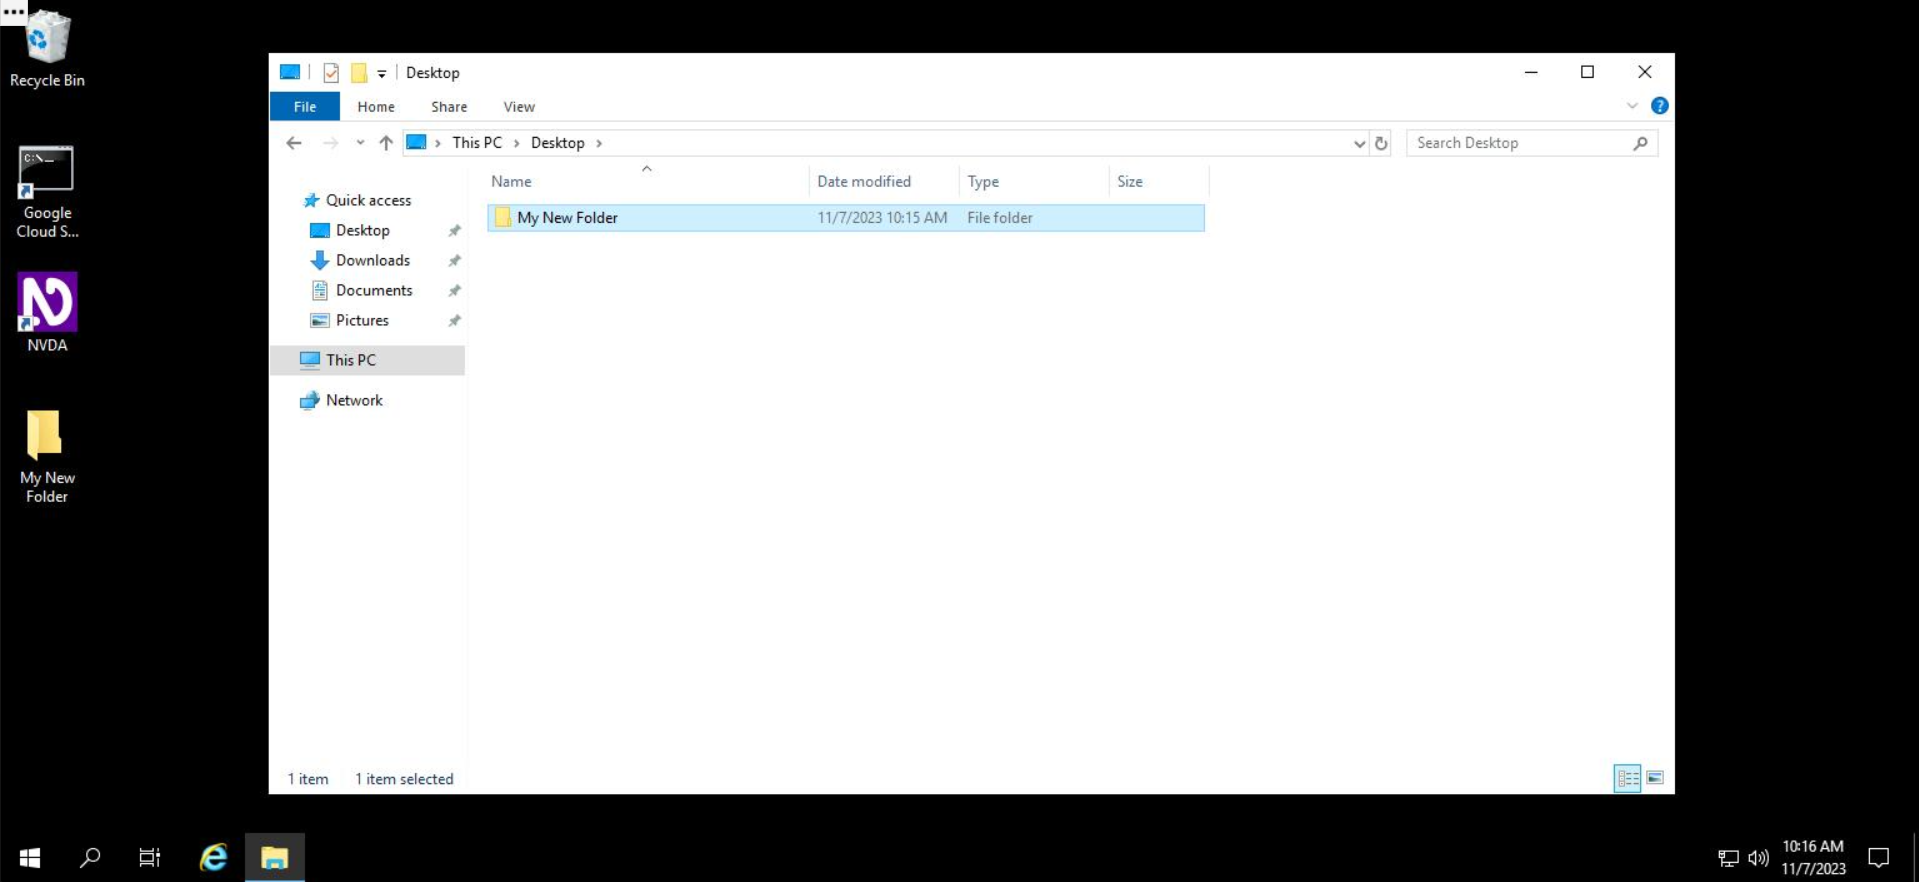
Your new folder is successfully created! Wohoo!
Go to the Desktop, you'll create a new file. Right click on any white space inside the folder, select "New", and in the sub menu that appears, select "Text Document".
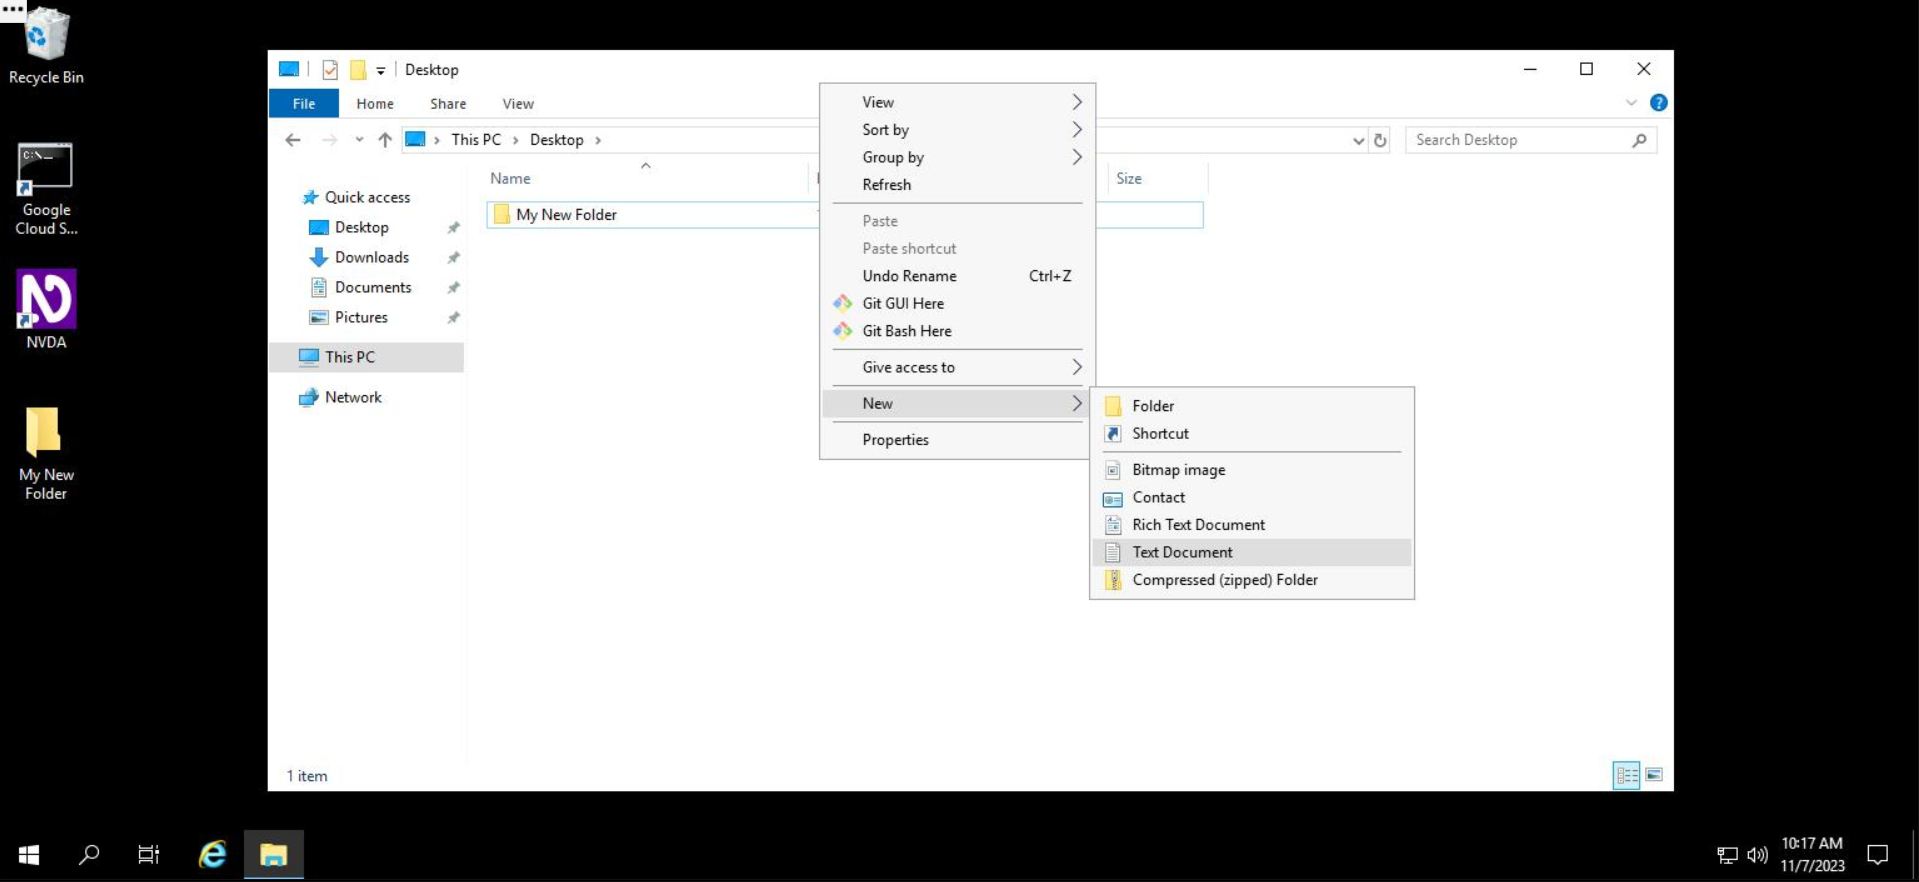
File Explorer will present you with an editable field where you can enter the name of your new file. In the editable field, type in the name of your file name: "My New Text Document"
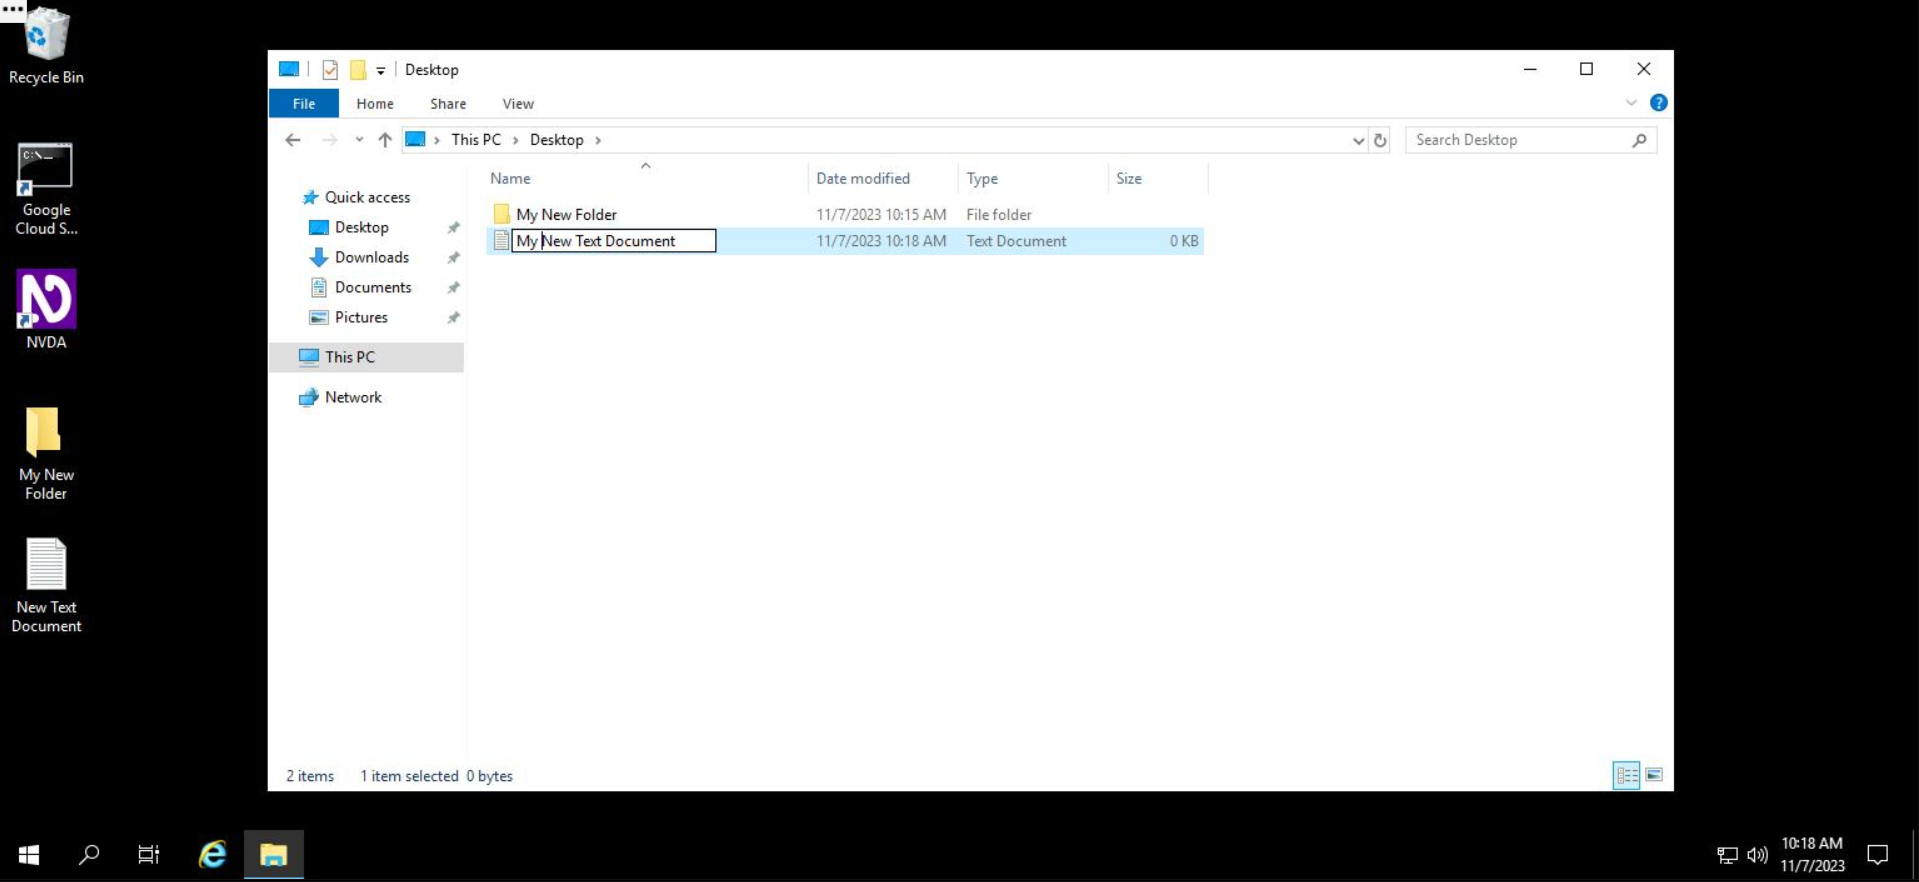
After typing in the file name, press Enter.
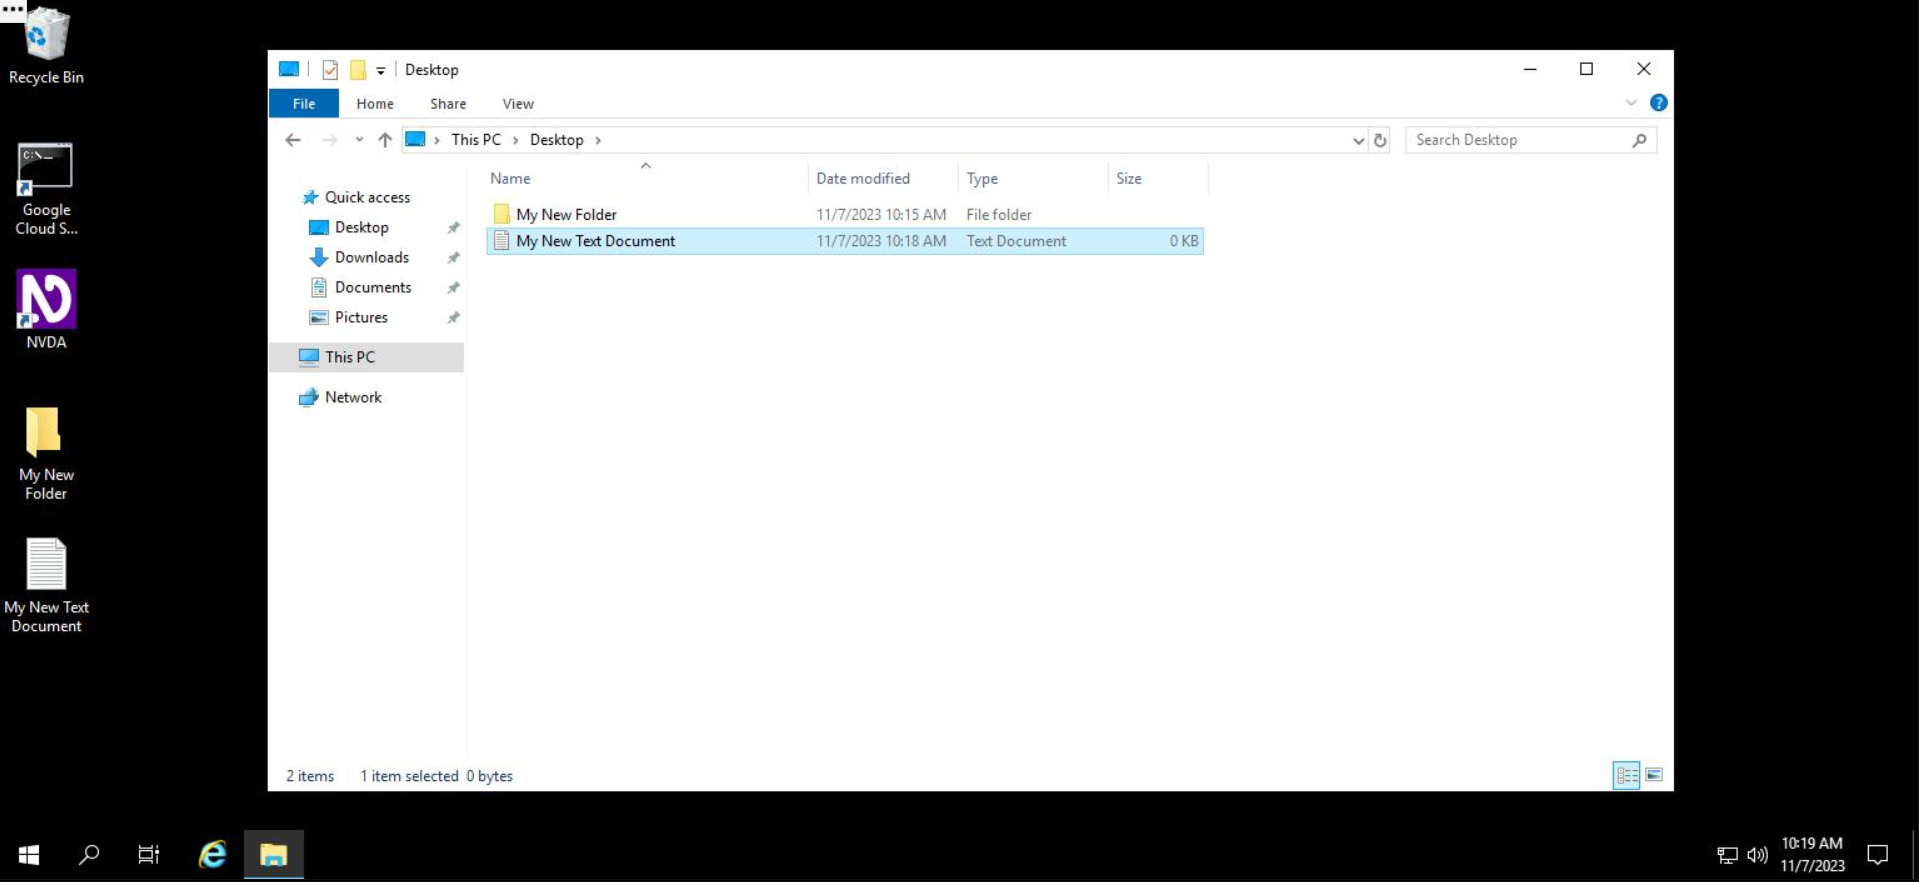
Your new file is successfully created! Sweet!
Note: Please make sure that you have created your folder and file both on the "Desktop" only.
Click Check my progress to verify the objective.
Create files
Copying, moving and renaming files and folders
Copying, moving, and renaming files and folders works similarly in Windows. To copy a folder to another destination, you first need to access the folder in its current location. Then, use File Explorer to select "copy", navigate to the destination directory, and use File Explorer to select "paste".
Example 1
You'll copy the "Images" folder into the "Pictures" folder.
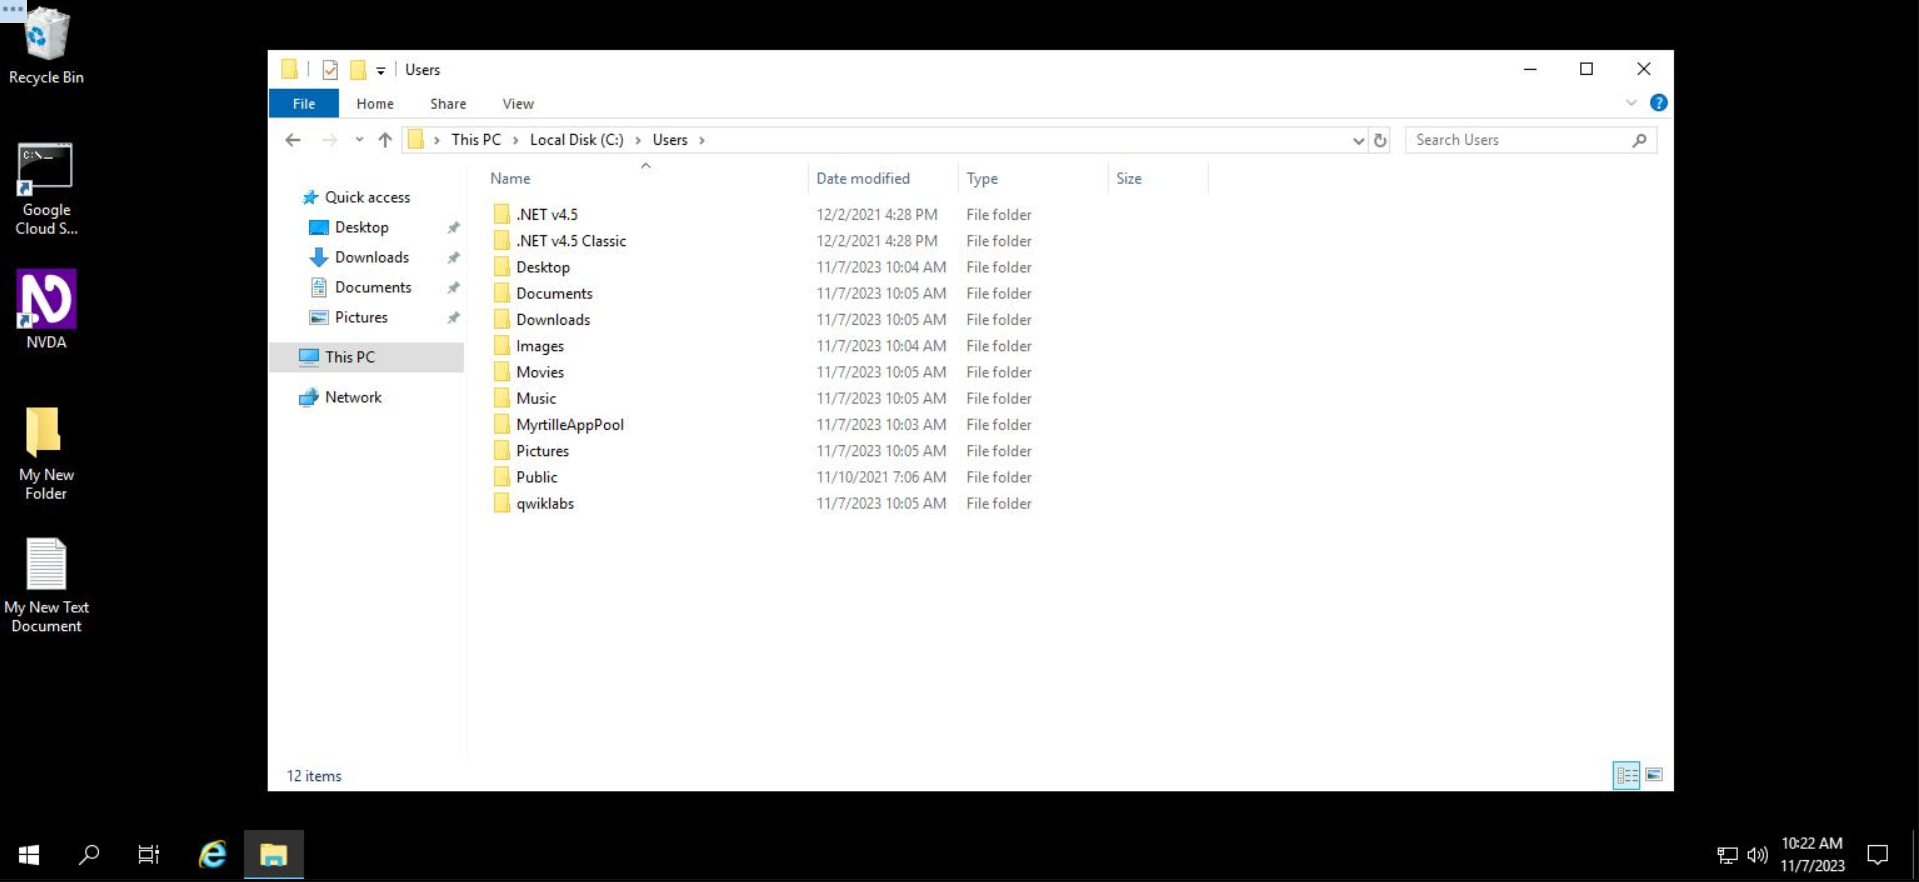
Step 1: Use File Explorer to navigate to the folder C:\Users.
In this directory, you'll see a folder named Images and another named Pictures.
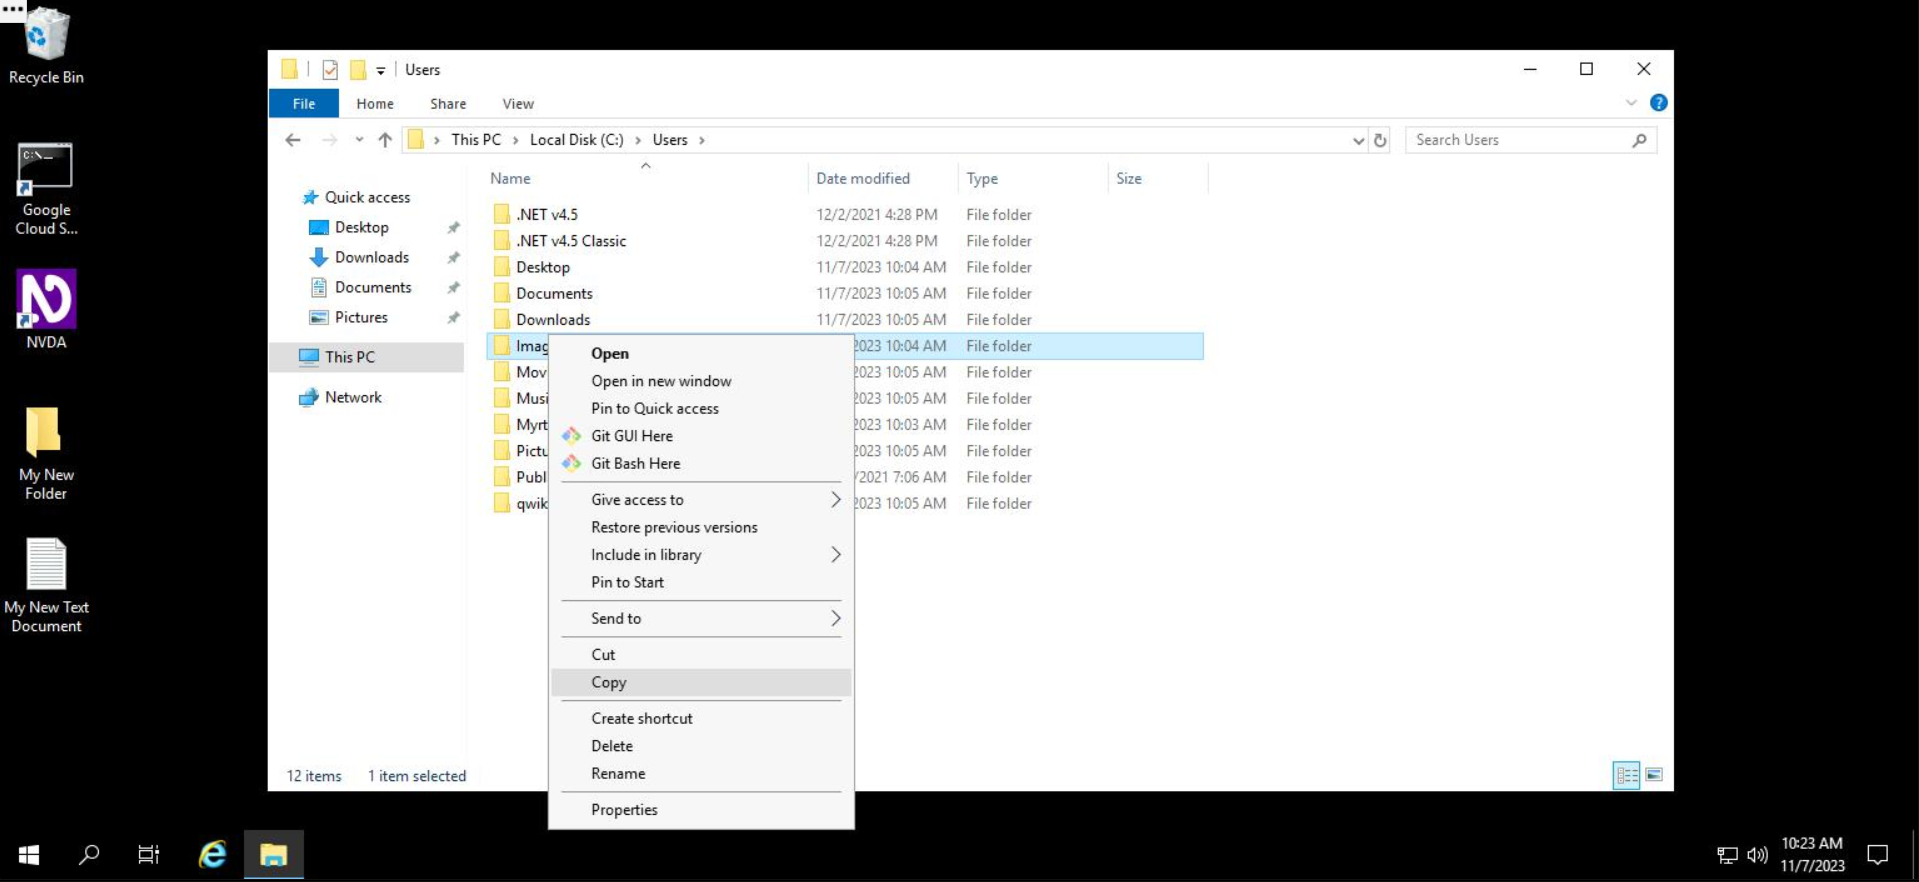
To copy the Images folder to the Pictures folder:
Step 2: Right click on the Images folder and select Copy.
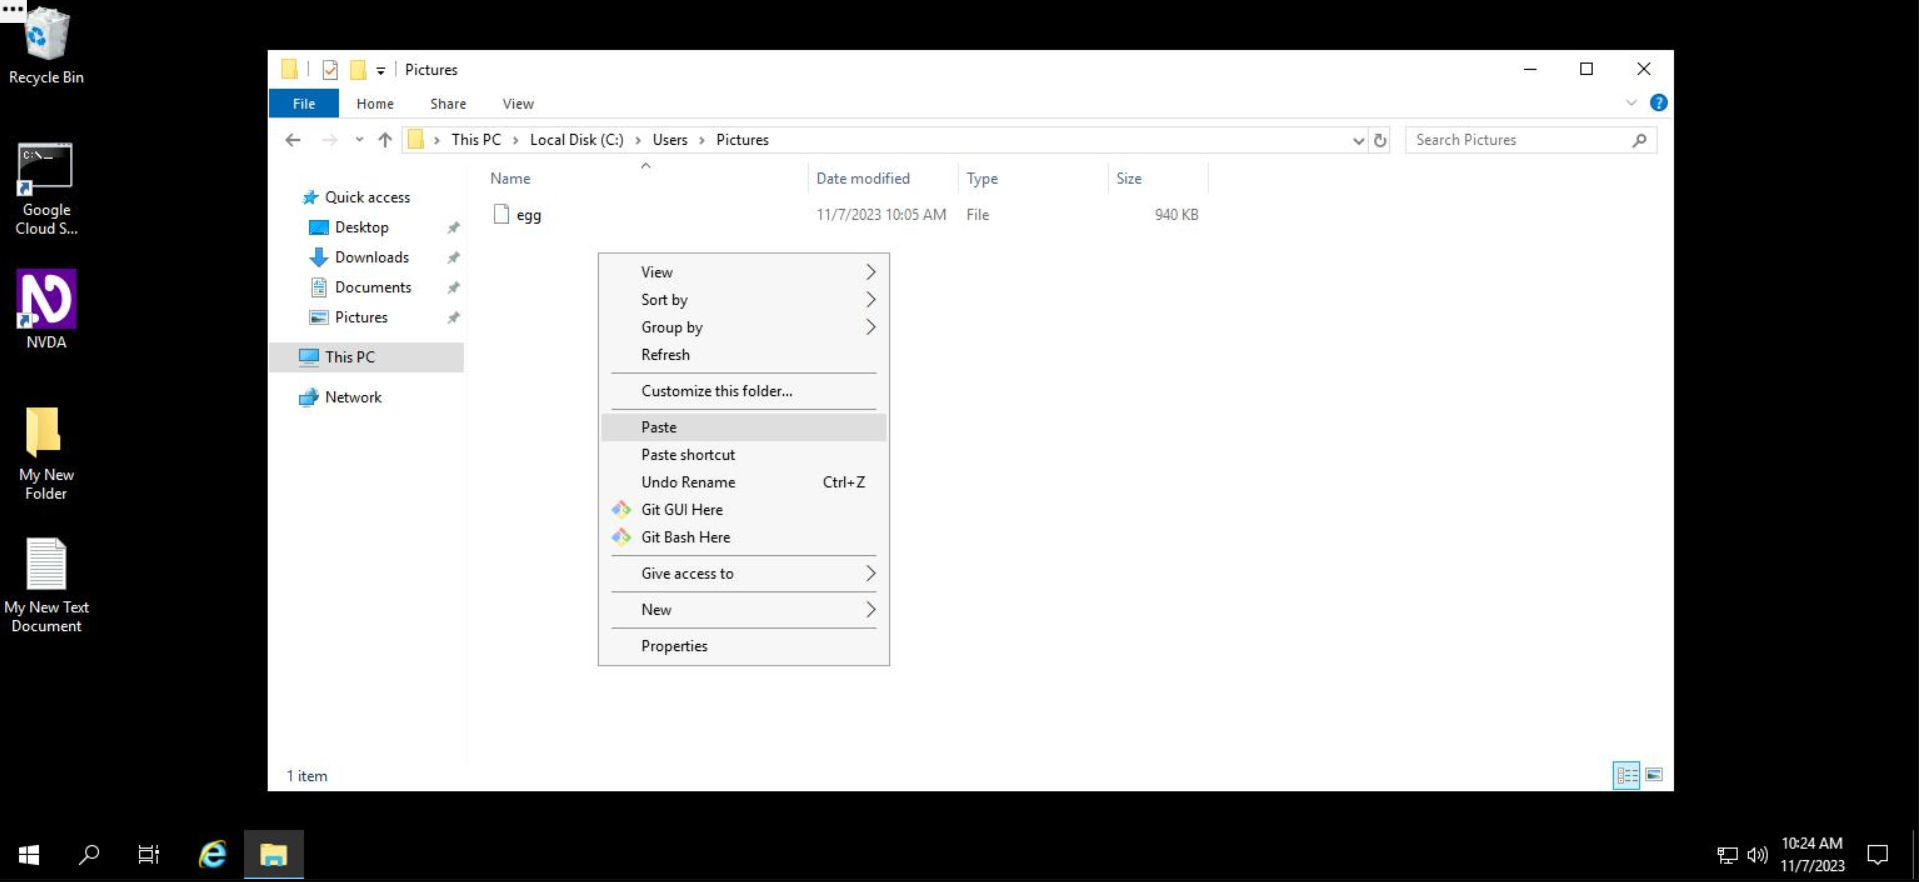
Step 3: Navigate into the Pictures directory by double clicking on it.
Step 4: Right click on the white space in the "Pictures" directory, and select Paste.
The folder will now be copied to the "Pictures" folder.
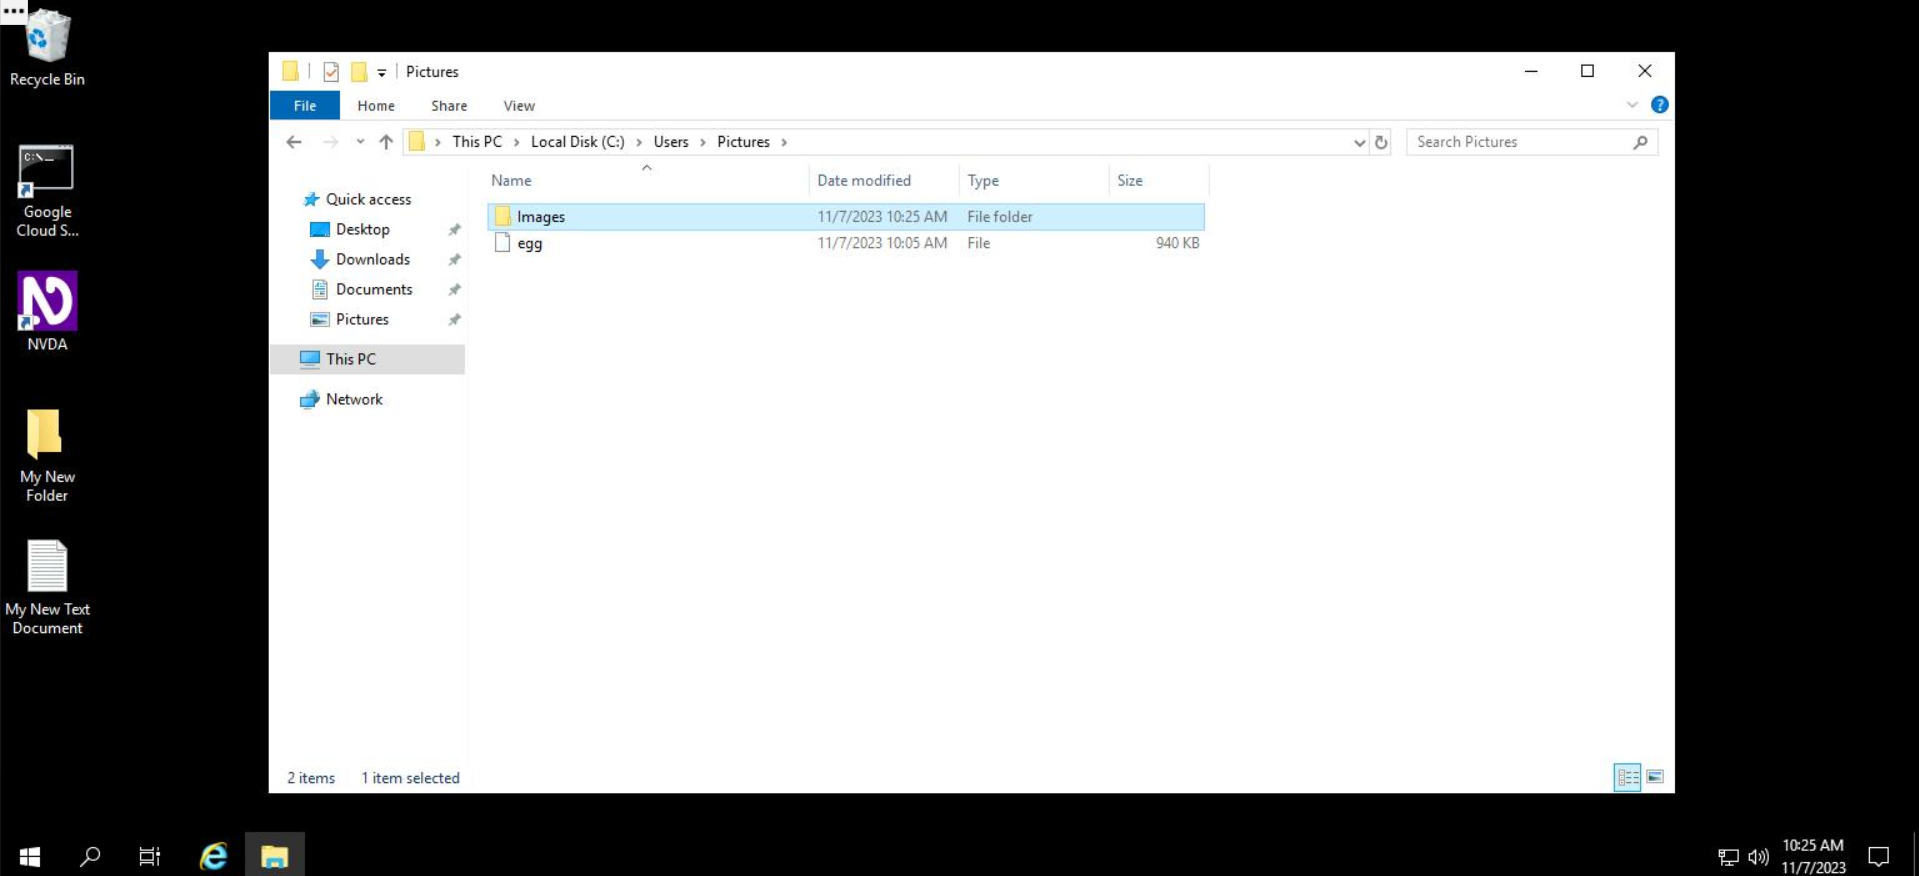
That's it! Easy peasy. You've successfully copied the "Images" folder into the "Pictures" folder.
Click Check my progress to verify the objective.
Copy files
Deleting files and folders
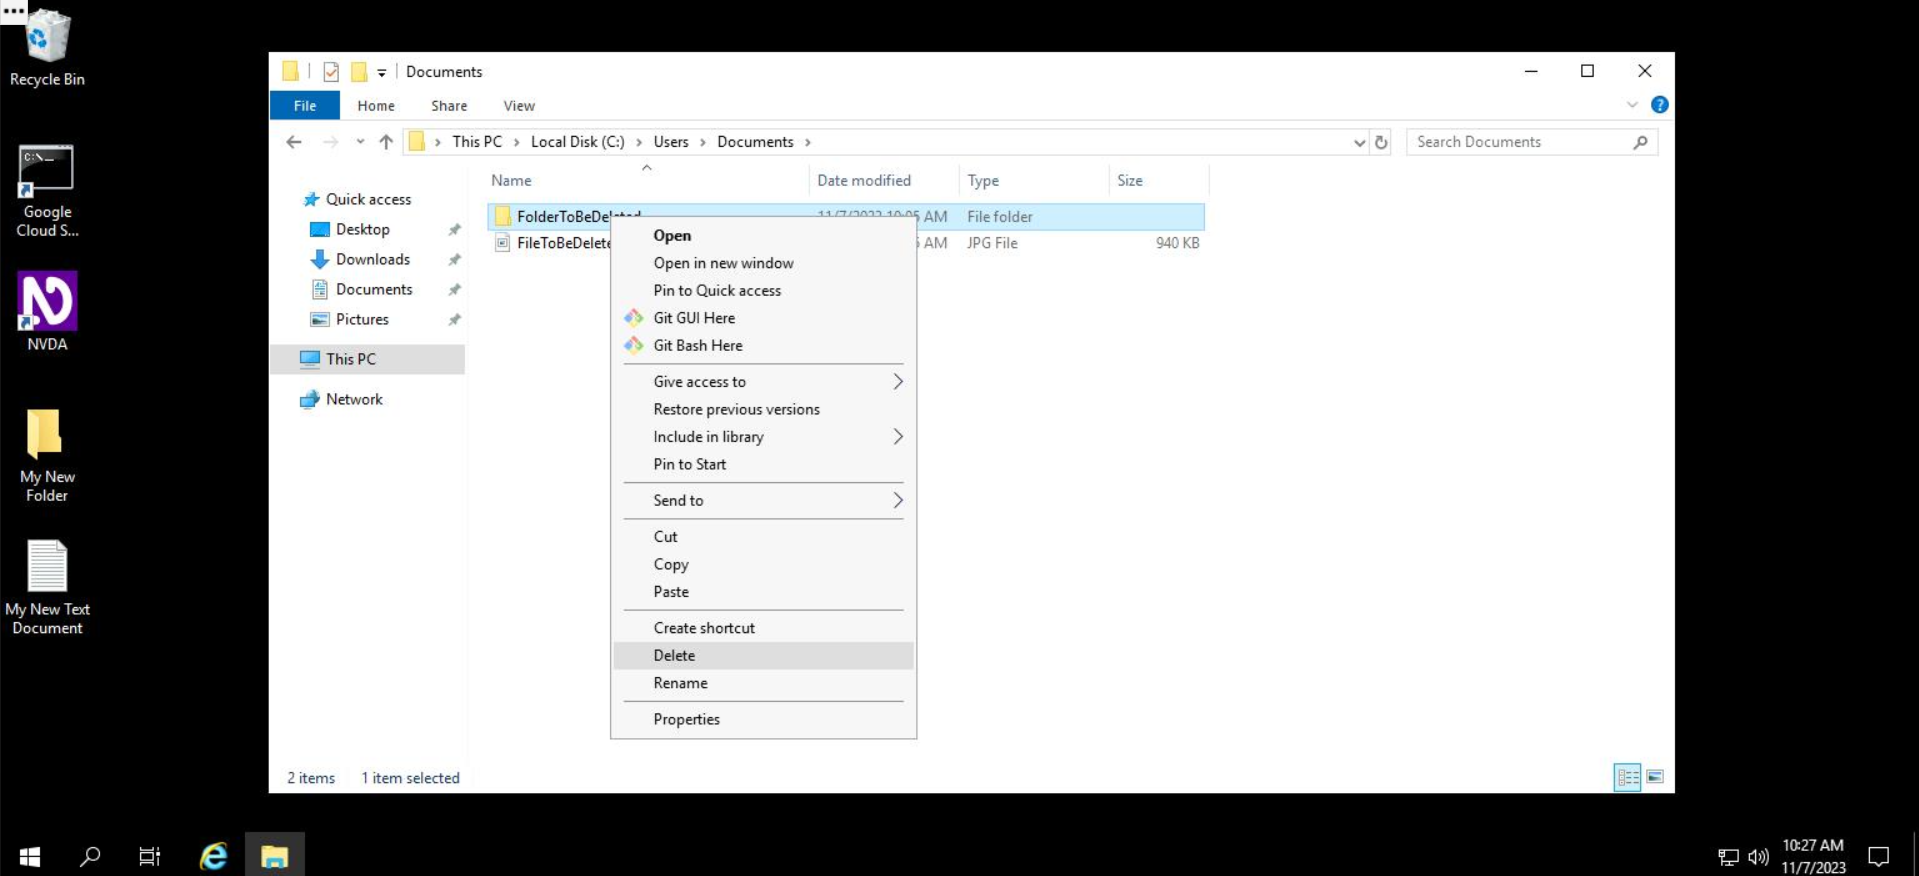
To delete a file or folder, you'll first navigate to the location (C:/Users/Documents) where you want to delete a file or folder, right click on it, and select "Delete".
Let's see an example of removing a file using File Explorer. Navigate to the Documents folder in File Explorer. In the directory, you'll first delete the folder called FolderToBeDeleted.
The folder will remain without the folder we just deleted.
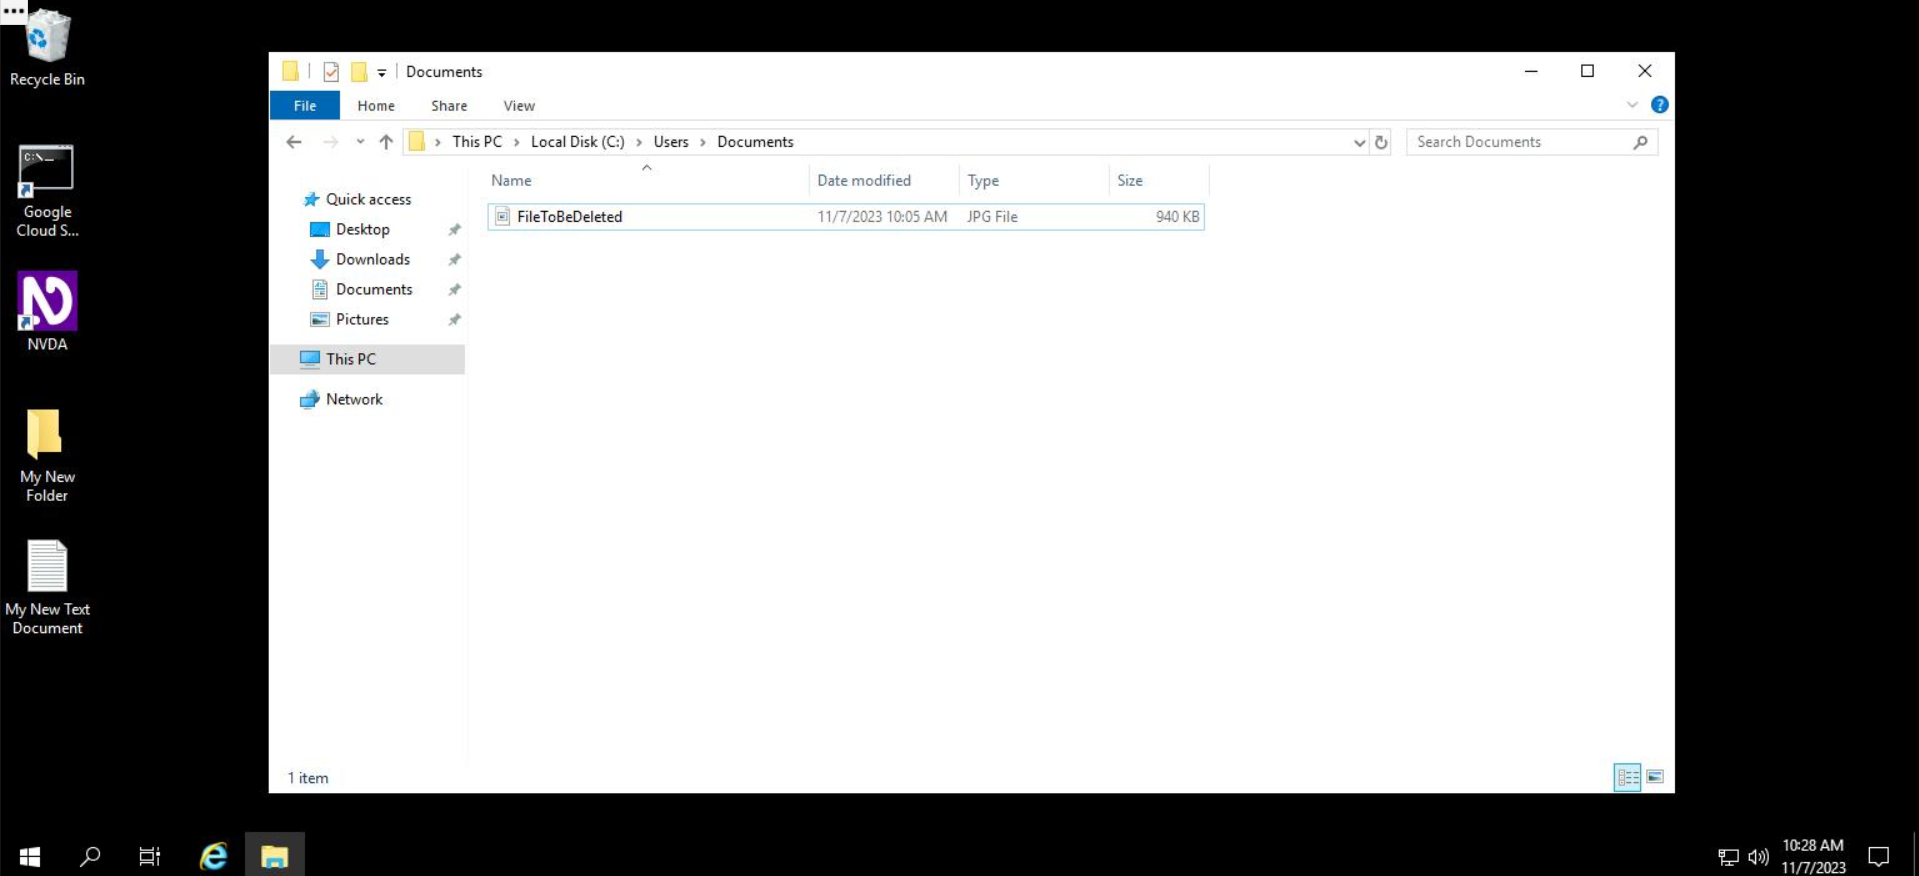
Likewise, to delete a file, you'll navigate to the folder's location, right click on it, and select Delete. In the "Documents" folder, let's remove the file called FileToBeDeleted.

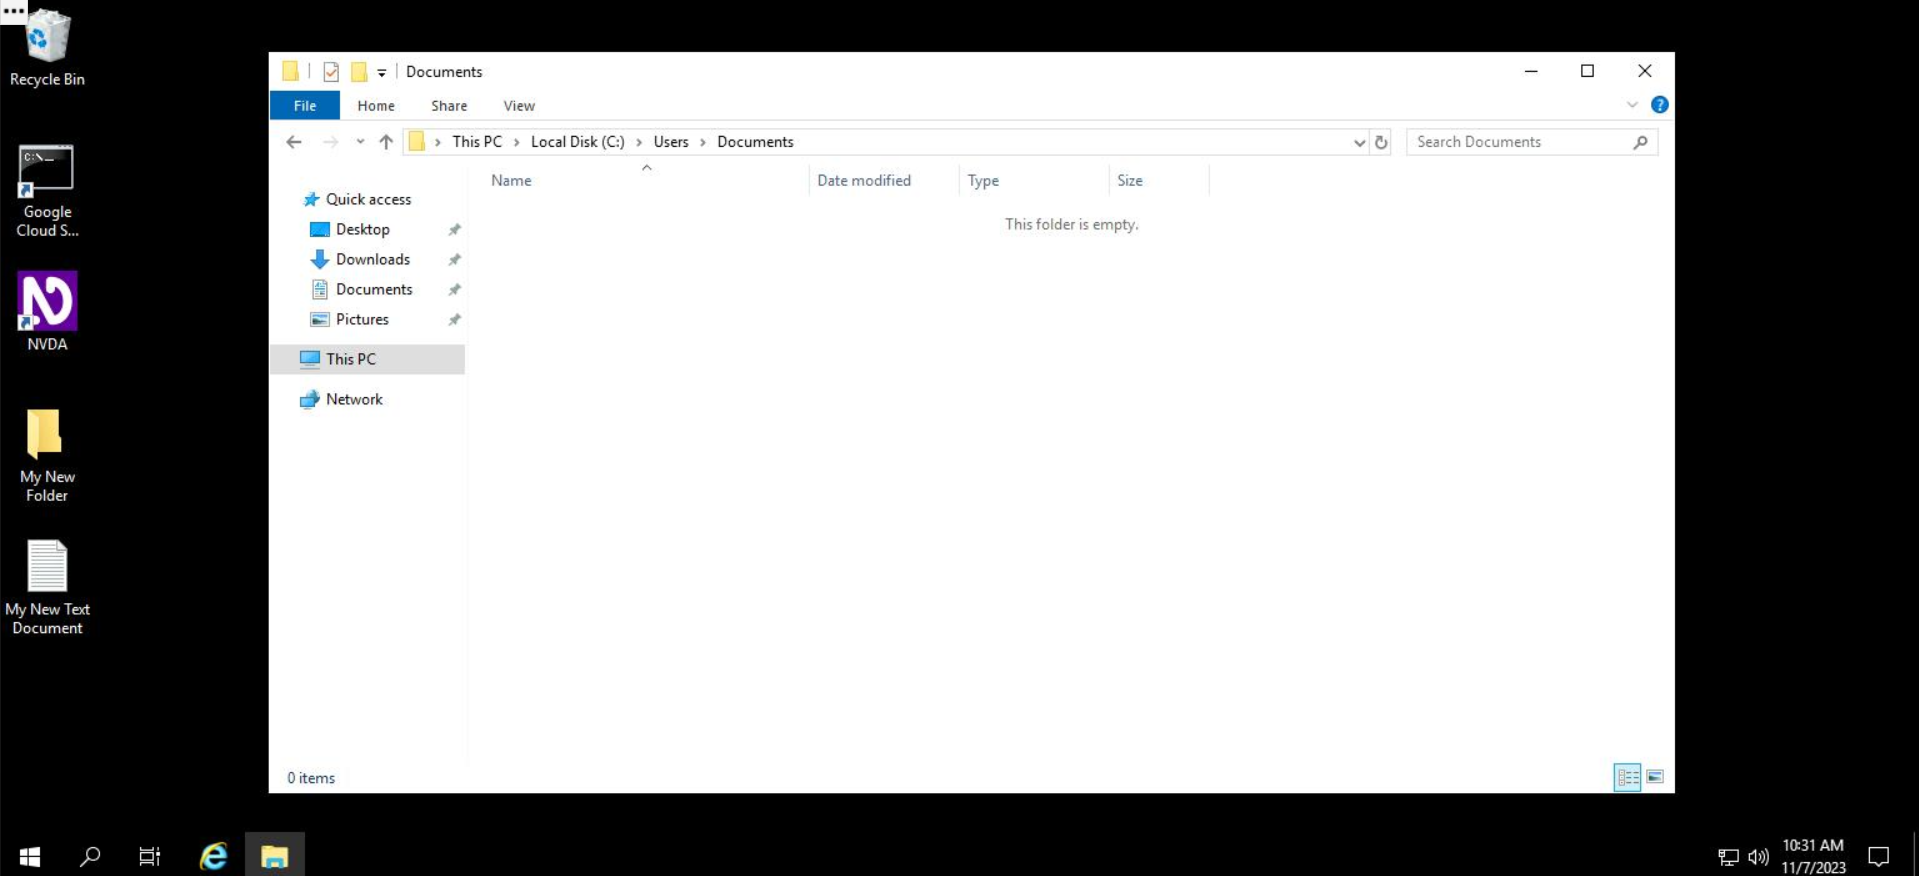
That's it! The folder will remain without the file and folder that we just deleted.
Click Check my progress to verify the objective.
Delete Files
Searching through files
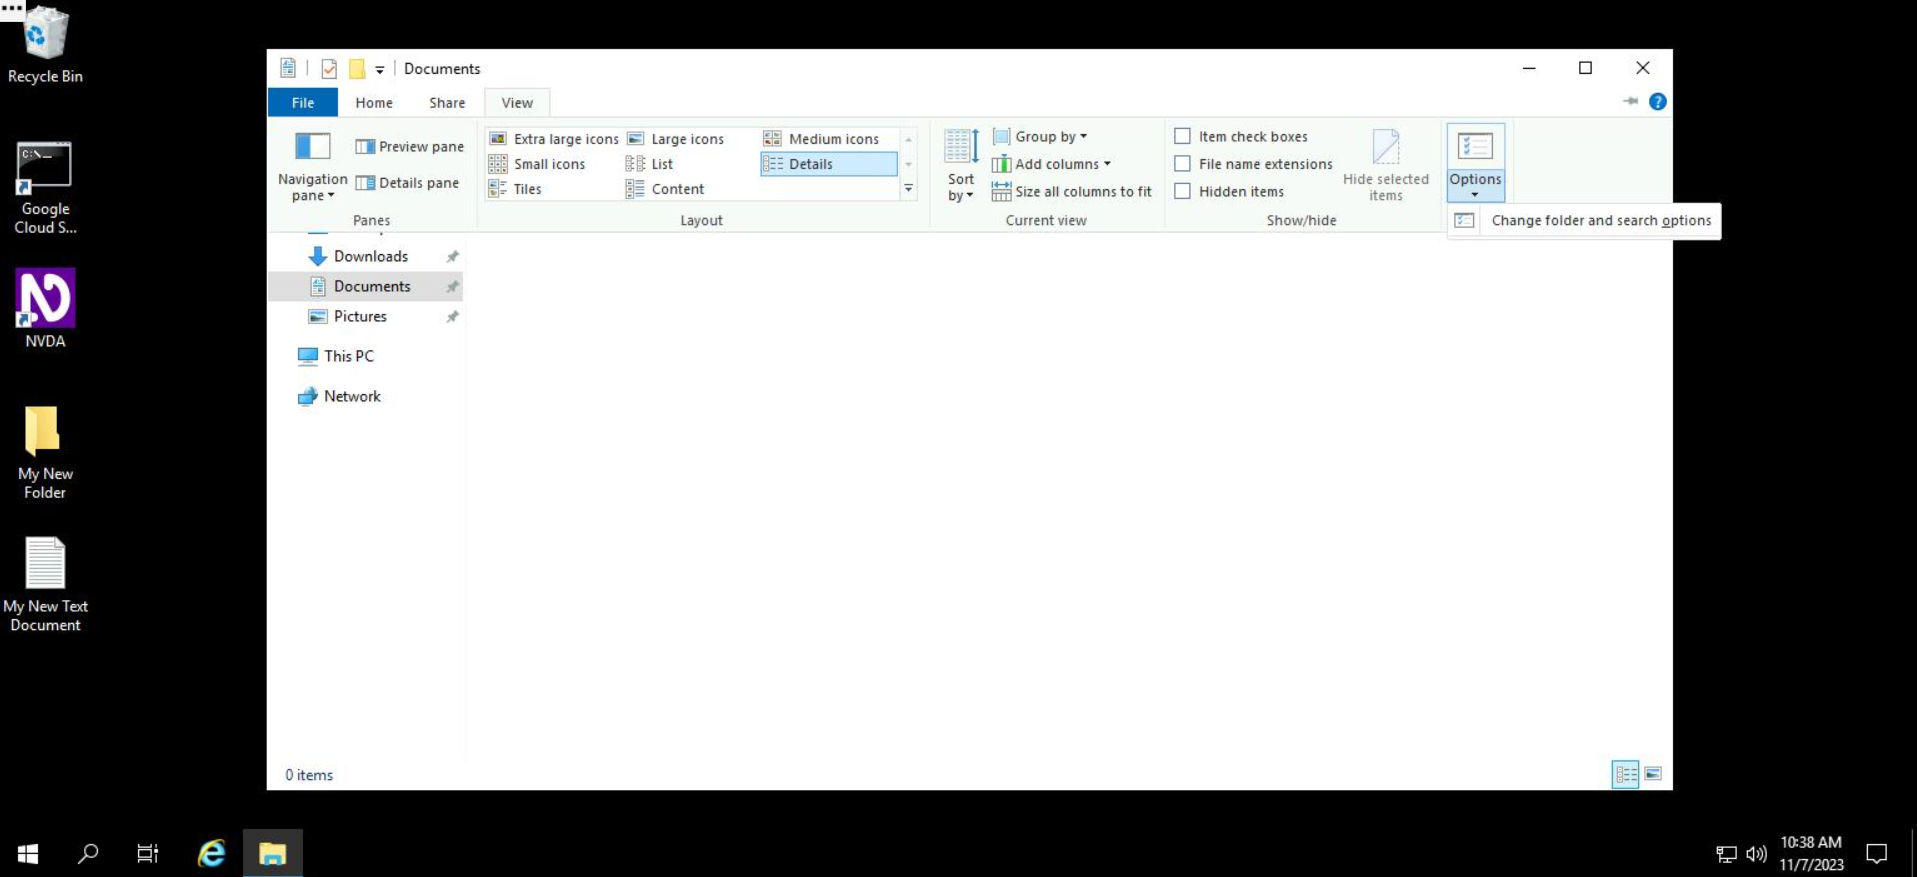
File Explorer also gives you the ability to search through file contents. To use this feature, you need to first enable it from the menu of File Explorer. Once enabled, searches that are performed in the default File Explorer search field will also search content within the files contained in that directory. To enable searching through file contents, follow the steps below:
- Access the "View" tab from the default File Explorer menu.
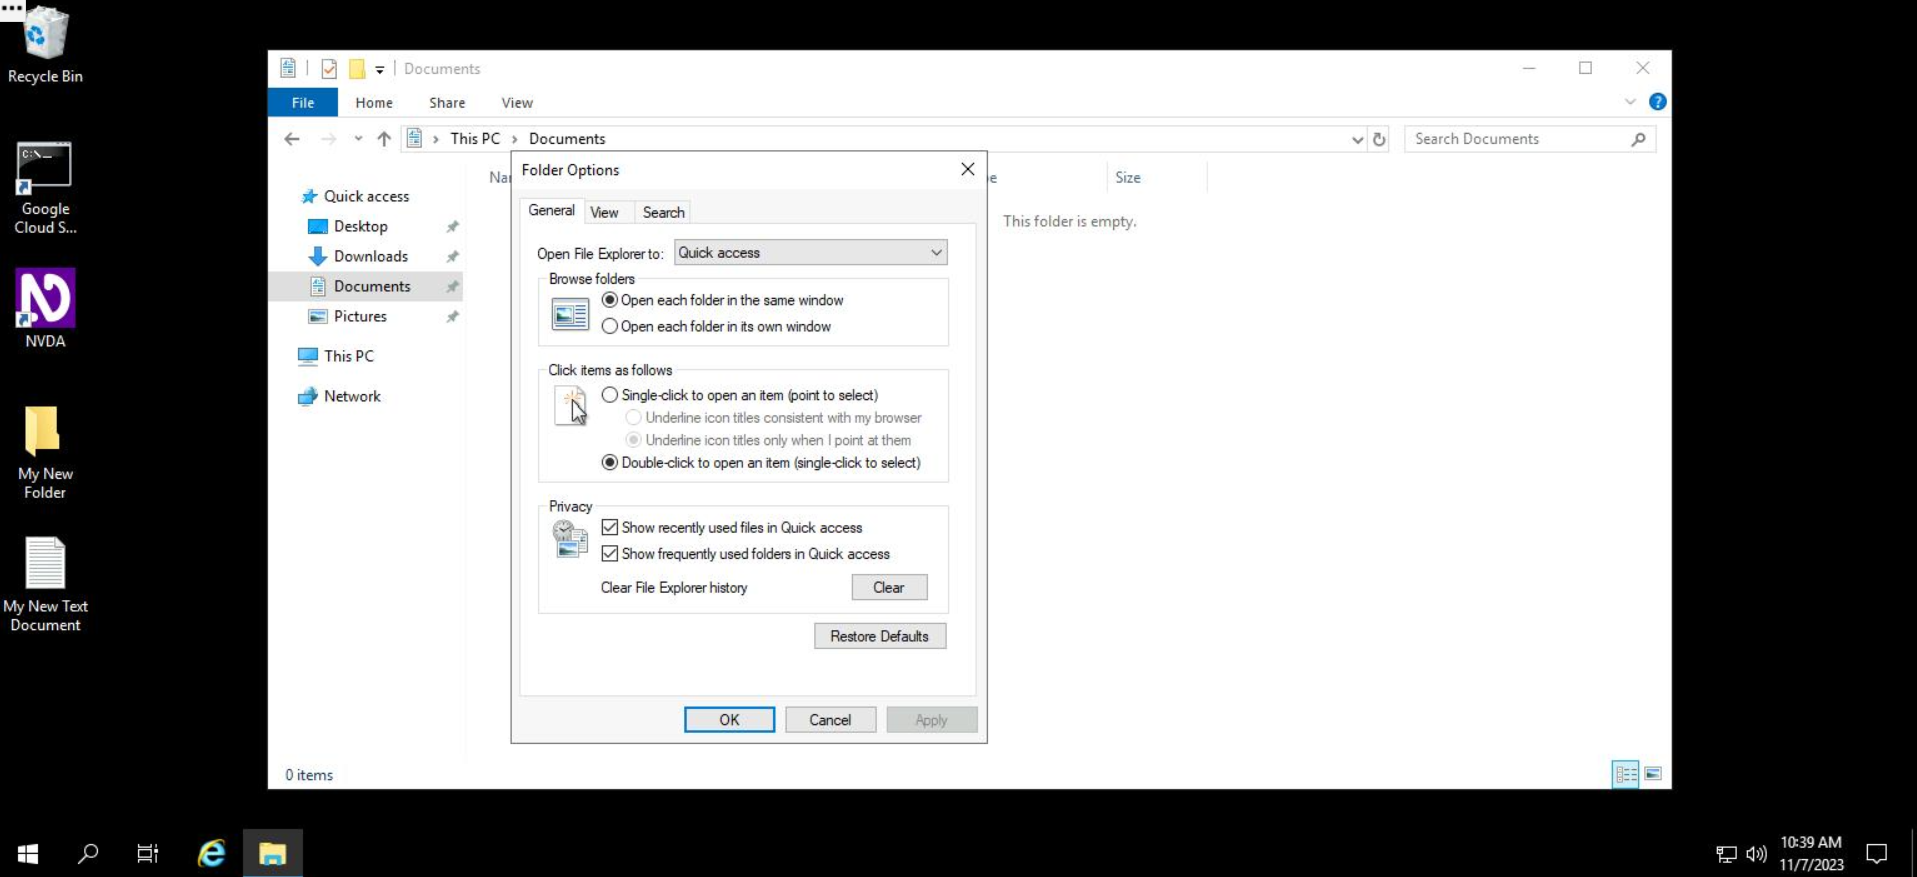
- Click on the dropdown under "Options" and select "Change Folder and Search Options".
- From the resulting menu, select the "Search" tab.
- From the "Search" menu, check the option "Always search file names and contents".
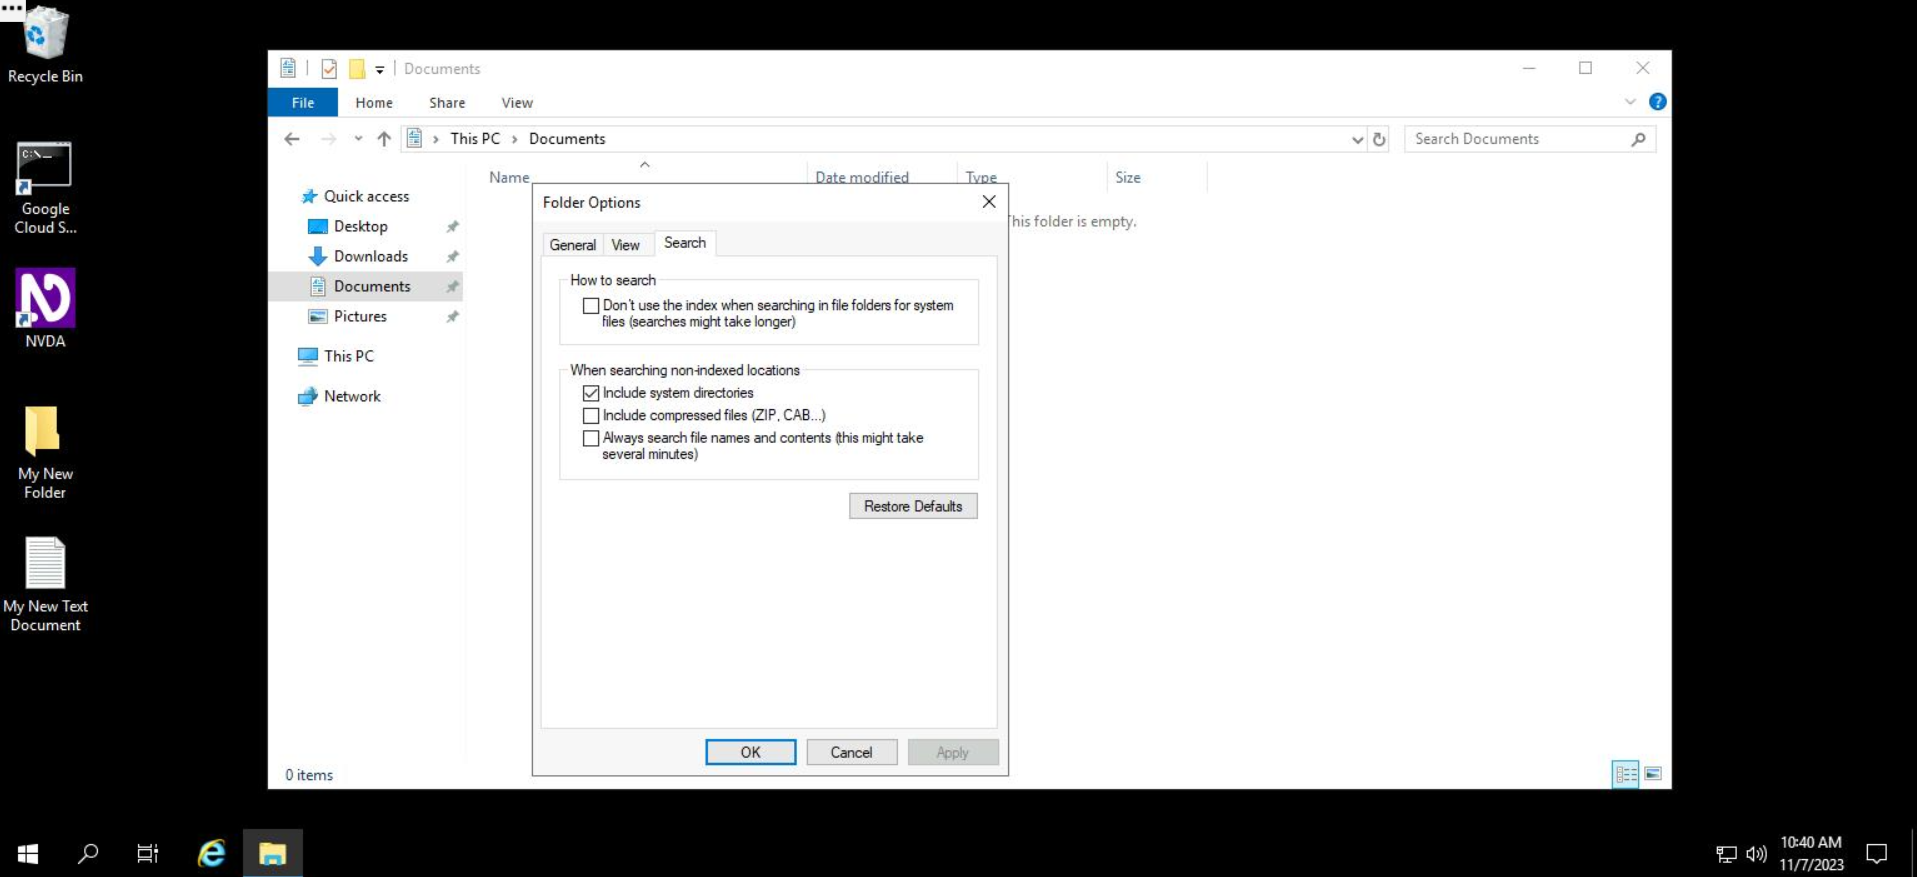
- Click on the "OK" button to apply the changes.
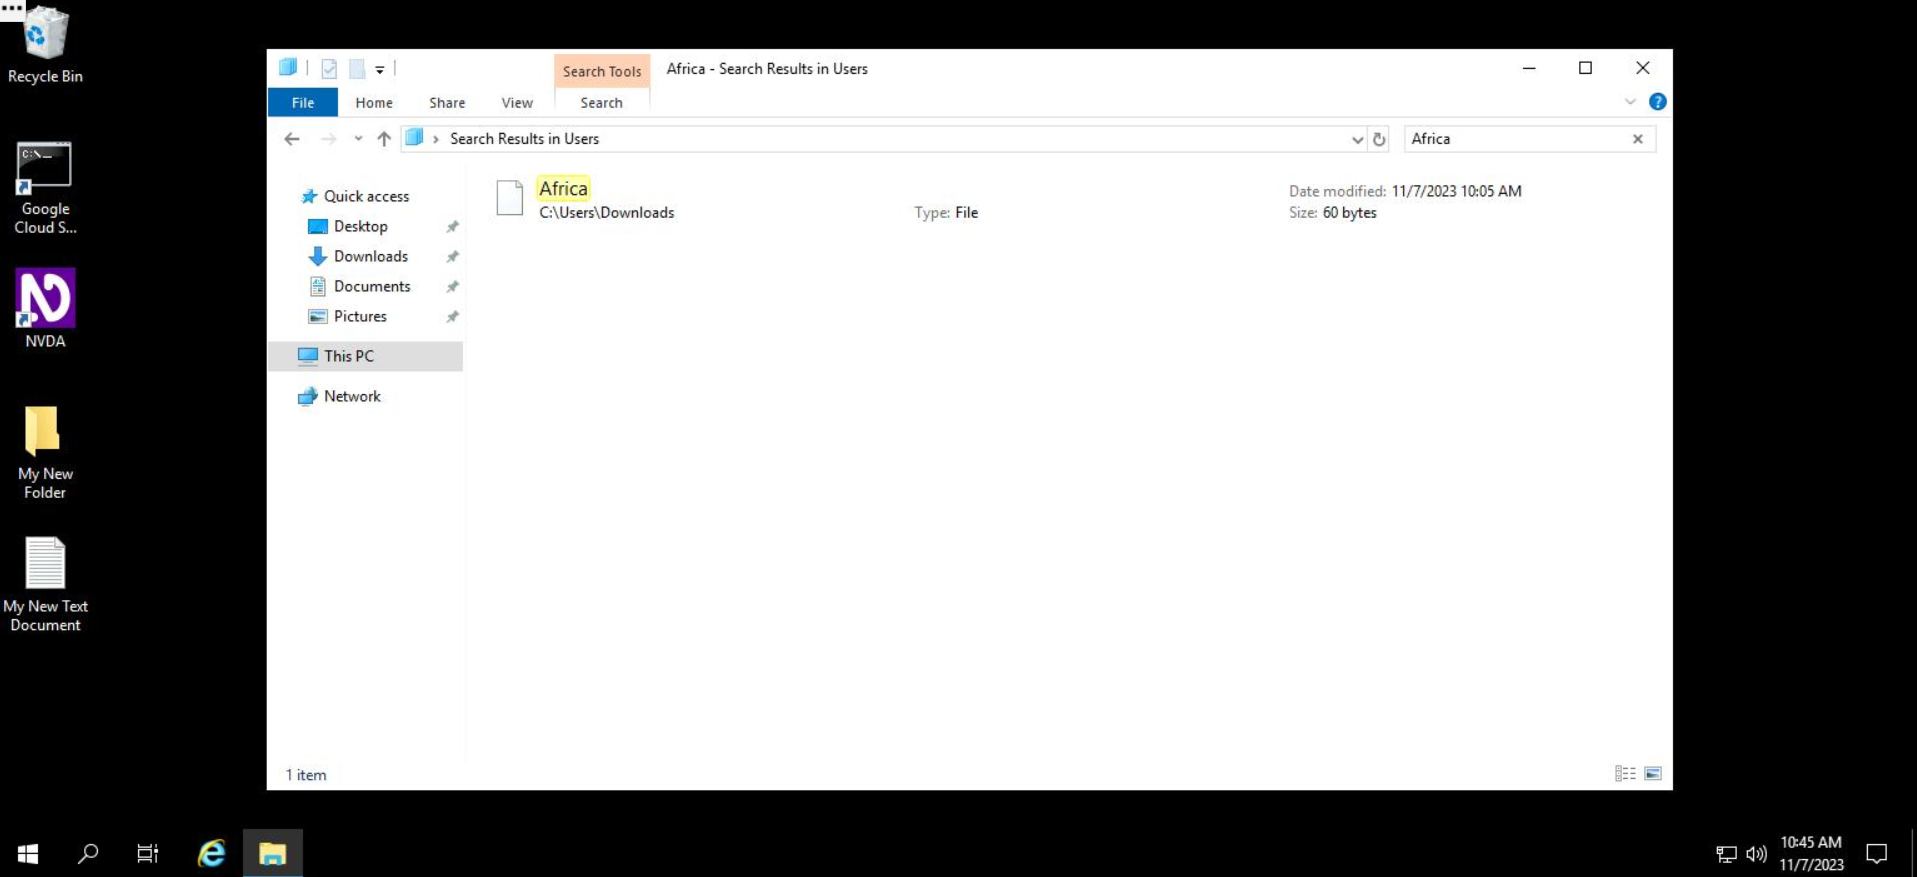
File content searching is now enabled. To search within file contents, use the search menu to enter your search query.
The results displayed will also include file names whose content matches the search query.
That's it! You're now a pro at using the Windows file explorer to manage files in the system!
Conclusion
In this lab, you've gone through the basics of creating, modifying, copying, and removing files and folders in Windows. You'll become more familiar with what you learned here as you continue to interact with Windows systems.
End your lab
When you have completed your lab, click End Lab. Qwiklabs removes the resources you’ve used and cleans the account for you.
You will be given an opportunity to rate the lab experience. Select the applicable number of stars, type a comment, and then click Submit.
The number of stars indicates the following:
- 1 star = Very dissatisfied
- 2 stars = Dissatisfied
- 3 stars = Neutral
- 4 stars = Satisfied
- 5 stars = Very satisfied
You can close the dialog box if you don't want to provide feedback.
For feedback, suggestions, or corrections, please use the Support tab.


